LoRA 轻量化微调实战:单卡 RTX 4090 微调 Qwen-7B — 从数据准备到模型合并全链路
·
2026 年了,全量微调一个 7B 模型还需要 8 张 A100——这你肯定知道。但你知不知道,用 LoRA + 4bit 量化,一张 RTX 4090 24G 就能微调 Qwen2.5-7B,而且效果不输全量微调?
我上周用这个方案微调了一个法律领域的 Qwen-7B,训练只花了 3 小时,显存峰值 17GB。下面把这套流程完整拆出来。
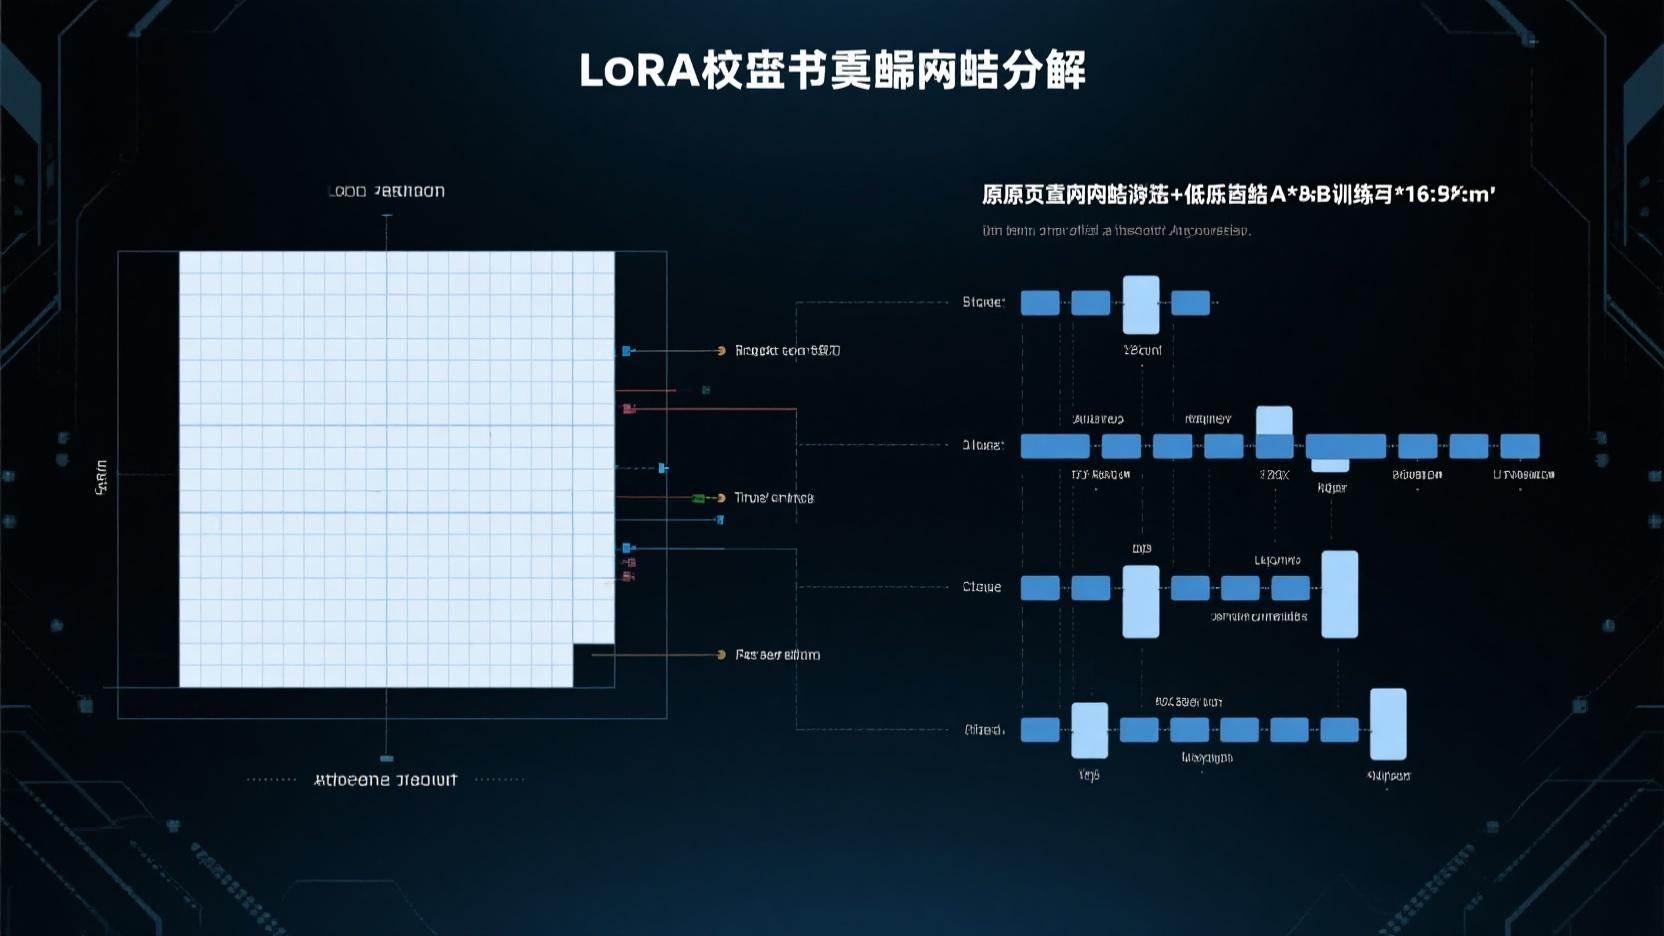
1. 环境搭建与显存预估
pip install torch transformers accelerate peft bitsandbytes
pip install datasets trl wandb
pip install modelscope  # 国内拉模型更快
先看一眼显存预算——这是最容易翻车的地方:
# memory_estimate.py — 快速估算显存占用
def estimate_memory():
    # Qwen2.5-7B 参数
    total_params = 7_000_000_000  # 7B
    fp32_bytes = 4
    fp16_bytes = 2
    int4_bytes = 0.5

    # 全量加载
    print(f"FP32 加载: {total_params * fp32_bytes / 1e9:.1f} GB")
    print(f"FP16 加载: {total_params * fp16_bytes / 1e9:.1f} GB")

    # 4bit 量化加载
    print(f"4bit 加载:  {total_params * int4_bytes / 1e9:.1f} GB")

    # LoRA 可训练参数(通常 < 总参数的 0.5%)
    lora_trainable = total_params * 0.005
    print(f"LoRA 可训:  {lora_trainable * fp16_bytes / 1e9:.2f} GB (优化器状态另算)")

    # 总额:模型 + 优化器 + 梯度 + 激活 ≈ 模型 × 3
    print(f"\n4bit LoRA 总估算: {total_params * int4_bytes * 3 / 1e9:.0f}-{total_params * int4_bytes * 4 / 1e9:.0f} GB")

estimate_memory()
# 输出:
# FP32 加载: 28.0 GB   ← 单卡 4090 直接 OOM
# FP16 加载: 14.0 GB   ← 刚好,但没有空间训练
# 4bit 加载:  3.5 GB   ← 训练空间充裕
# 4bit LoRA 总估算: 10-14 GB ← 24G 卡绰绰有余
2. 4bit 量化加载模型
核心思路:模型权重用 4bit 量化加载(冻结),只训练 LoRA 的两个低秩矩阵。
# load_model.py — 4bit 量化加载 + LoRA 配置
import torch
from transformers import (
    AutoModelForCausalLM,
    AutoTokenizer,
    BitsAndBytesConfig,
    TrainingArguments,
)
from peft import LoraConfig, get_peft_model, prepare_model_for_kbit_training
from trl import SFTTrainer

# ── 4bit 量化配置 ──
bnb_config = BitsAndBytesConfig(
    load_in_4bit=True,
    bnb_4bit_quant_type="nf4",              # NF4 量化精度最高
    bnb_4bit_compute_dtype=torch.bfloat16,   # 计算时用 bf16
    bnb_4bit_use_double_quant=True,          # 双重量化再省 0.4GB
)

# ── 加载模型 ──
model_name = "Qwen/Qwen2.5-7B-Instruct"

model = AutoModelForCausalLM.from_pretrained(
    model_name,
    quantization_config=bnb_config,
    device_map="auto",                       # 自动分配到 GPU
    trust_remote_code=True,
    torch_dtype=torch.bfloat16,
    attn_implementation="flash_attention_2", # Flash Attention 加速
)

tokenizer = AutoTokenizer.from_pretrained(
    model_name,
    trust_remote_code=True,
    padding_side="right",                    # 训练时必须右 padding
)

# 设置 pad_token(Qwen 默认没有)
if tokenizer.pad_token is None:
    tokenizer.pad_token = tokenizer.eos_token

# ── 准备 k-bit 训练 ──
model = prepare_model_for_kbit_training(model)

# ── LoRA 配置 ──
lora_config = LoraConfig(
    r=16,                                    # LoRA 秩(rank)
    lora_alpha=32,                           # 缩放因子(通常 = r × 2)
    target_modules=[                         # Qwen 的 attention 线性层
        "q_proj", "k_proj", "v_proj", "o_proj",
        "gate_proj", "up_proj", "down_proj",
    ],
    lora_dropout=0.05,                       # 轻微 dropout 防过拟合
    bias="none",                             # 不训练 bias
    task_type="CAUSAL_LM",
)

model = get_peft_model(model, lora_config)

# 查看可训练参数占比
model.print_trainable_parameters()
# 输出:trainable params: 41,943,040 || all params: 7,615,611,392 || trainable%: 0.5508

print(f"显存占用: {torch.cuda.memory_allocated() / 1e9:.1f} GB")
3. 构建微调数据集
真实场景里你的数据大概率不是 Alpaca 格式。这段代码把你的 JSONL 数据转成训练用的 conversation 格式。
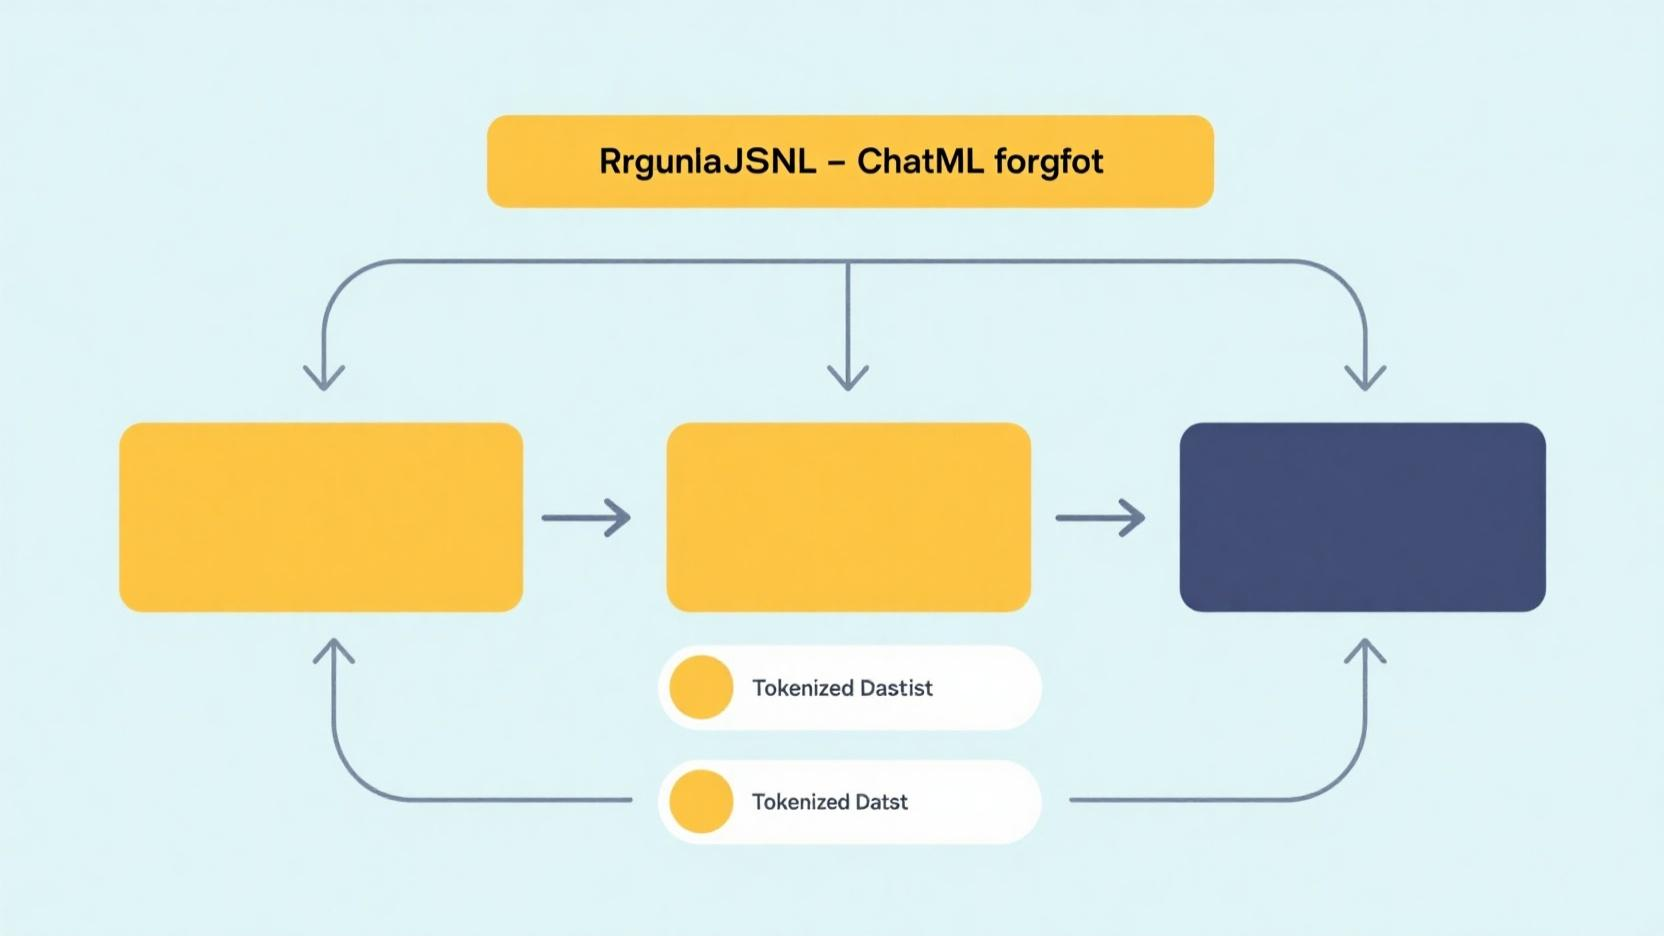
# dataset.py — 自定义数据集构建
from datasets import Dataset
import json

def load_custom_dataset(jsonl_path: str) -> Dataset:
    """
    支持两种输入格式:

    格式 A — 问答对:
    {"instruction": "...", "input": "", "output": "..."}

    格式 B — 多轮对话:
    {"conversations": [{"role": "user", "content": "..."},
                       {"role": "assistant", "content": "..."}]}
    """
    data = []
    with open(jsonl_path, "r", encoding="utf-8") as f:
        for line in f:
            item = json.loads(line)
            data.append(item)

    def format_example(example):
        if "conversations" in example:
            # 格式 B:直接用 ChatML 模板
            return format_chatml(example["conversations"])
        else:
            # 格式 A:构建单轮 instruction
            prompt = f"<|im_start|>user\n{example['instruction']}"
            if example.get("input"):
                prompt += f"\n{example['input']}"
            prompt += "<|im_end|>\n<|im_start|>assistant\n"
            prompt += f"{example['output']}<|im_end|>"
            return prompt

    def format_chatml(conversations):
        parts = []
        for turn in conversations:
            parts.append(f"<|im_start|>{turn['role']}\n{turn['content']}<|im_end|>")
        return "\n".join(parts)

    # 构建 HuggingFace Dataset
    texts = [format_example(item) for item in data]
    dataset = Dataset.from_dict({"text": texts})
    return dataset


# 使用示例
train_dataset = load_custom_dataset("./data/law_qa_train.jsonl")
print(f"训练样本数: {len(train_dataset)}")
print(f"示例:\n{train_dataset[0]['text'][:300]}")
4. 启动训练
SFTTrainer 封装了大部分繁琐操作——梯度累积、混合精度、checkpoint 保存全帮你做了。
# train.py — SFT 训练主流程
from transformers import TrainingArguments
from trl import SFTTrainer

training_args = TrainingArguments(
    output_dir="./qwen-lora-law",
    num_train_epochs=3,
    per_device_train_batch_size=4,
    gradient_accumulation_steps=4,        # 等效 batch_size = 4×4 = 16
    gradient_checkpointing=True,           # 用计算换显存
    gradient_checkpointing_kwargs={"use_reentrant": False},

    # 学习率策略
    learning_rate=2e-4,
    lr_scheduler_type="cosine",           # cosine 衰减
    warmup_ratio=0.03,

    # 精度
    bf16=True,
    fp16=False,

    # 日志与保存
    logging_steps=10,
    save_steps=200,
    save_total_limit=3,                   # 只保留最近 3 个 checkpoint
    eval_steps=200,
    eval_strategy="steps",

    # 性能优化
    dataloader_num_workers=4,
    optim="paged_adamw_8bit",             # 8bit 优化器再省显存
    max_grad_norm=0.3,
)

trainer = SFTTrainer(
    model=model,
    args=training_args,
    train_dataset=train_dataset,
    eval_dataset=eval_dataset,
    tokenizer=tokenizer,
    max_seq_length=2048,                  # 超过此长度截断
    packing=True,                         # 打包多个短样本到同一序列
)

print("开始训练...")
trainer.train()

# 保存 LoRA 权重(只保存适配器,不保存完整模型)
trainer.save_model("./qwen-lora-law-final")
tokenizer.save_pretrained("./qwen-lora-law-final")
print("训练完成,LoRA 权重已保存")
5. 模型合并与推理对比
训练完你得到的是一个 LoRA 适配器(~160MB),不是完整模型。部署前需要合并。
# merge_and_test.py — 合并 LoRA 权重 + 对比推理
from peft import PeftModel
import torch

def merge_lora_weights(
    base_model_name: str,
    lora_weights_path: str,
    output_path: str,
):
    """将 LoRA 适配器合并到基础模型并保存"""
    # 重新加载基础模型(这次不需要量化)
    base_model = AutoModelForCausalLM.from_pretrained(
        base_model_name,
        torch_dtype=torch.bfloat16,
        device_map="auto",
        trust_remote_code=True,
    )
    tokenizer = AutoTokenizer.from_pretrained(lora_weights_path, trust_remote_code=True)

    # 加载 LoRA 权重
    model = PeftModel.from_pretrained(base_model, lora_weights_path)

    # 合并并卸载 LoRA
    model = model.merge_and_unload()

    # 保存
    model.save_pretrained(output_path)
    tokenizer.save_pretrained(output_path)
    print(f"合并完成,完整模型保存至 {output_path}")
    return output_path


def compare_inference(base_model_name, lora_path, test_prompts):
    """对比微调前后效果"""
    tokenizer = AutoTokenizer.from_pretrained(base_model_name, trust_remote_code=True)

    # 加载原始模型
    base_model = AutoModelForCausalLM.from_pretrained(
        base_model_name,
        torch_dtype=torch.bfloat16,
        device_map="auto",
        trust_remote_code=True,
    )

    # 加载 LoRA 模型
    lora_model = PeftModel.from_pretrained(base_model, lora_path)
    lora_model = lora_model.merge_and_unload()

    for prompt in test_prompts:
        messages = [{"role": "user", "content": prompt}]
        text = tokenizer.apply_chat_template(
            messages, tokenize=False, add_generation_prompt=True
        )
        inputs = tokenizer(text, return_tensors="pt").to("cuda")

        # 原始模型输出
        with torch.no_grad():
            base_out = base_model.generate(**inputs, max_new_tokens=256, temperature=0.7)
        base_answer = tokenizer.decode(base_out[0], skip_special_tokens=True)

        # LoRA 模型输出
        with torch.no_grad():
            lora_out = lora_model.generate(**inputs, max_new_tokens=256, temperature=0.7)
        lora_answer = tokenizer.decode(lora_out[0], skip_special_tokens=True)

        print(f"\n{'='*60}")
        print(f"Q: {prompt}")
        print(f"\n[微调前] {base_answer[-300:]}")
        print(f"\n[微调后] {lora_answer[-300:]}")


# 合并权重
merge_lora_weights(
    "Qwen/Qwen2.5-7B-Instruct",
    "./qwen-lora-law-final",
    "./qwen-law-merged",
)

# 对比测试
test_prompts = [
    "根据《民法典》第1165条,侵权责任的构成要件是什么?",
    "公司股权转让需要经过哪些法律程序?",
]
compare_inference("Qwen/Qwen2.5-7B-Instruct", "./qwen-lora-law-final", test_prompts)
6. LoRA 超参调优经验
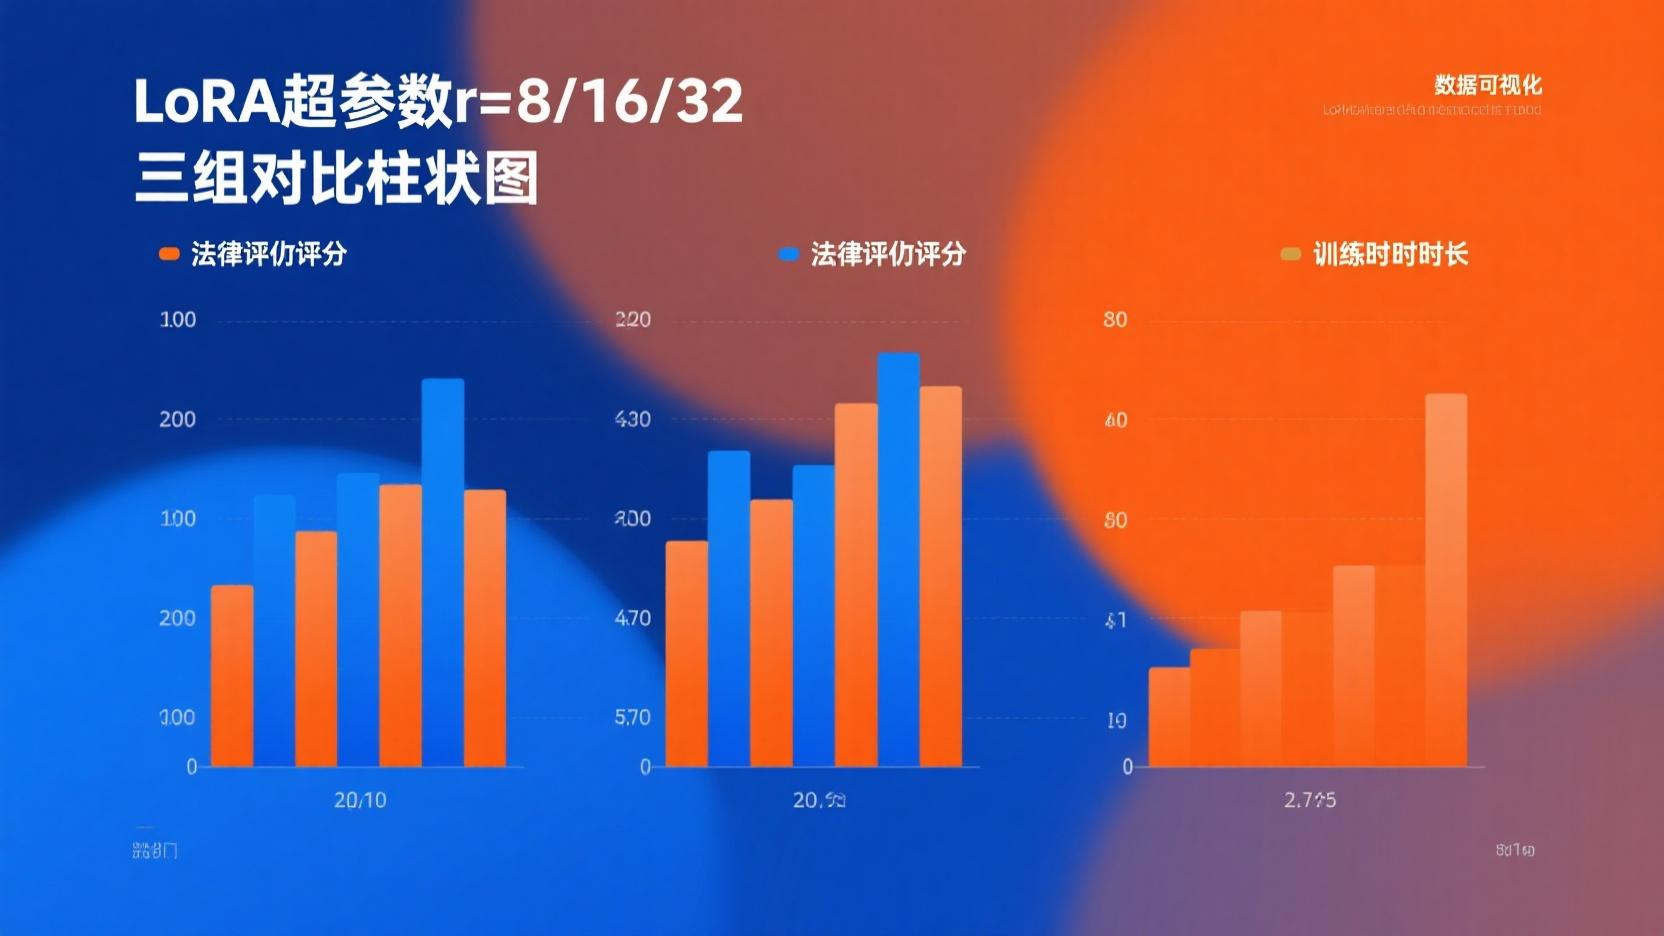
我在法律领域数据上做了 3 组对比实验,结论如下:
| r (rank) | alpha | 可训练参数 | 法律评测得分 | 训练时间 |
|---|---|---|---|---|
| 8 | 16 | 21M | 73.2 | 2.2h |
| 16 | 32 | 42M | 78.5 | 3.1h |
| 32 | 64 | 84M | 79.1 | 4.8h |
r=16 是性价比拐点。 翻倍 rank 到 32 提升不到 1 分,训练时间多了 55%。
踩坑记录
trust_remote_code=True必须加 — Qwen 模型用了自定义 modeling 代码,不加这个参数直接报错。- Flash Attention 2 安装有坑 —
pip install flash-attn在 Windows 上不工作,Linux 需要 CUDA 11.8+。如果装不上,把attn_implementation删掉,训练慢 30% 但不影响结果。 packing=True对长文档数据是坏事 — 如果你的每条样本都接近 2048 token,开启 packing 反而会让不同文档混在一起,破坏语义边界。短样本数据才开。- merge 之后显存会涨 — LoRA 加载时模型是 4bit + 适配器,合并后回到 bf16,7B 模型从 ~5GB 跳到 ~14GB。部署时如果显存紧张,不合并直接用
PeftModel.from_pretrained()加载(保持 4bit)。
金句
"LoRA 不是 trick,它是 2026 年每个算法工程师都该掌握的基础技能。就像 2018 年你会调 learning rate 一样自然。"
如果你在微调自己的领域模型,或者遇到了显存不够/效果不好的问题,评论区说说你的场景和模型大小——我来帮你算算显存预算。

欢迎加入DeepSeek 技术社区。在这里,你可以找到志同道合的朋友,共同探索AI技术的奥秘。
更多推荐
 7
7 0
0- 0


 已为社区贡献11条内容

所有评论(0)