WSL 极速部署 llama.cpp:三步搞定 CPU、GPU 本地运行大模型(CUDA 加速)
·
摘要:
想在 Windows 下本地跑大模型,又不想搞双系统?WSL + llama.cpp 是最轻量、高效的选择。本文将带你一步步完成环境配置、源码编译(可选 NVIDIA GPU 加速),并下载模型直接运行。无需复杂依赖,CPU 可跑,CUDA 更快,真正实现“开箱即用”的本地 LLM 体验。
在 WSL 中安装 llama.cpp 主要分为环境准备、源码编译和模型下载三步。如果你想用英伟达显卡加速,编译时需要开启 CUDA 支持。
📝 准备工作
在开始前,请确保满足以下条件:
- WSL2 环境:建议使用 Ubuntu 22.04 或 20.04。在 Windows PowerShell 中运行
wsl --set-version <你的发行版名> 2可确认版本。 - 基础依赖:更新软件源并安装编译工具:
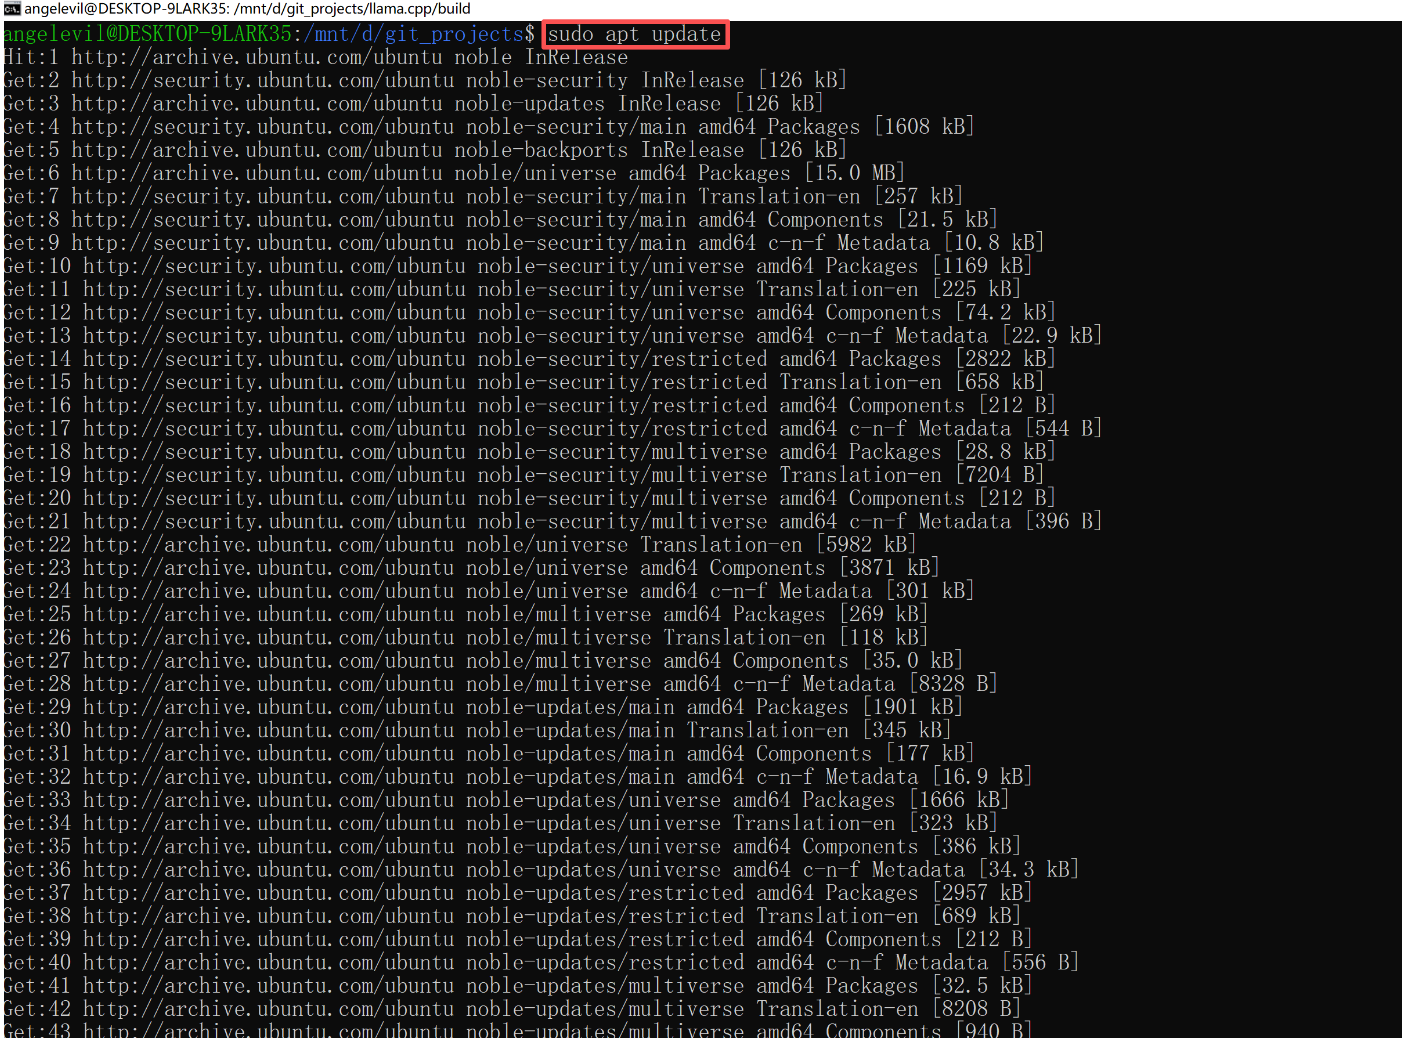
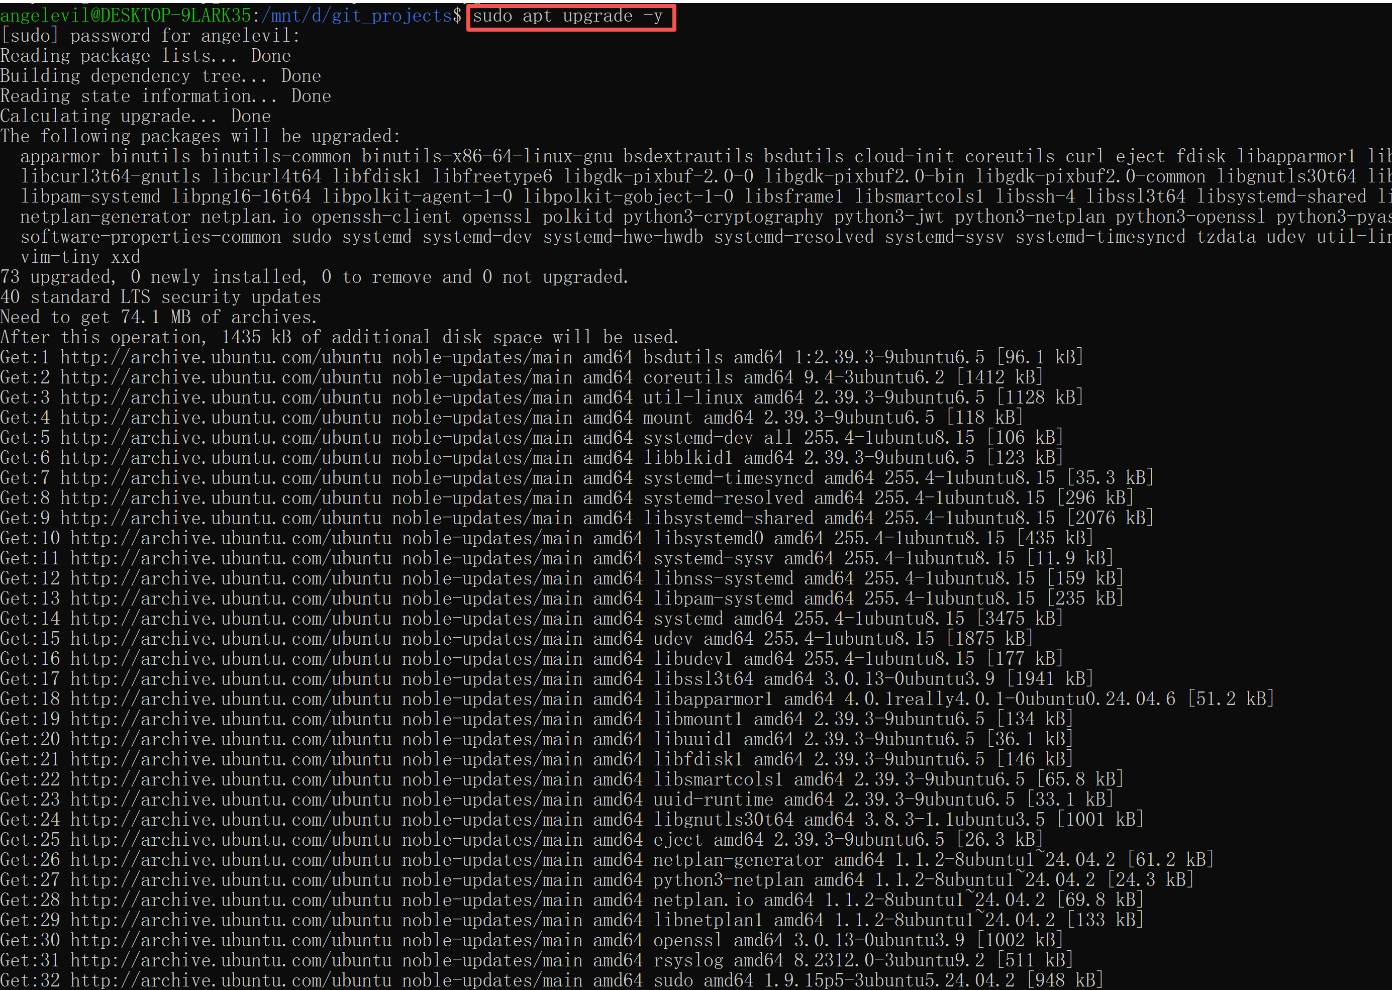
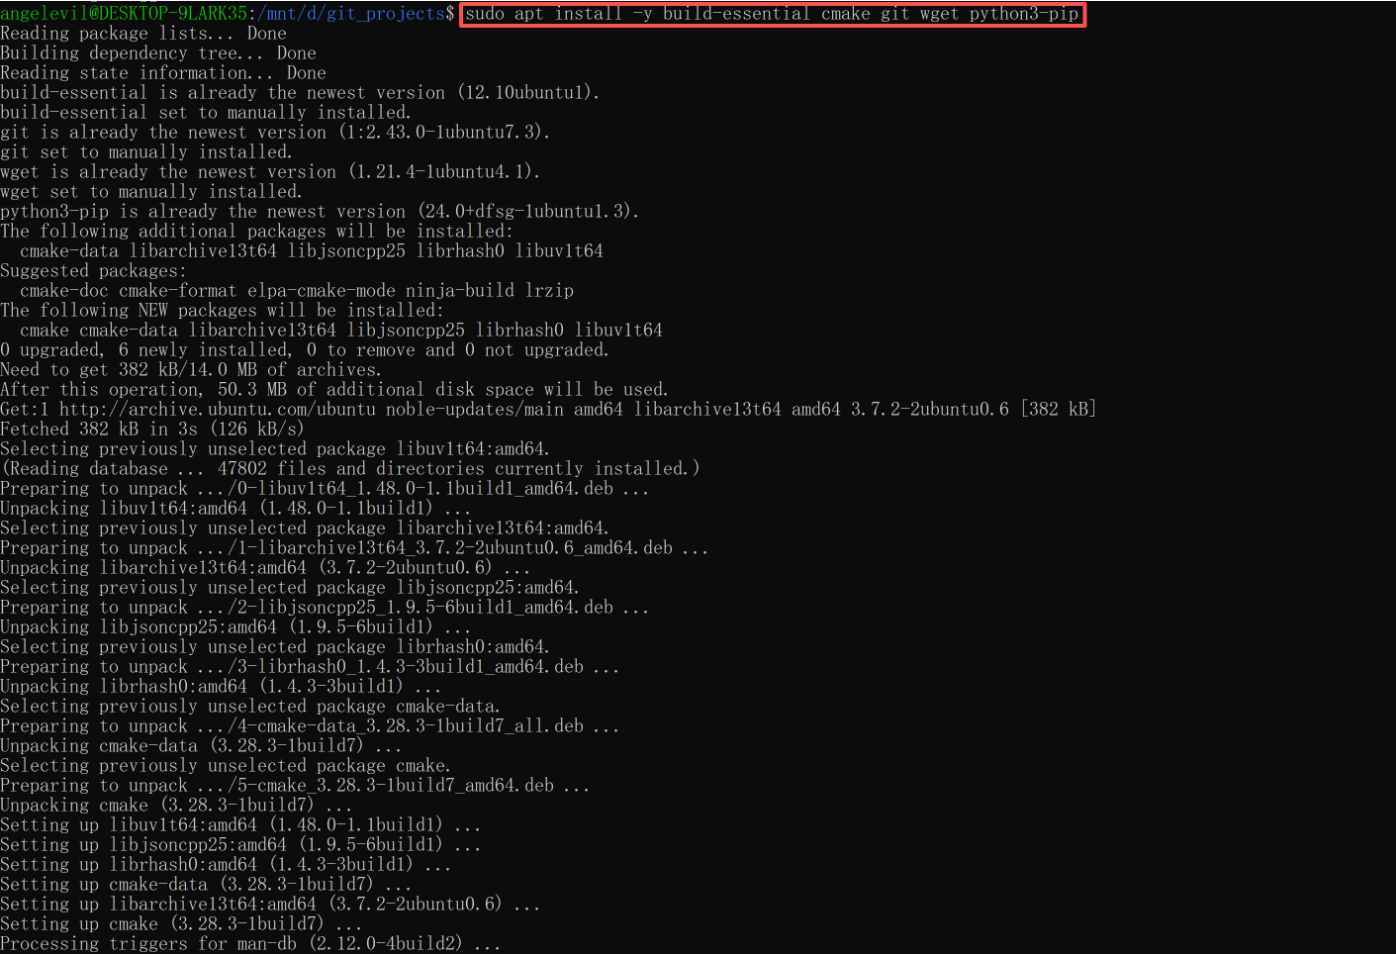
sudo apt update && sudo apt upgrade -y sudo apt install -y build-essential cmake git wget python3-pip - (可选)NVIDIA 显卡驱动:如果使用 GPU,Windows 端需安装支持 WSL2 的 NVIDIA 驱动(版本 ≥ 535)。
⚙️ 安装步骤
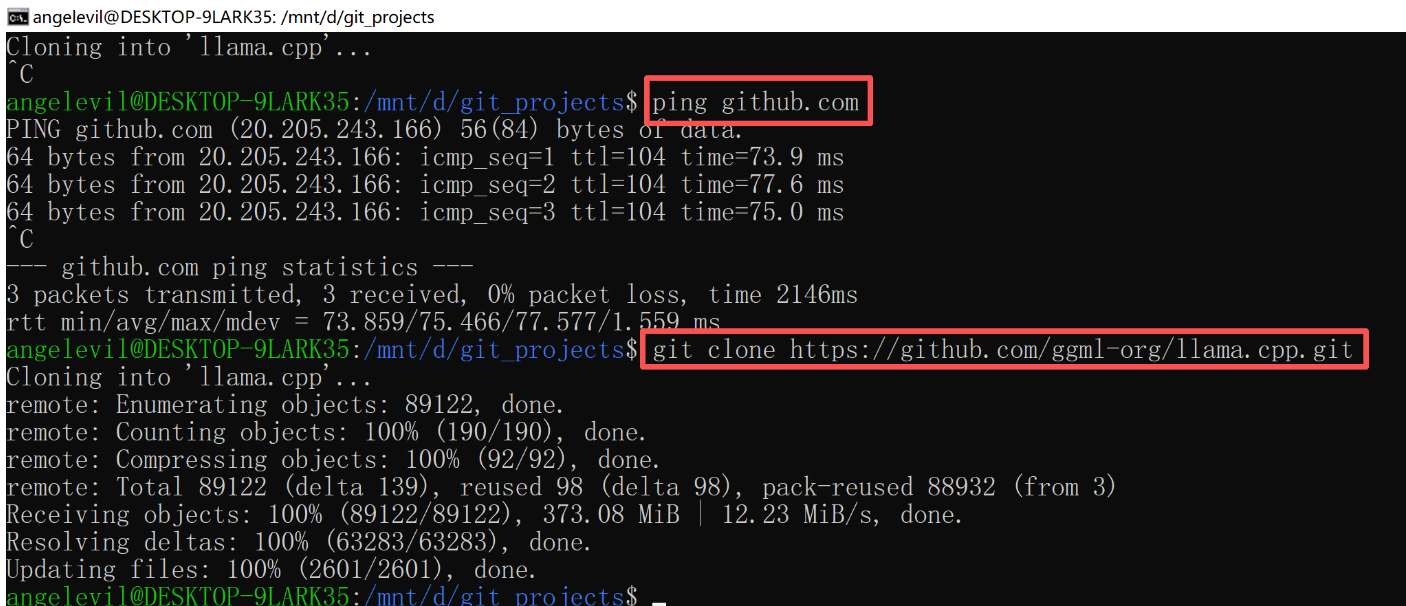
1. 克隆仓库并编译
首先下载源码,然后根据是否使用 GPU 选择编译命令。
# 1. 克隆项目
git clone https://github.com/ggerganov/llama.cpp
cd llama.cpp

# 2. 创建编译文件夹
mkdir build && cd build

GPU 版本(NVIDIA 显卡,推荐):
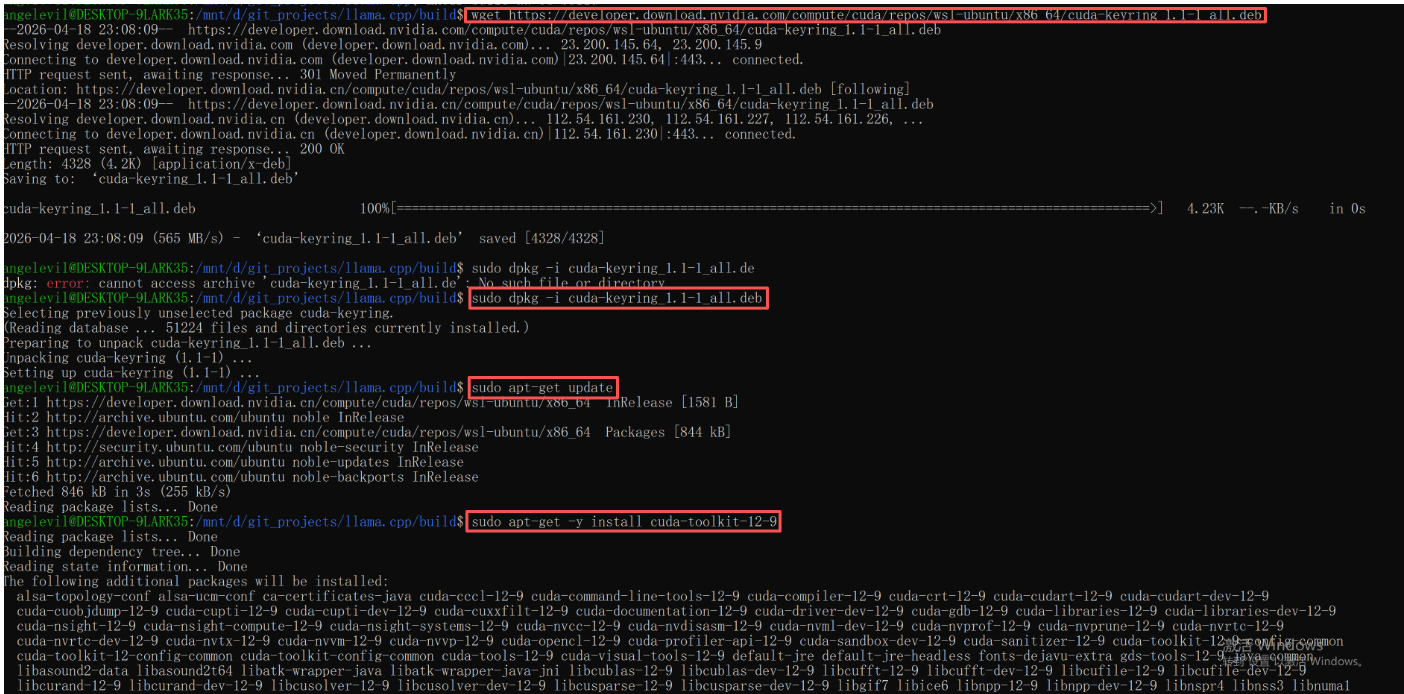
首先需要在 WSL 内安装 CUDA 工具包:
# 添加 NVIDIA 仓库并安装 CUDA 12.9
wget https://developer.download.nvidia.com/compute/cuda/repos/wsl-ubuntu/x86_64/cuda-keyring_1.1-1_all.deb
sudo dpkg -i cuda-keyring_1.1-1_all.deb
sudo apt-get update
sudo apt-get -y install cuda-toolkit-12-6
编译时开启 CUDA 支持:
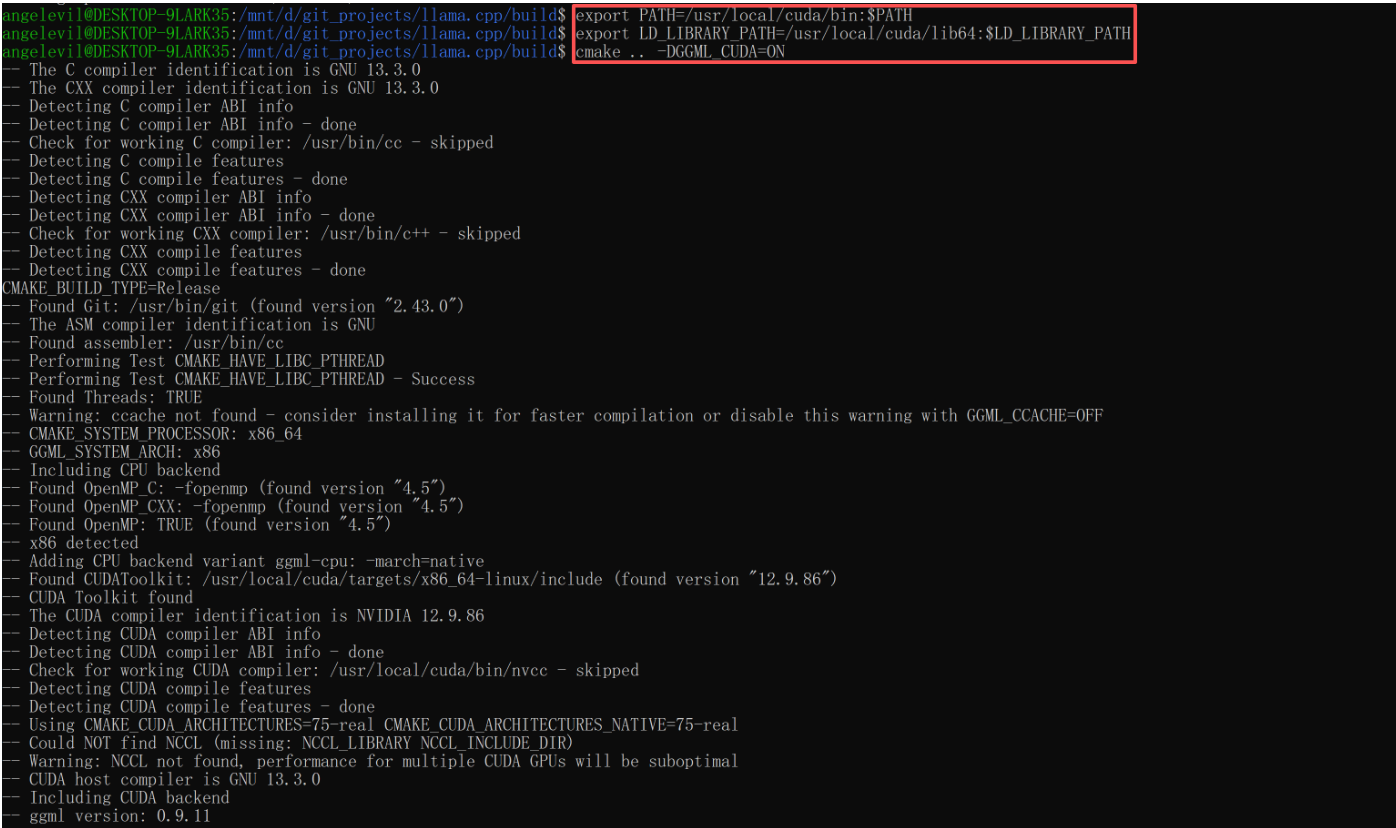
# 设置环境变量
export PATH=/usr/local/cuda/bin:$PATH
export LD_LIBRARY_PATH=/usr/local/cuda/lib64:$LD_LIBRARY_PATH
# 编译
cmake .. -DGGML_CUDA=ON
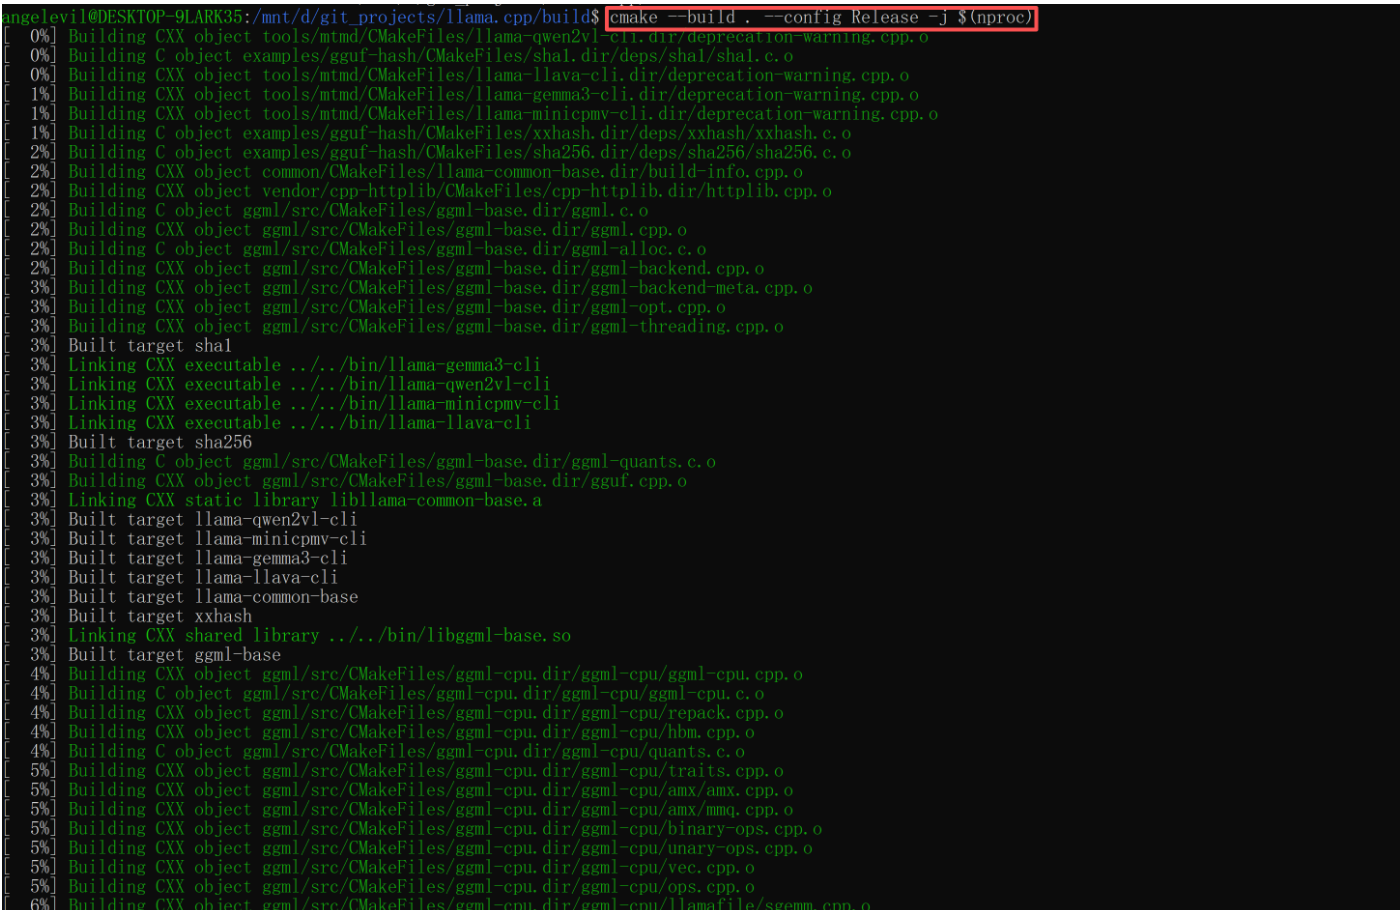
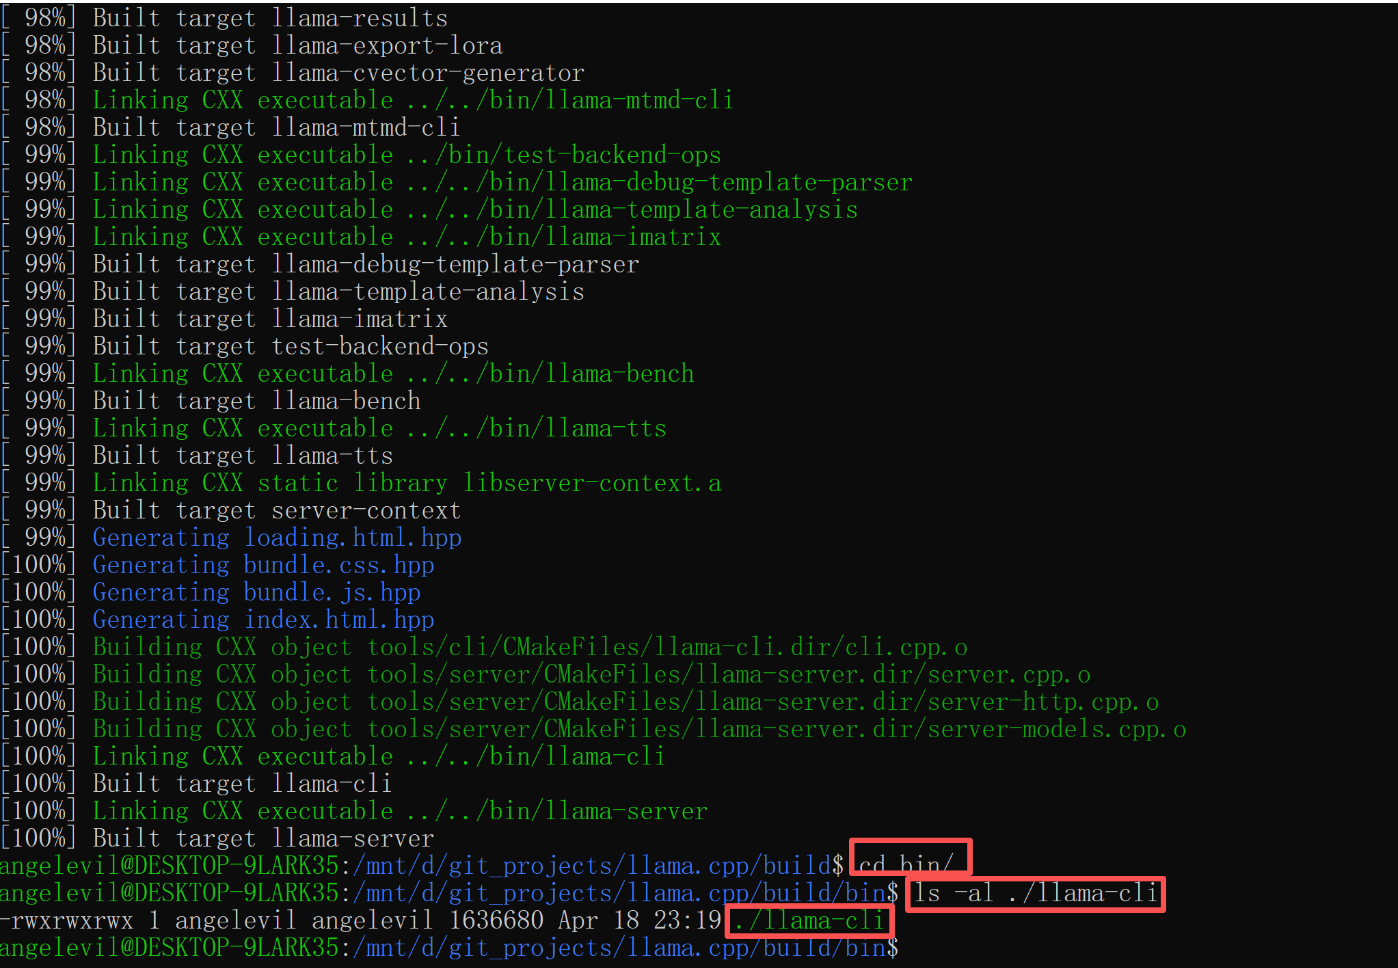
cmake --build . --config Release -j $(nproc)
2. 安装 anaconda
bash Miniconda3-latest-Linux-x86_64.sh

# 安装完 anaconda,source 环境
source ~/.bashrc

# 初始化
conda init

# 查看 conda 版本
conda --version


# 配置清华源
pip config set global.index-url https://mirrors.tuna.tsinghua.edu.cn/pypi/web/simple

pip config list

3. 下载模型文件
llama.cpp 需要特定格式(GGUF)的模型文件。可以从 Hugging Face 或 modelscope 下载:
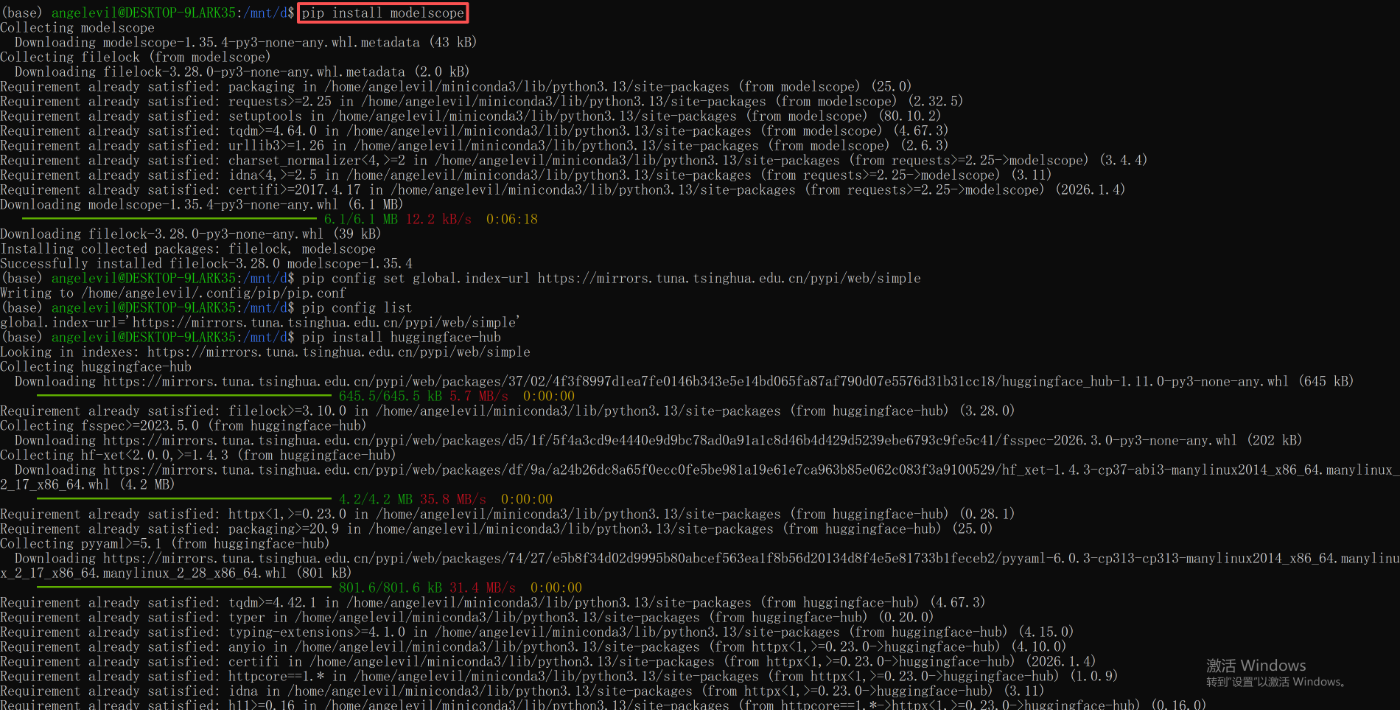
# 安装 huggingface-hub,方便下载国外模型
pip install huggingface-hub
# 安装 modelscope, 方便下载国内模型
pip install modelscope
# 下载模型(以 Qwen2-0.5B 为例,文件很小适合测试)
huggingface-cli download Qwen/Qwen2-0.5B-Instruct-GGUF --local-dir ./models --include "q4_0.gguf"
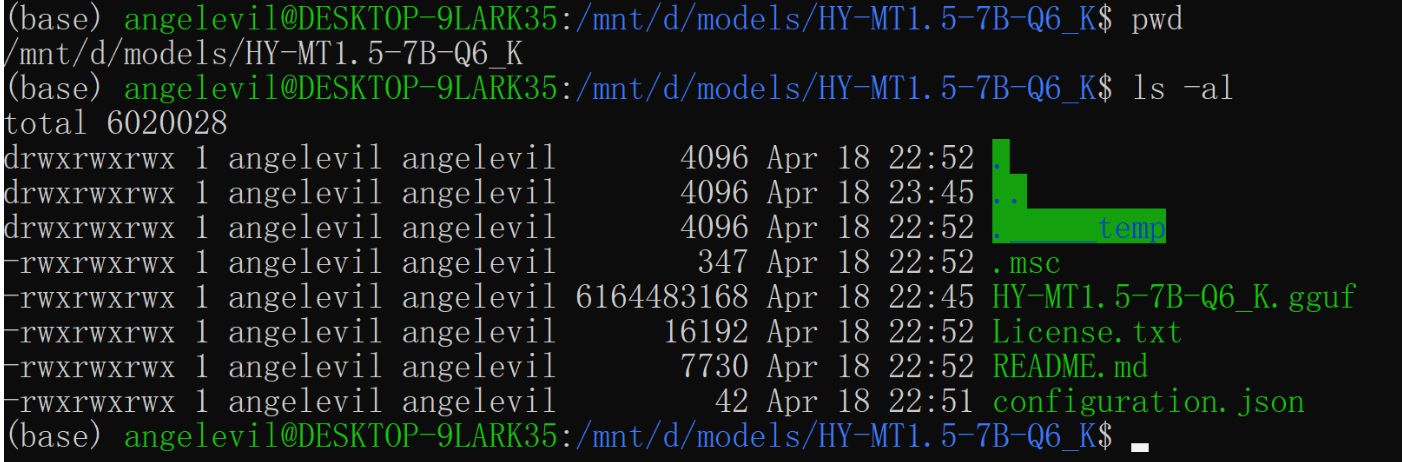
modelscope download --model Tencent-Hunyuan/HY-MT1.5-7B-GGUF HY-MT1.5-7B-Q6_K.gguf License.txt configuration.json README.md --local_dir ./HY-MT1.5-7B-Q6_K
4. 运行与验证
编译完成后,在 build/bin 目录下可以看到 main(推理)和 llama-cli 等可执行文件。
使用以下命令运行一个测试对话:
# -m: 指定模型路径 model directory
# -p: 输入的提示词 prompt
# -n: 生成的最大token数 predict max tokens
# -c: 设定上下文窗口 context length
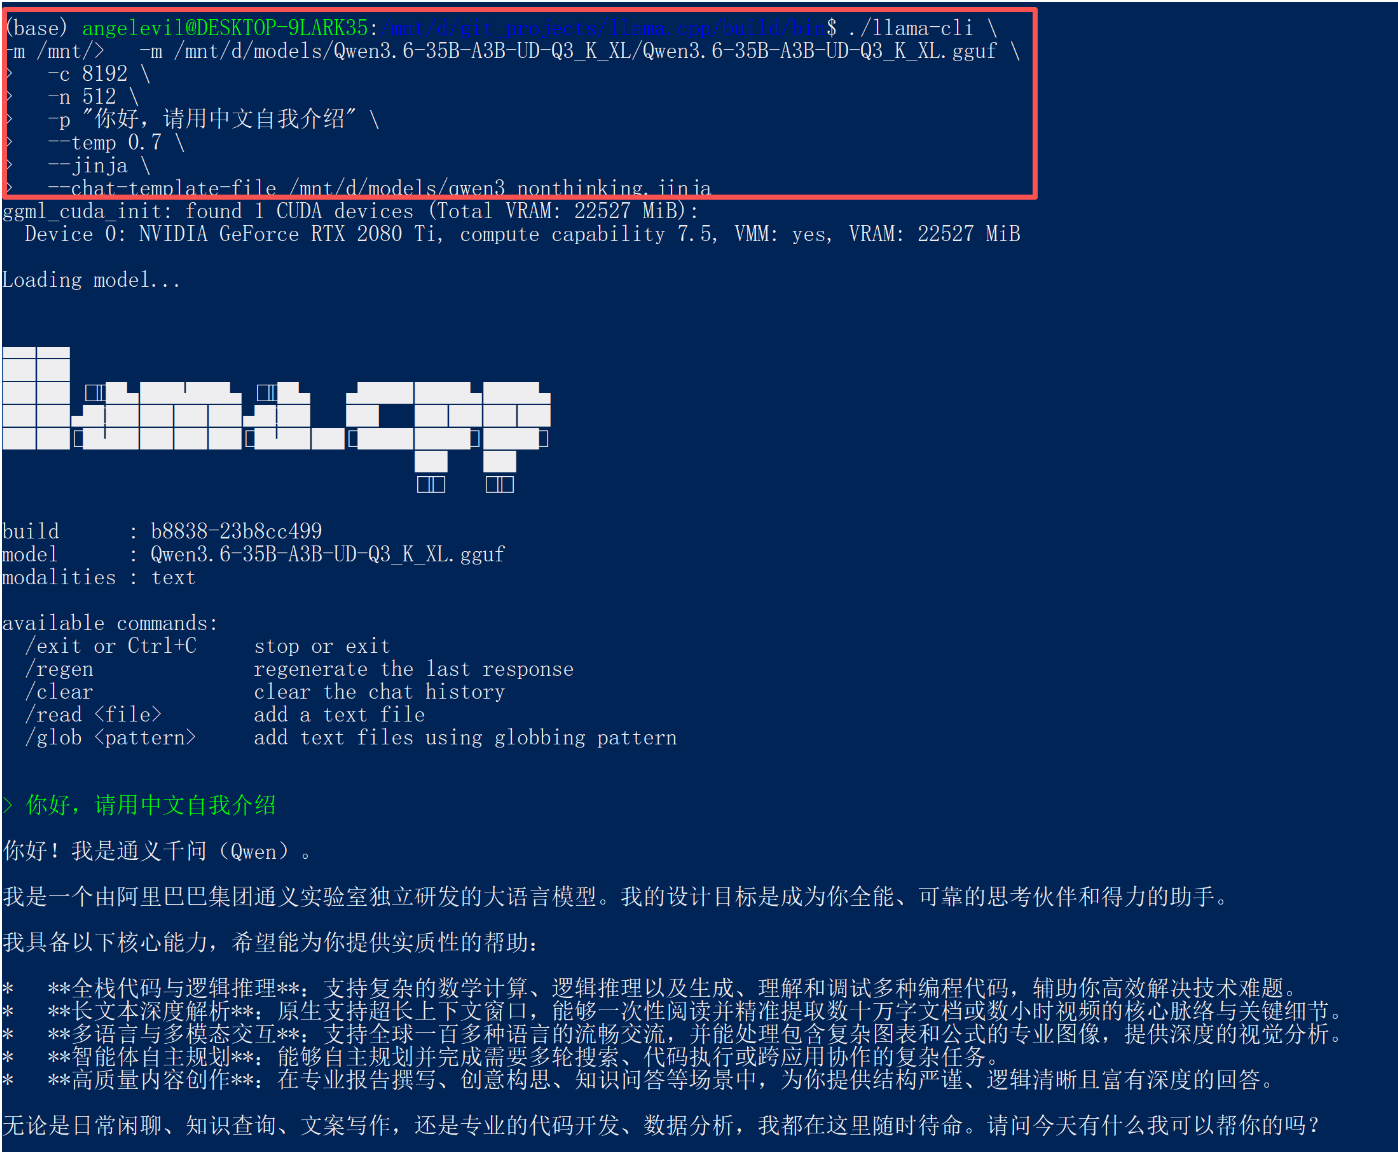
# --chat-template-file 后端启动Qwen 带思考的模型时,关闭思考模式,不添加这个参数,默认支持思考模式
# -ngl 将模型的多少层加载到GPU中,假如模型 40层,-ngl 20 设置成 20,那么 GPU 加载 20层,剩余层加载到 CPU 中,Number of GPU Layers
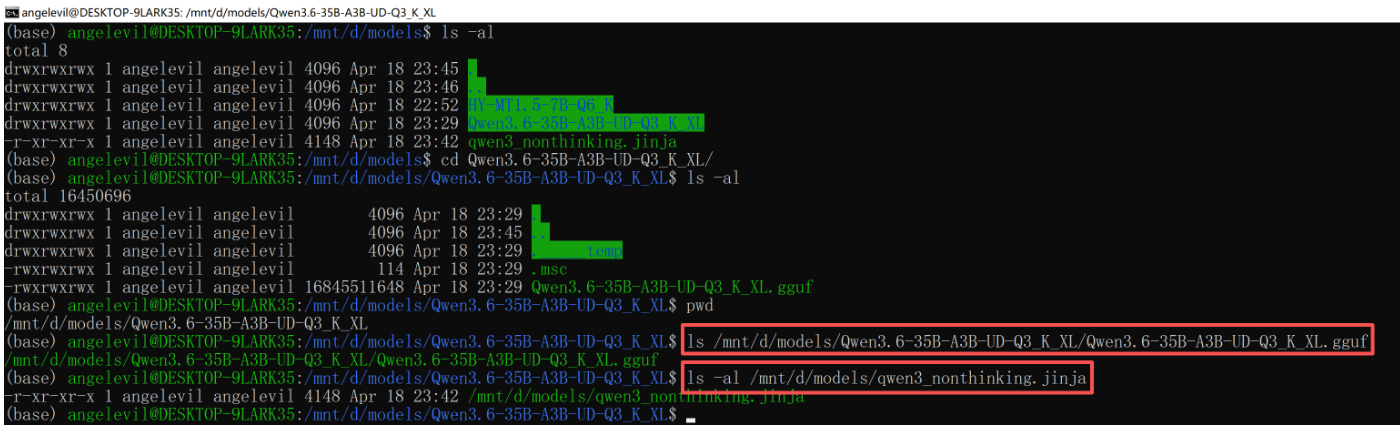
# Qwen3.6-35B-A3B-UD-Q3_K_XL
./llama-cli \
-m /mnt/d/models/Qwen3.6-35B-A3B-UD-Q3_K_XL/Qwen3.6-35B-A3B-UD-Q3_K_XL.gguf \
-c 8192 \
-n 512 \
-p "你好,请用中文自我介绍" \
--temp 0.7 \
--jinja \
--chat-template-file /mnt/d/models/qwen3_nonthinking.jinja
# Qwen3.6-35B-A3B-UD-Q3_K_XL
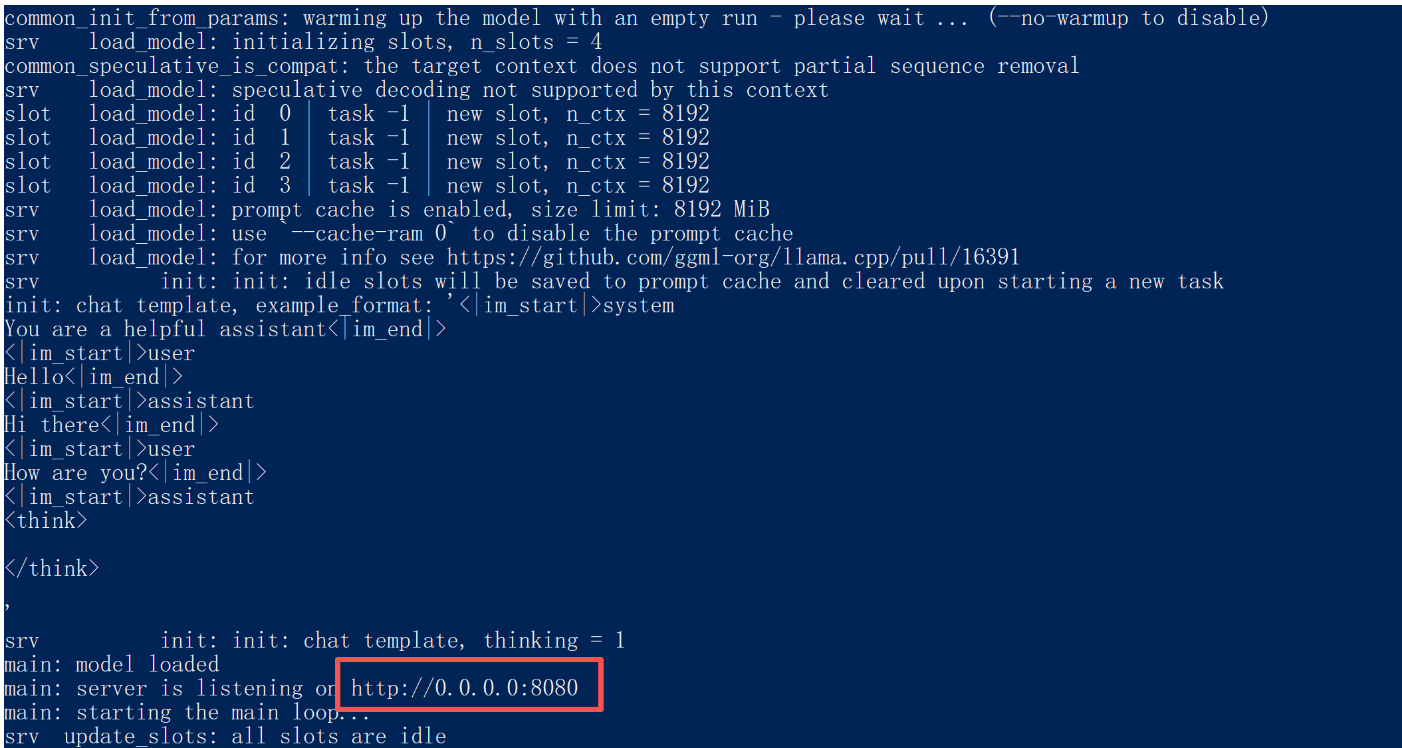
./llama-server \
-m /mnt/d/models/Qwen3.6-35B-A3B-UD-Q3_K_XL/Qwen3.6-35B-A3B-UD-Q3_K_XL.gguf \
-c 8192 \
-ngl 99 \
--host 0.0.0.0 \
--port 8080 \
--cache-type-k q8_0 \
--cache-type-v q8_0 \
--temp 0.7 \
--jinja \
--chat-template-file /mnt/d/models/qwen3_nonthinking.jinja

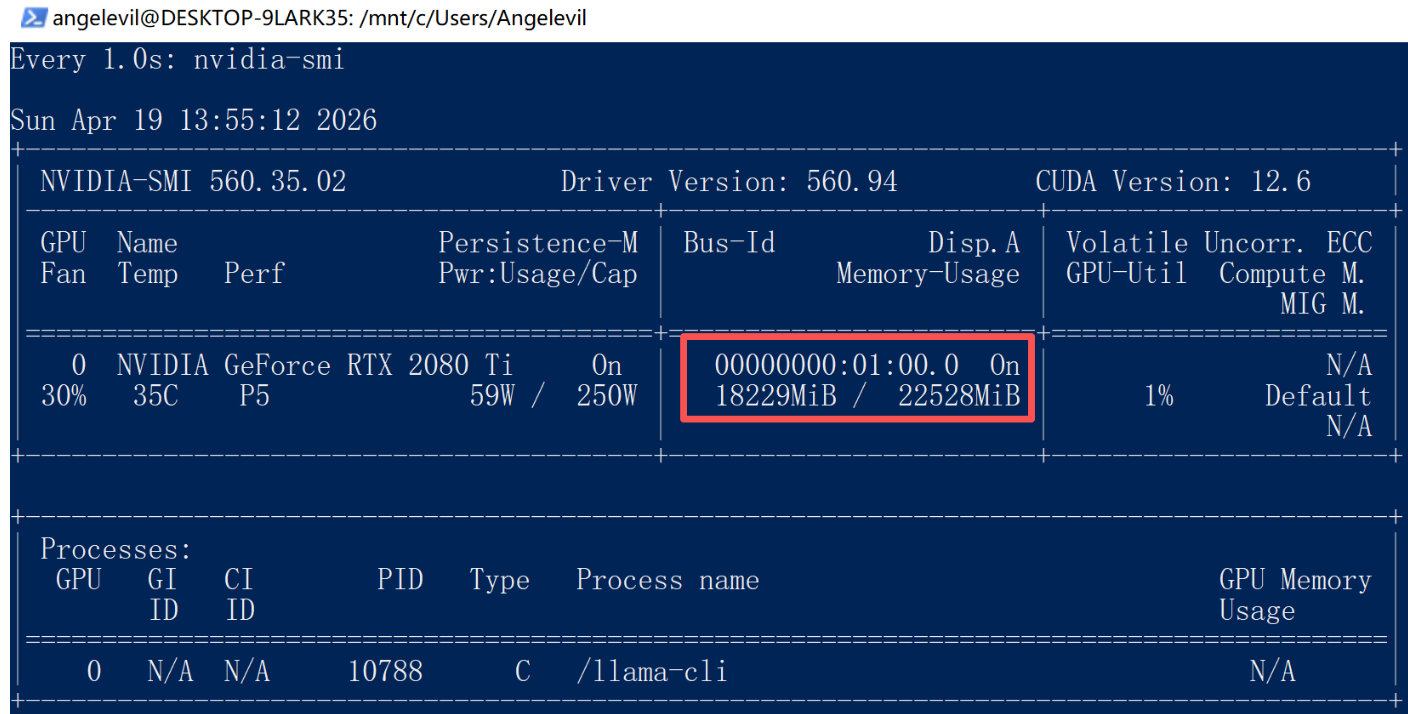
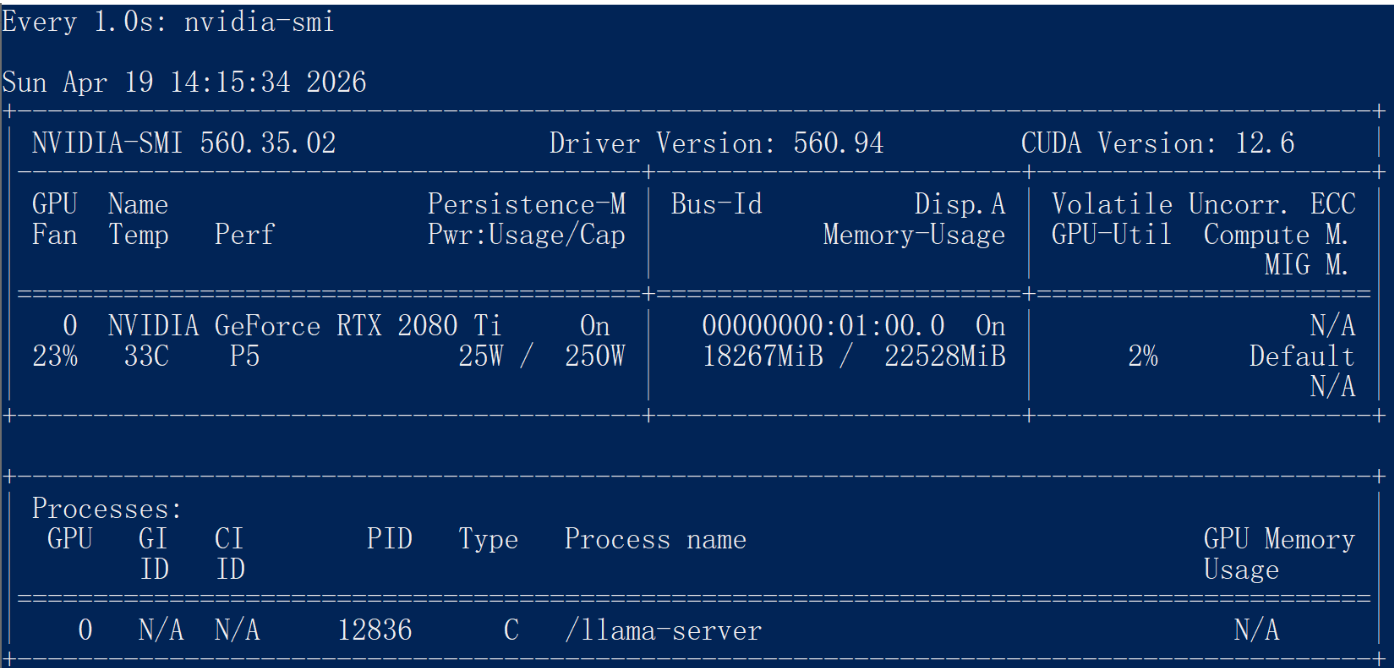
# 查看显存情况和CUDA 驱动版本
nvidia-smi

# 实时查看显存情况
watch -n 1 nvidia-smi

# 查看运行时 CUDA 版本 (如果安装了 CUDA toolkit)
nvcc --version

# 安装 cuda toolkit
sudo apt install nvidia-cuda-toolkit

5. 用测试脚本测试
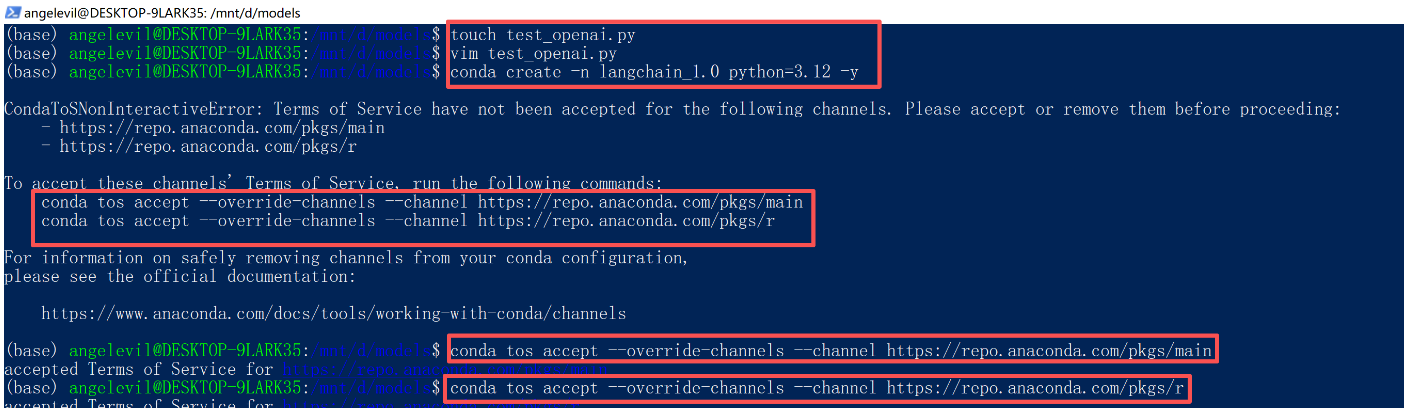
# 创建 conda python 虚拟环境
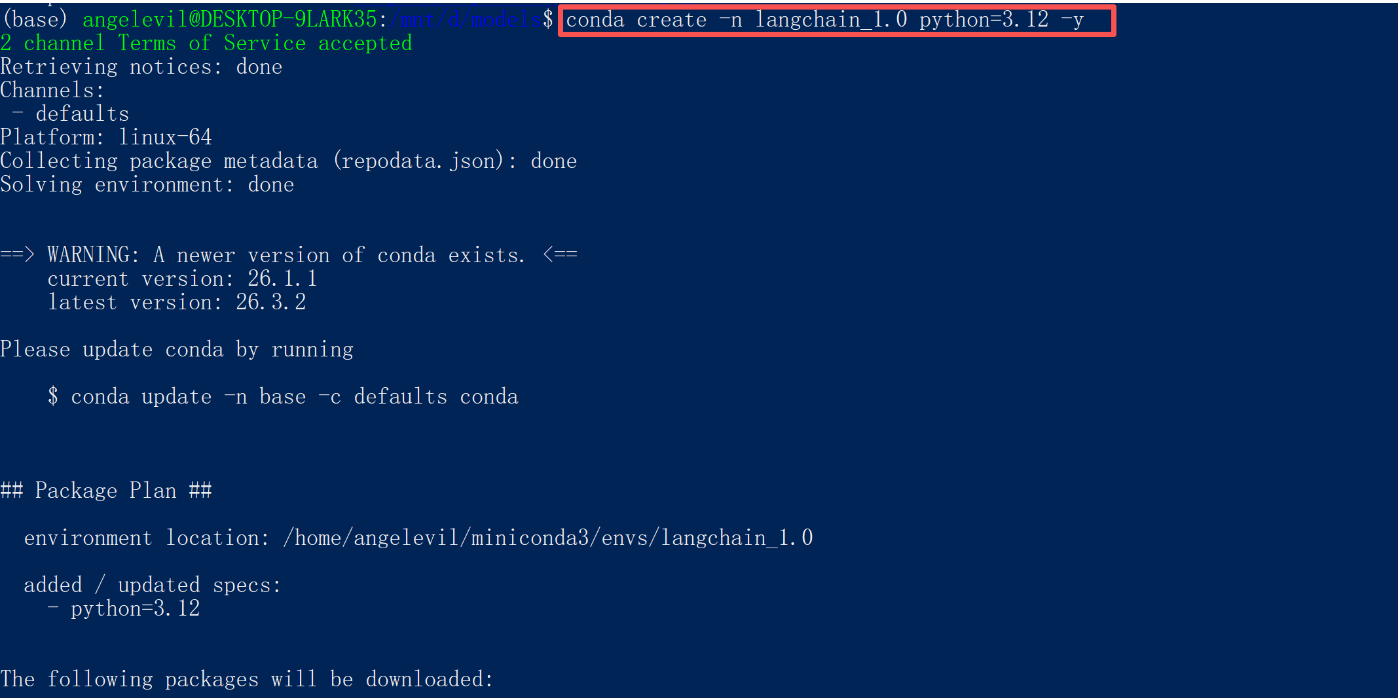
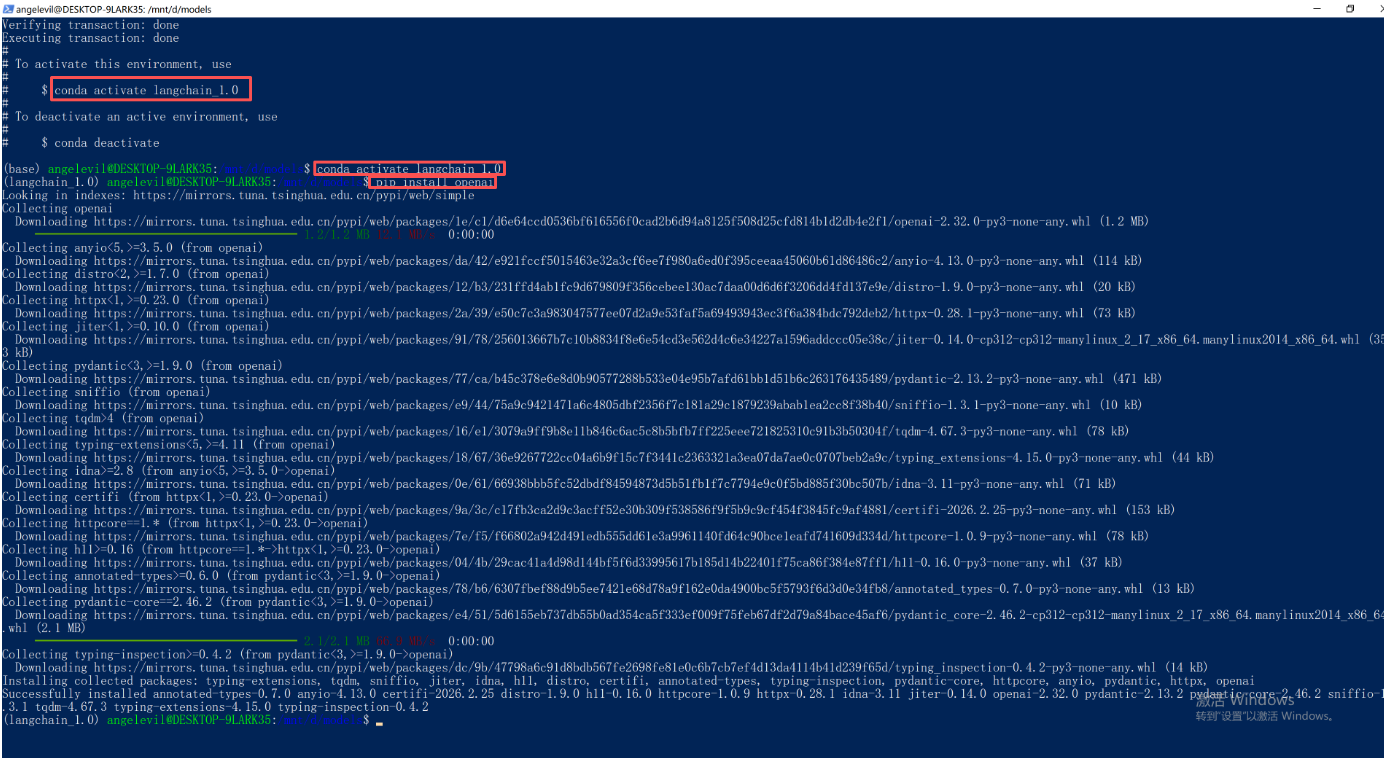
conda create -n langchain_1.0 python=3.12 -y
# 安装 openai
pip install openai
- 测试脚本
import os
import time
from openai import OpenAI
# from get_system_prompt import get_system_prompt
# 初始化 OpenAI 客户端,指向本地 llama-server
client = OpenAI(
base_url="http://localhost:8080/v1",
api_key="sk-no-key-required" # 本地服务不需要真实 API Key
)
# 获取系统提示词
# system_prompt = get_system_prompt()
system_prompt = """你是一个乐于助人的智能助手"""
# 创建对话历史存储
messages = [{"role": "system", "content": system_prompt}]
# Token 估算函数(简化版:中文约 1.5 字符/token,英文约 4 字符/token)
def estimate_tokens(text):
if not text:
return 0
# 简单估算:假设平均每个 token 约 2 个字符(中英文混合)
return int(len(text) / 2)
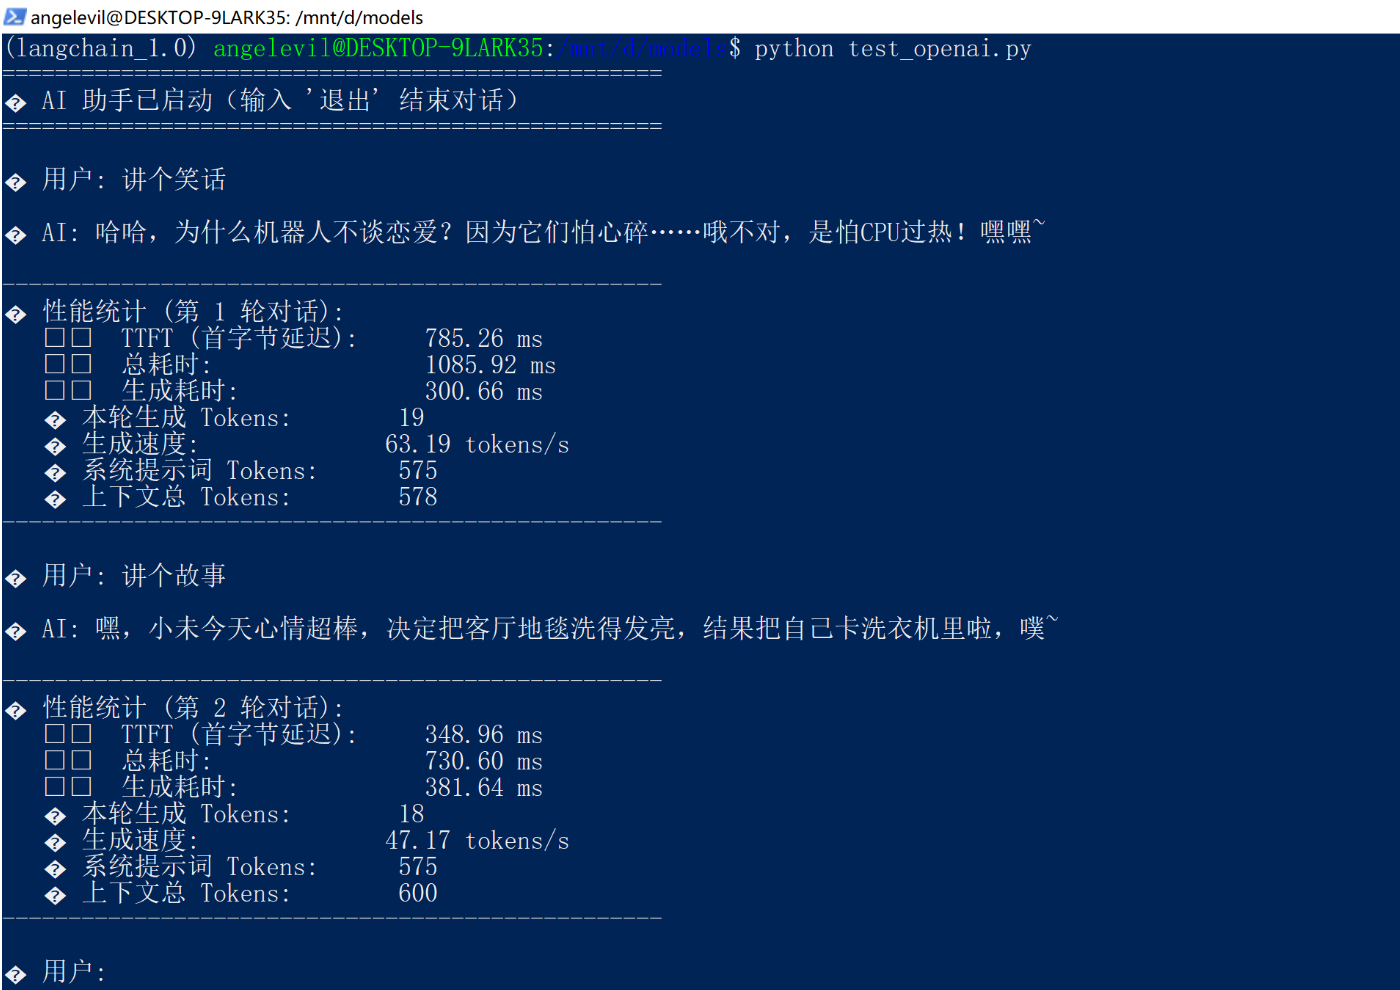
print("=" * 50)
print("🤖 AI 助手已启动(输入 '退出' 结束对话)")
print("=" * 50)
# 对话循环
turn_count = 0 # 对话轮数计数器
while True:
# 获取用户输入
user_input = input("\n👤 用户: ").strip()
# 检查退出条件
if user_input.lower() in ["退出", "exit", "quit", "q"]:
print("\n👋 感谢使用,再见!")
break
if not user_input:
continue
# 增加轮数
turn_count += 1
# 添加用户消息到历史
messages.append({"role": "user", "content": user_input})
print("\n🤖 AI: ", end="", flush=True)
try:
# 记录请求开始时间
start_time = time.perf_counter()
first_token_time = None
# 创建流式输出请求
stream = client.chat.completions.create(
model="qwen3-8b",
messages=messages,
stream=True,
temperature=0.7
)
# 流式接收并打印响应
full_response = ""
for chunk in stream:
if chunk.choices and chunk.choices[0].delta.content:
content = chunk.choices[0].delta.content
print(content, end="", flush=True)
full_response += content
# 记录首 token 时间
if first_token_time is None:
first_token_time = time.perf_counter()
# 记录结束时间
end_time = time.perf_counter()
print() # 换行
# 计算统计指标
ttft = (first_token_time - start_time) * 1000 if first_token_time else 0
total_time = (end_time - start_time) * 1000
generation_time = (end_time - first_token_time) * 1000 if first_token_time else 0
# 估算 token 数
current_turn_tokens = estimate_tokens(full_response)
system_prompt_tokens = estimate_tokens(system_prompt)
total_context_tokens = estimate_tokens("\n".join([m["content"] for m in messages]))
tokens_per_second = (current_turn_tokens / generation_time * 1000) if generation_time > 0 else 0
# 打印统计信息
print("\n" + "-" * 50)
print(f"📊 性能统计 (第 {turn_count} 轮对话):")
print(f" ⏱️ TTFT (首字节延迟): {ttft:.2f} ms")
print(f" ⏱️ 总耗时: {total_time:.2f} ms")
print(f" ⏱️ 生成耗时: {generation_time:.2f} ms")
print(f" 🔢 本轮生成 Tokens: {current_turn_tokens}")
print(f" 🚀 生成速度: {tokens_per_second:.2f} tokens/s")
print(f" 📜 系统提示词 Tokens: {system_prompt_tokens}")
print(f" 📚 上下文总 Tokens: {total_context_tokens}")
print("-" * 50)
# 添加 AI 回复到历史
messages.append({"role": "assistant", "content": full_response})
# 控制历史长度(保留 system + 最近 10 轮对话)
if len(messages) > 21:
messages = [messages[0]] + messages[-20:]
turn_count = 10 # 重置轮数显示(因为只保留最近10轮)
except Exception as e:
print(f"\n❌ 发生错误: {e}")
import traceback
traceback.print_exc()
continue
- 运行测试脚本
python test_openai.py
- 备注:./llama-server 启动服务,接口通过端口来指定模型,与传递的模型参数无关,可以通过不同端口启动多个./llama-server服务
- GPU 优化:运行 GPU 版本时,建议增加
--n-gpu-layers参数(如-ngl 99)来将更多计算层加载到显存中,从而显著提升速度。 - 性能监控:在 WSL 终端输入
nvidia-smi可以实时查看 GPU 的显存占用和使用率。
💡 常见问题
- 编译报错
nvcc not found:通常是 CUDA 环境变量未生效,重新运行export PATH=...命令或重启终端即可。 - 显存不足 (OOM):可以尝试减少
--n-gpu-layers的数量,或者选择更小的模型及更低的量化版本(如从 Q4 换成 Q2)。 - 中文乱码:可能是终端编码问题,运行
export LANG=zh_CN.UTF-8临时设置一下。
整个流程走下来,如果遇到具体的报错,欢迎随时告诉我。

欢迎加入DeepSeek 技术社区。在这里,你可以找到志同道合的朋友,共同探索AI技术的奥秘。
更多推荐
 15
15 0
0- 0


 已为社区贡献6条内容

所有评论(0)