Qwen3-VL-4B-Instruct 在本地部署调用
·
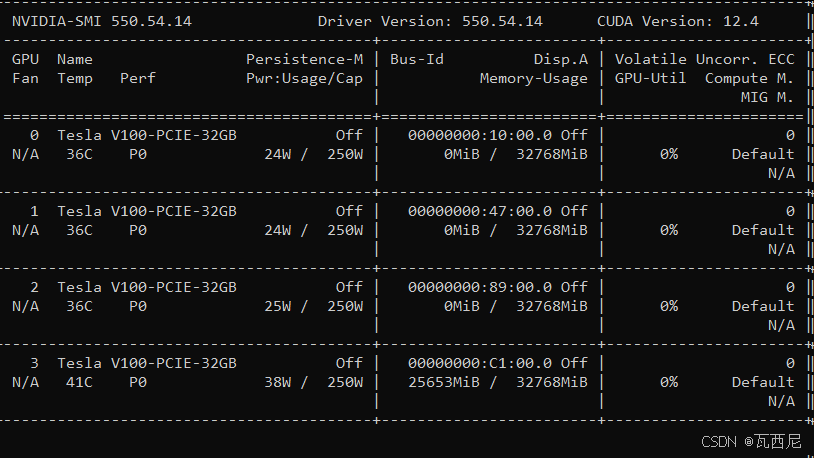
本机显卡环境
环境安装
首先 pip 换源加速下载并安装依赖包
pip config set global.index-url https://pypi.tuna.tsinghua.edu.cn/simple

pip install modelscope==1.20.0
pip install fastapi==0.115.4
pip install uvicorn==0.32.0
pip install transformers>=4.51.0
pip install accelerate==1.1.1
pip install torchvision==0.19.0
pip install av==13.1.0
pip install qwen-vl-utils
模型下载
使用 modelscope 中的 snapshot_download 函数下载模型,第一个参数为模型名称,参数 cache_dir 为模型的下载路径。
新建 model_download.py 文件输入以下代码,并运行 python model_download.py 执行下载。
# model_download.py
from modelscope import snapshot_download
model_dir = snapshot_download('Qwen/Qwen3-VL-4B-Instruct', cache_dir='/root/autodl-fs', revision='master')
注意:请记得修改 cache_dir 为你自己的模型下载路径。建议使用 /root/autodl-fs 目录,这是持久化存储目录,重启机器后数据不会丢失。Qwen3-VL-4B-Instruct模型实际大小约为9.2GB(包含所有配置文件和权重文件),下载时间根据网络速度而定。
代码准备
API服务端代码
创建API服务端文件 api_server_qwen3vl_simple.py,该文件包含了完整的FastAPI服务实现,支持文本和图像的多模态问答功能。
#!/usr/bin/env python3
# -*- coding: utf-8 -*-

import os
import torch
from transformers import AutoProcessor, Qwen3VLForConditionalGeneration
from qwen_vl_utils import process_vision_info
from fastapi import FastAPI
import uvicorn
from pydantic import BaseModel
from typing import List, Dict, Any, Optional

# 设置环境变量
os.environ["TOKENIZERS_PARALLELISM"] = "false"
os.environ["CUDA_VISIBLE_DEVICES"] = "0"
torch.set_num_threads(8)

# 创建FastAPI应用
app = FastAPI(title="Qwen3-VL-4B Simple API", version="1.0.0")

# 模型路径
model_name_or_path = '/root/autodl-fs/Qwen/Qwen3-VL-4B-Instruct'

# 初始化模型和处理器
model = Qwen3VLForConditionalGeneration.from_pretrained(
    model_name_or_path,
    torch_dtype=torch.bfloat16,
    device_map="auto",
    trust_remote_code=True
)

processor = AutoProcessor.from_pretrained(
    model_name_or_path,
    trust_remote_code=True
)

# 请求模型
class ChatRequest(BaseModel):
    messages: List[Dict[str, Any]]
    max_tokens: Optional[int] = 512
    temperature: Optional[float] = 0.7
    top_p: Optional[float] = 0.9

# 响应模型
class ChatResponse(BaseModel):
    response: str
    model: str = "Qwen3-VL-4B-Instruct"
    usage: Dict[str, int]

@app.get("/")
async def root():
    return {"message": "Qwen3-VL-4B-Instruct API Server is running!"}

@app.get("/health")
async def health_check():
    return {
        "status": "healthy",
        "model": "Qwen3-VL-4B-Instruct",
        "device": str(model.device),
        "torch_version": torch.__version__,
        "cuda_available": torch.cuda.is_available(),
        "gpu_memory": f"{torch.cuda.get_device_properties(0).total_memory / 1024**3:.1f}GB" if torch.cuda.is_available() else "N/A"
    }

@app.post("/v1/chat/completions", response_model=ChatResponse)
async def chat_completions(request: ChatRequest):
    try:
        # 处理消息
        messages = request.messages

        # 处理视觉信息
        text = processor.apply_chat_template(
            messages,
            tokenize=False,
            add_generation_prompt=True
        )

        image_inputs, video_inputs = process_vision_info(messages)

        # 准备输入
        inputs = processor(
            text=[text],
            images=image_inputs,
            videos=video_inputs,
            padding=True,
            return_tensors="pt",
        )
        inputs = inputs.to(model.device)

        # 生成响应
        with torch.no_grad():
            generated_ids = model.generate(
                **inputs,
                max_new_tokens=request.max_tokens,
                temperature=request.temperature,
                top_p=request.top_p,
                do_sample=True,
                pad_token_id=processor.tokenizer.eos_token_id
            )

        # 解码响应
        generated_ids_trimmed = [
            out_ids[len(in_ids):] for in_ids, out_ids in zip(inputs.input_ids, generated_ids)
        ]

        response_text = processor.batch_decode(
            generated_ids_trimmed,
            skip_special_tokens=True,
            clean_up_tokenization_spaces=False
        )[0]

        # 计算token使用量
        input_tokens = inputs.input_ids.shape[1]
        output_tokens = len(generated_ids_trimmed[0])

        return ChatResponse(
            response=response_text,
            usage={
                "prompt_tokens": input_tokens,
                "completion_tokens": output_tokens,
                "total_tokens": input_tokens + output_tokens
            }
        )

    except Exception as e:
        return ChatResponse(
            response=f"Error: {str(e)}",
            usage={"prompt_tokens": 0, "completion_tokens": 0, "total_tokens": 0}
        )

if __name__ == "__main__":
    uvicorn.run(
        app,
        host="0.0.0.0",
        port=8000,
        log_level="info"
    )
重要提示:根据实际情况修改 model_name_or_path 变量中的模型路径。
启动API服务
在终端中运行以下命令启动API服务:
python api_server_qwen3vl_simple.py
启动成功后,你将看到类似以下的输出:
INFO:     Started server process [12345]
INFO:     Waiting for application startup.
INFO:     Application startup complete.
INFO:     Uvicorn running on http://0.0.0.0:8000 (Press CTRL+C to quit)
测试客户端代码
创建测试脚本 test_simple_api.py,用于验证图像问答API服务的功能。
#!/usr/bin/env python3
# -*- coding: utf-8 -*-

import requests
import json

# API服务地址
API_BASE_URL = "http://localhost:8000"

def test_health_check():
    """测试健康检查接口"""
    print("=== 测试健康检查接口 ===")
    try:
        response = requests.get(f"{API_BASE_URL}/health")
        if response.status_code == 200:
            result = response.json()
            print("✅ 健康检查通过")
            print(f"模型: {result.get('model')}")
            print(f"设备: {result.get('device')}")
            print(f"GPU内存: {result.get('gpu_memory')}")
            return True
        else:
            print(f"❌ 健康检查失败: {response.status_code}")
            return False
    except Exception as e:
        print(f"❌ 健康检查异常: {e}")
        return False

def test_text_chat():
    """测试纯文本对话"""
    print("\n=== 测试纯文本对话 ===")

    messages = [
        {
            "role": "user",
            "content": "你好,请介绍一下你自己。"
        }
    ]

    payload = {
        "messages": messages,
        "max_tokens": 256,
        "temperature": 0.7
    }

    try:
        response = requests.post(
            f"{API_BASE_URL}/v1/chat/completions",
            json=payload,
            headers={"Content-Type": "application/json"}
        )

        if response.status_code == 200:
            result = response.json()
            print("✅ 文本对话测试成功")
            print(f"回复: {result['response']}")
            print(f"Token使用: {result['usage']}")
            return True
        else:
            print(f"❌ 文本对话测试失败: {response.status_code}")
            print(f"错误信息: {response.text}")
            return False

    except Exception as e:
        print(f"❌ 文本对话测试异常: {e}")
        return False

def test_image_chat():
    """测试图像对话"""
    print("\n=== 测试图像对话 ===")

    # 使用在线图片进行测试
    image_url = "https://qianwen-res.oss-cn-beijing.aliyuncs.com/Qwen-VL/assets/demo.jpeg"

    try:
        messages = [
            {
                "role": "user",
                "content": [
                    {
                        "type": "image",
                        "image": image_url
                    },
                    {
                        "type": "text",
                        "text": "请描述这张图片的内容。"
                    }
                ]
            }
        ]

        payload = {
            "messages": messages,
            "max_tokens": 512,
            "temperature": 0.7
        }

        response = requests.post(
            f"{API_BASE_URL}/v1/chat/completions",
            json=payload,
            headers={"Content-Type": "application/json"}
        )

        if response.status_code == 200:
            result = response.json()
            print("✅ 图像对话测试成功")
            print(f"回复: {result['response']}")
            print(f"Token使用: {result['usage']}")
            return True
        else:
            print(f"❌ 图像对话测试失败: {response.status_code}")
            print(f"错误信息: {response.text}")
            return False

    except Exception as e:
        print(f"❌ 图像对话测试异常: {e}")
        return False

def main():
    """主测试函数"""
    print("开始测试 Qwen3-VL-4B-Instruct API 服务")
    print("=" * 50)

    # 执行测试
    health_ok = test_health_check()
    text_ok = test_text_chat()
    image_ok = test_image_chat()

    # 总结测试结果
    print("\n" + "=" * 50)
    print("测试结果总结:")
    print(f"健康检查: {'✅ 通过' if health_ok else '❌ 失败'}")
    print(f"文本对话: {'✅ 通过' if text_ok else '❌ 失败'}")
    print(f"图像对话: {'✅ 通过' if image_ok else '❌ 失败'}")

    if health_ok and text_ok:
        print("\n🎉 API服务运行正常!")
    else:
        print("\n⚠️  部分功能存在问题,请检查服务状态")

if __name__ == "__main__":
    main()
重要提示:该测试脚本使用在线图片链接进行测试,无需本地图片文件,更加便于使用。测试图片来源:https://qianwen-res.oss-cn-beijing.aliyuncs.com/Qwen-VL/assets/demo.jpeg
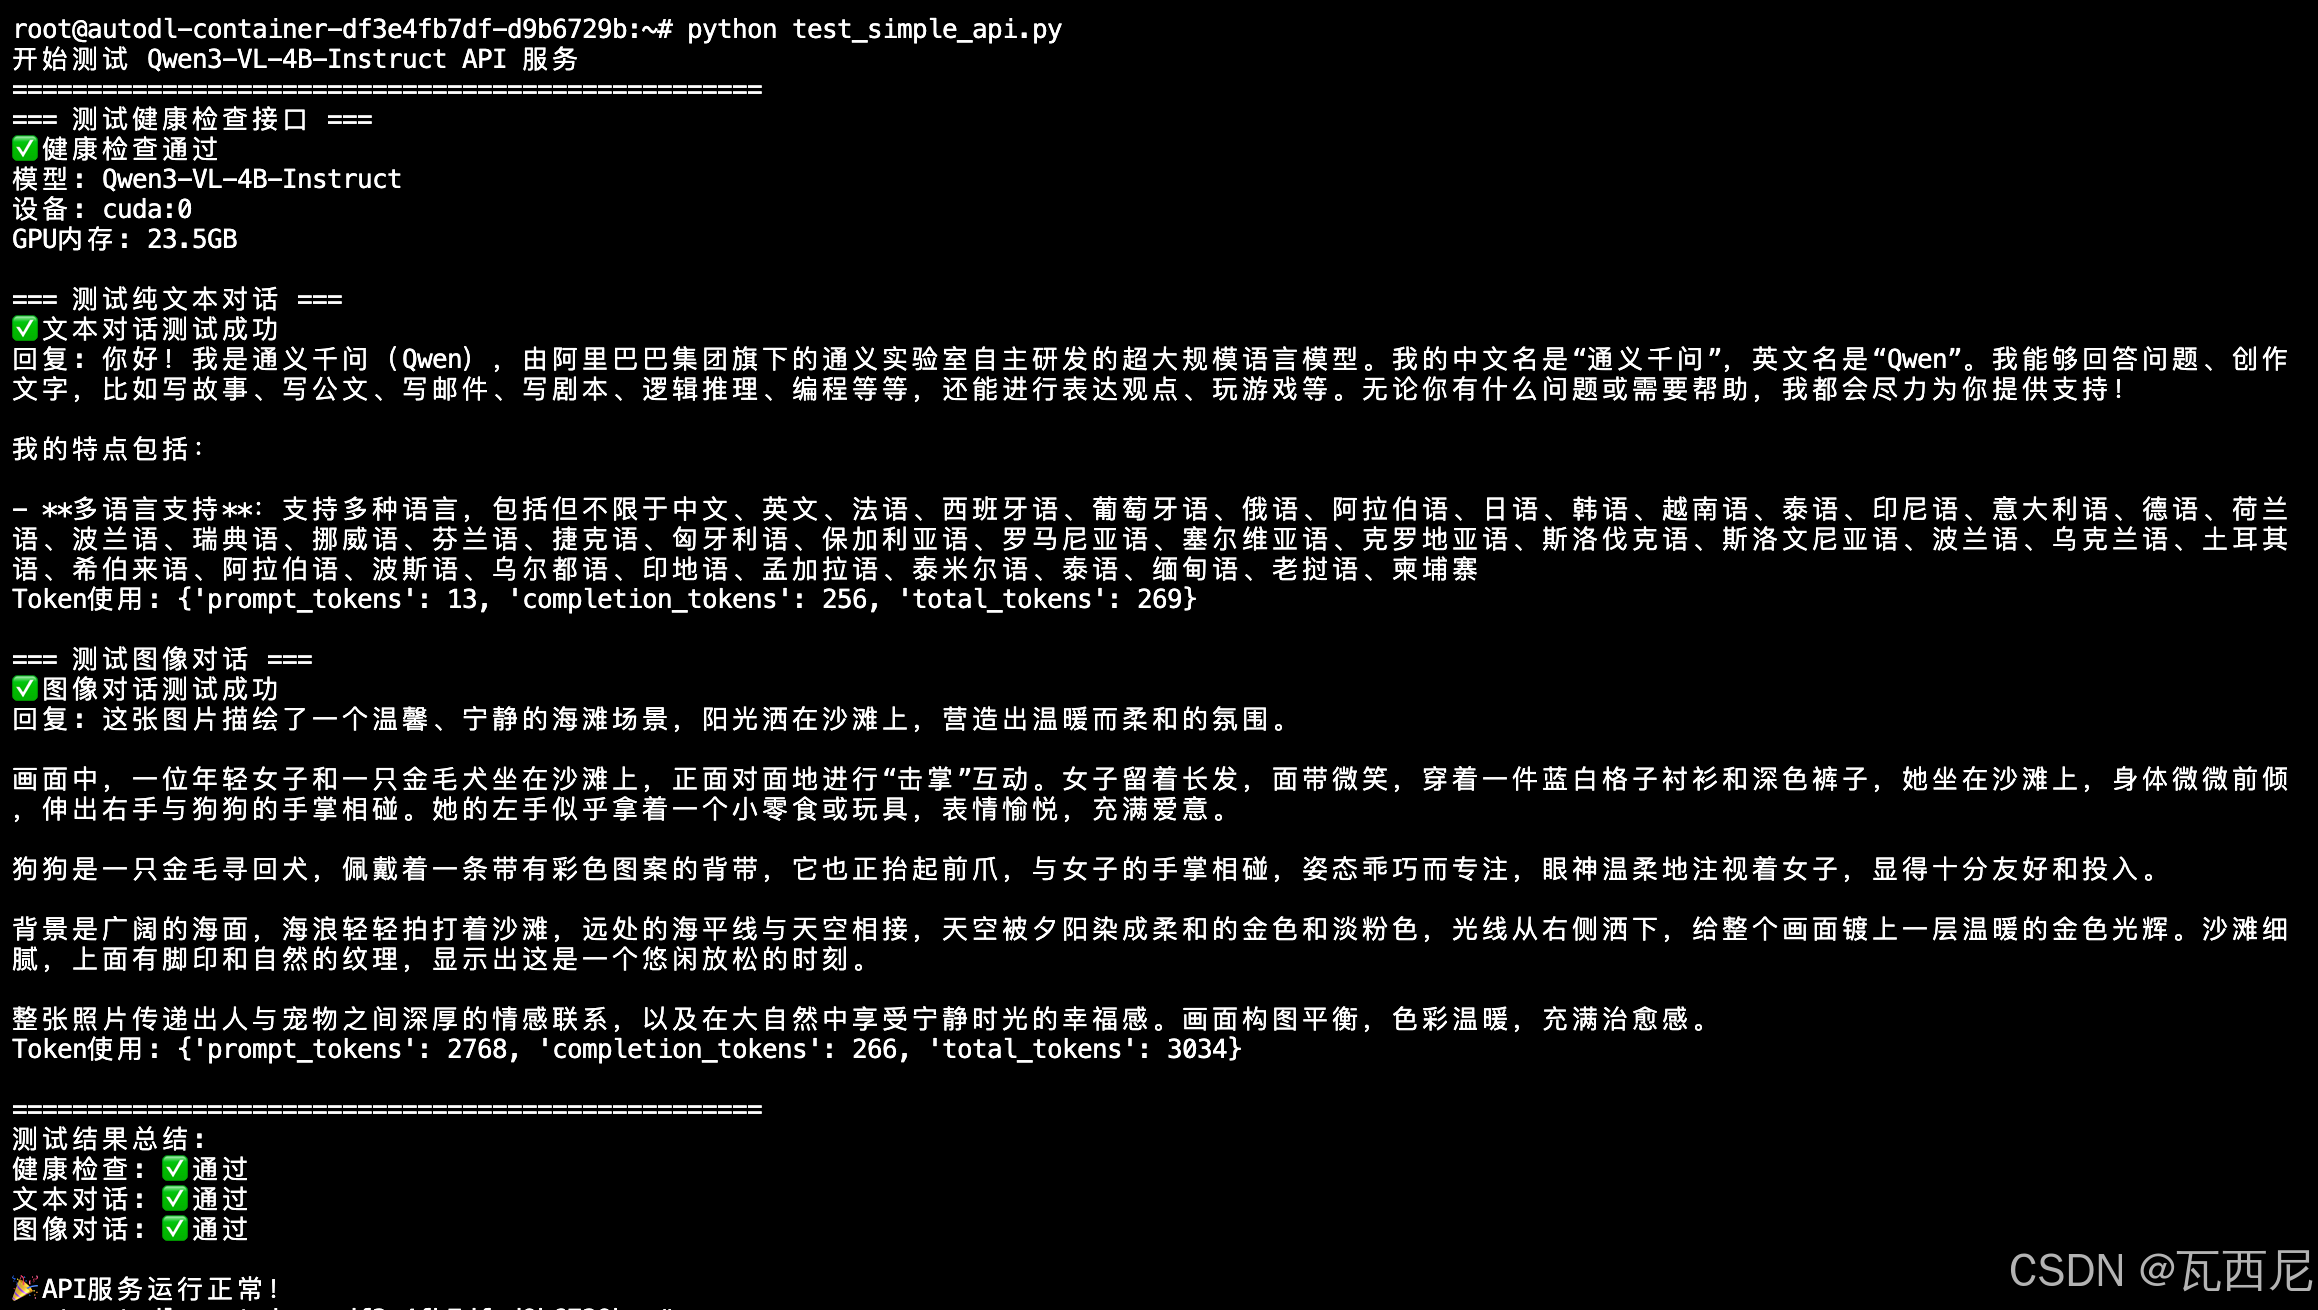
执行后得到的返回结果如下所示:
常见问题
Q1: 模型加载失败
问题: 出现 “CUDA out of memory” 错误 解决方案:
- 确保RTX 4090有足够的显存空间
- 尝试使用量化配置减少显存占用
- 检查是否有其他程序占用显存
Q2: 推理速度慢
问题: 模型推理响应时间过长 解决方案:
- 减少 max_tokens 参数值
- 使用量化模型
- 确保CUDA和PyTorch版本兼容
参考

欢迎加入DeepSeek 技术社区。在这里,你可以找到志同道合的朋友,共同探索AI技术的奥秘。
更多推荐

 13
13 0
0- 0


 已为社区贡献4条内容

所有评论(0)