ELK平台搭建+filebeat收集nginx日志_配置filebeat实现nginx日志收集以及grok过滤
进入安装目录/usr/local/kibana/修改config下的kibana.yml。两台实验虚拟机搭载centos6.8,ELK服务器是4G内存,Web服务器是1G内存。修改配置文件内容/usr/local/filebeat/filebeat.yml。启动成功浏览器访问http://192.168.10.129:5601/在web服务器上安装filebeat用于收集日志,和传输日志数据。浏览
kibana:https://artifacts.elastic.co/downloads/kibana/kibana-5.4.1-linux-x86_64.tar.gz
filebeat:https://artifacts.elastic.co/downloads/beats/filebeat/filebeat-5.4.1-linux-x86_64.tar.gz
0.环境规划
两台实验虚拟机搭载centos6.8,ELK服务器是4G内存,Web服务器是1G内存。
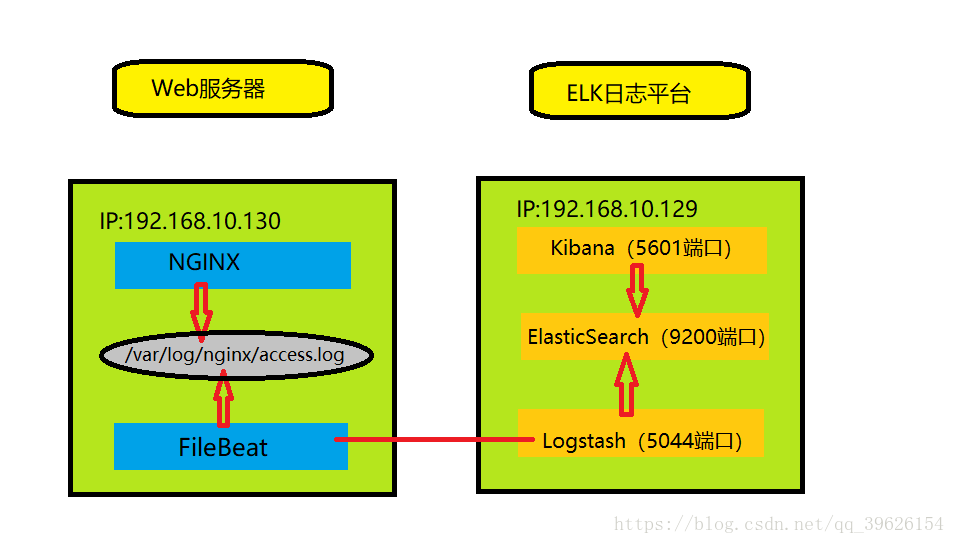
- 业务请求到达nginx-server机器上的Nginx;
- Nginx响应请求,并在access.log文件中增加访问记录;
- FileBeat搜集新增的日志,通过LogStash的5044端口上传日志;
- LogStash将日志信息通过本机的9200端口传入到ElasticSerach;
- 搜索日志的用户通过浏览器访问Kibana,服务器端口是5601;
- Kibana通过9200端口访问ElasticSerach;
一、安装elasticsearch
可以点击跳转参考本人的
《elk日志平台搭建——elasticsearch6.3.2安装配置》
这里就不再赘述了。
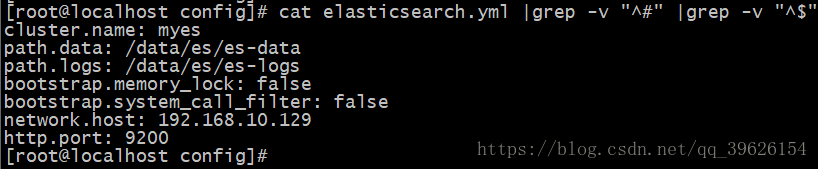
elasticsearch.yml配置如下:
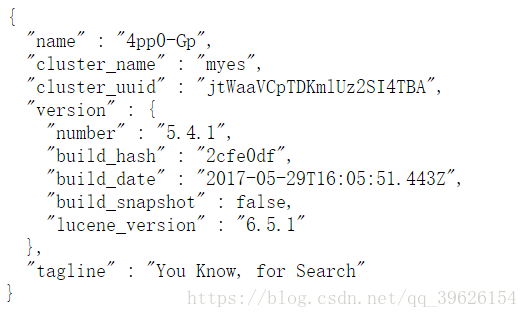
elasticsearch成功之后不妨再安装elasticsearch-head(因为不搞集群可忽略,推荐参考)
二、安装logstash
解压安装包,并将目录移至安装目录
[root@localhost opt]# tar zxf logstash-5.4.1.tar.gz
[root@localhost opt]# ls
elasticsearch-5.4.1.tar.gz kibana-5.4.1-linux-x86_64.tar.gz logstash-5.4.1 logstash-5.4.1.tar.gz
[root@localhost opt]# cp -r logstash-5.4.1 /usr/local/logstash
在/usr/local/logstash 目录下创建一个nginx_logs.conf文件(配置参考本帖:Logstash收集nginx日志并grok进行文本过滤):
# 监听5044端口作为输入
input {
    beats {
        port => "5044"
    }
}
# 数据过滤
filter {
    grok {
        match => { "message" => "%{COMBINEDAPACHELOG}" }
    }
    geoip {
        source => "clientip"
    }
}
# 输出配置为本机的9200端口,这是ElasticSerach服务的监听端口
output {
    elasticsearch {
        hosts => ["192.168.10.129:9200"]
    }
}
启动logstash
[root@localhost logstash]# nohup bin/logstash -f nginx_logs.conf &
三、安装kibana
同样解压安装包,并将目录移至安装目录
进入安装目录/usr/local/kibana/修改config下的kibana.yml
修改内容为

执行启动命令:nohup bin/kibana &
查看启动日志:tail -f nohup.out
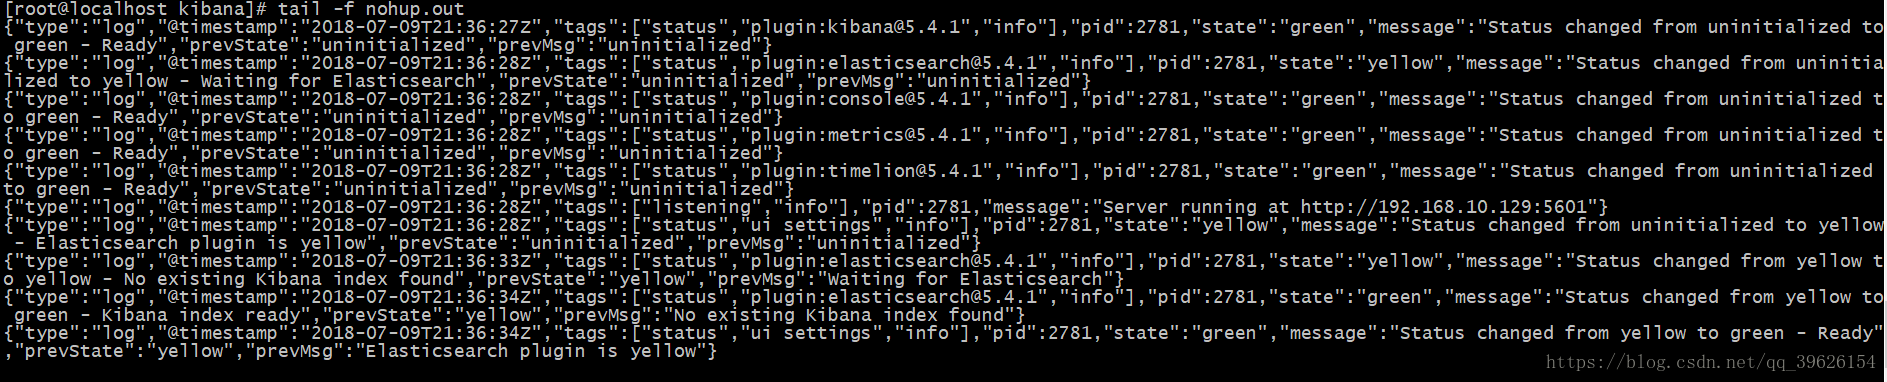
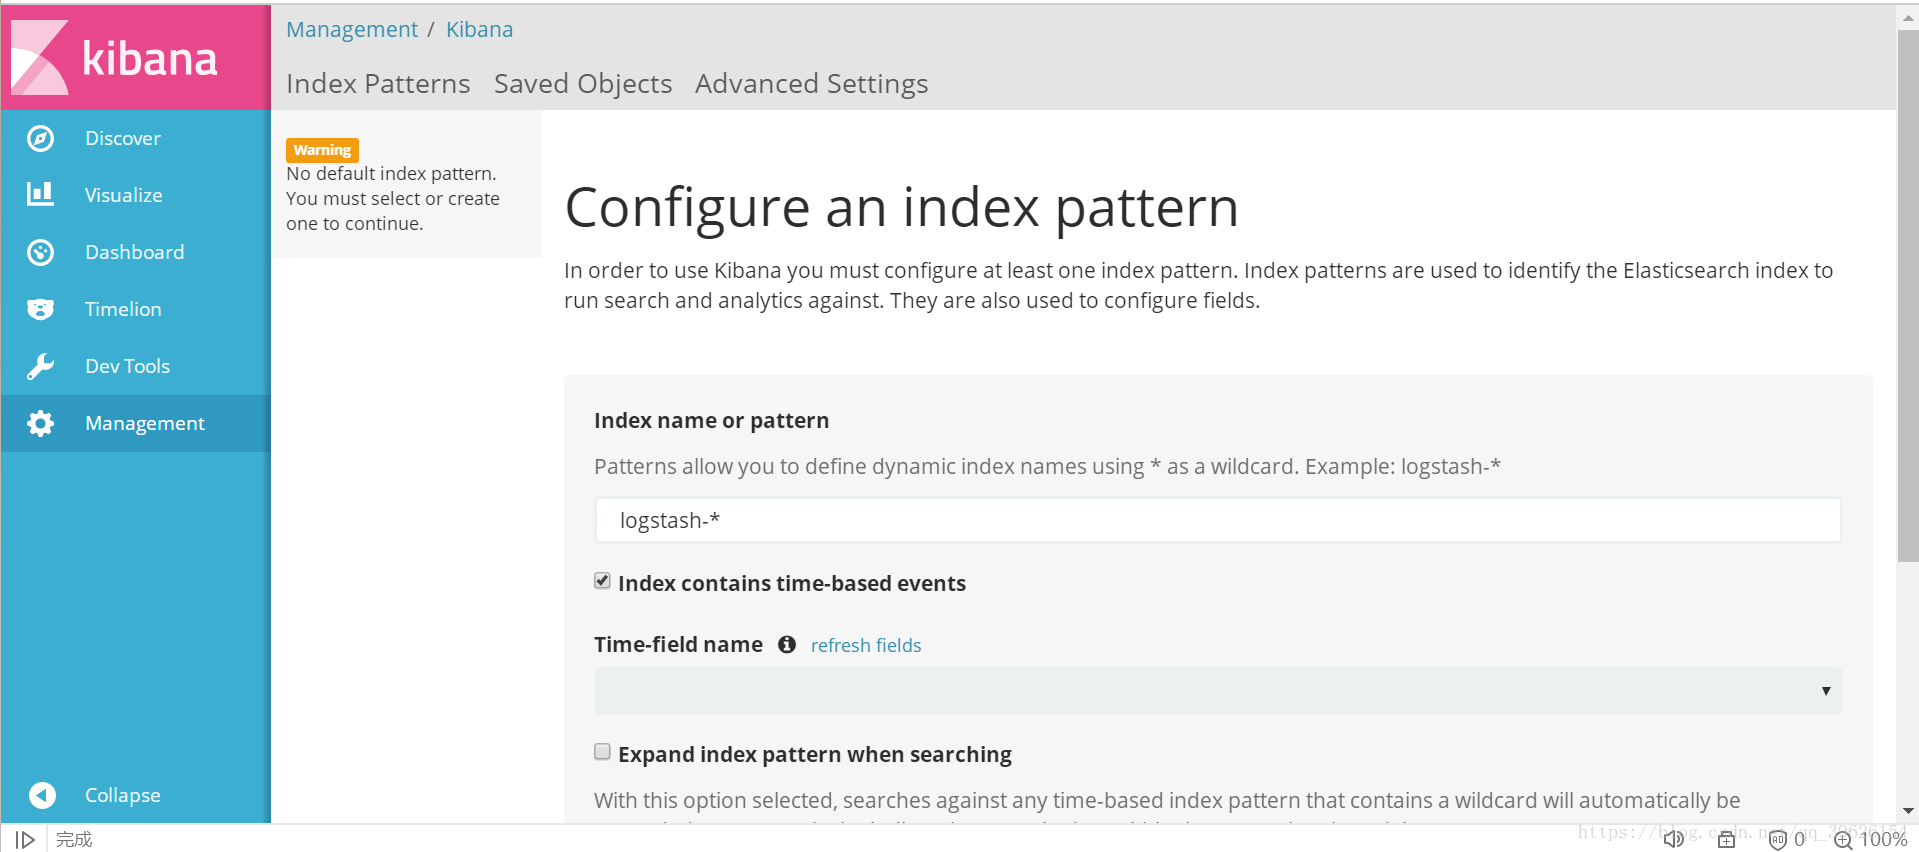
启动成功浏览器访问http://192.168.10.129:5601/
四、安装nginx服务
在web服务器上安装nginx
我这里直接用下载的rpm包安装
[root@centos6 opt]# rpm -ivh nginx-1.12.2-1.el6.ngx.x86_64.rpm
启动nginx服务
[root@centos6 nginx]# service nginx start
正在启动 nginx: [确定]
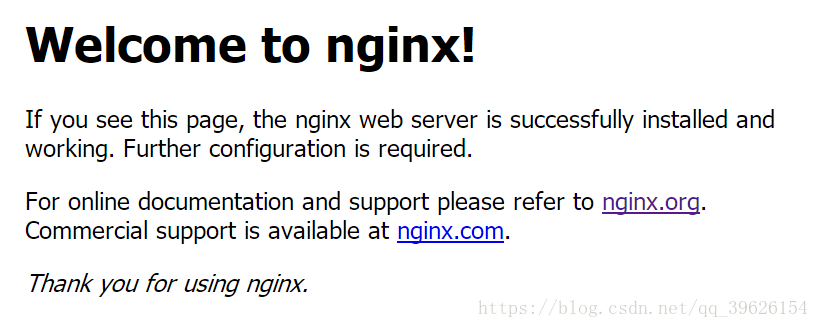
浏览器访问http://192.168.10.130/
查看nginx日志输出
[root@centos6 nginx]# tail -f /var/log/nginx/access.log

五、安装filebeat
在web服务器上安装filebeat用于收集日志,和传输日志数据
[root@centos6 opt]# tar zxf filebeat-5.4.1-linux-x86_64.tar.gz
[root@centos6 opt]# ls
filebeat-5.4.1-linux-x86_64 filebeat-5.4.1-linux-x86_64.tar.gz nginx-1.12.2-1.el6.ngx.x86_64.rpm
[root@centos6 opt]# mv filebeat-5.4.1-linux-x86_64 /usr/local/filebeat
修改配置文件内容/usr/local/filebeat/filebeat.yml
修改字段

改为(路径即为nginx日志所在的文件路径):

修改字段

改为(注释掉):

修改字段

改为(elk服务器logstash地址):

欢迎加入DeepSeek 技术社区。在这里,你可以找到志同道合的朋友,共同探索AI技术的奥秘。
更多推荐



 18
18 0
0- 0


 已为社区贡献1条内容

所有评论(0)