Rocky8 升级 Python 3.9.20 并部署 Airflow 2.10.5
绿色版有 Python包但是未配置环境变量,此处直接安装最新版本的 Pythonclear启用 SCL 仓库安装 Python3.9编辑查看新建一个 MYSQL 数据库,并将其配置为 AIRFLOW 元数据库注意 MYSQL 字符集和排序规则 utf8mb4utf8mb4_unicode_ci写入如下内容1.3 安装 Airflow表登录:http://192.168.1.40:8800/airf
·
Rocky8 升级 Python 3.9.20 并部署 Airflow 2.10.5
1.系统环境配置
# 系统版本查看
cat /etc/redhat-release

1.1Python安装
绿色版有 Python包但是未配置环境变量,此处直接安装最新版本的 Python
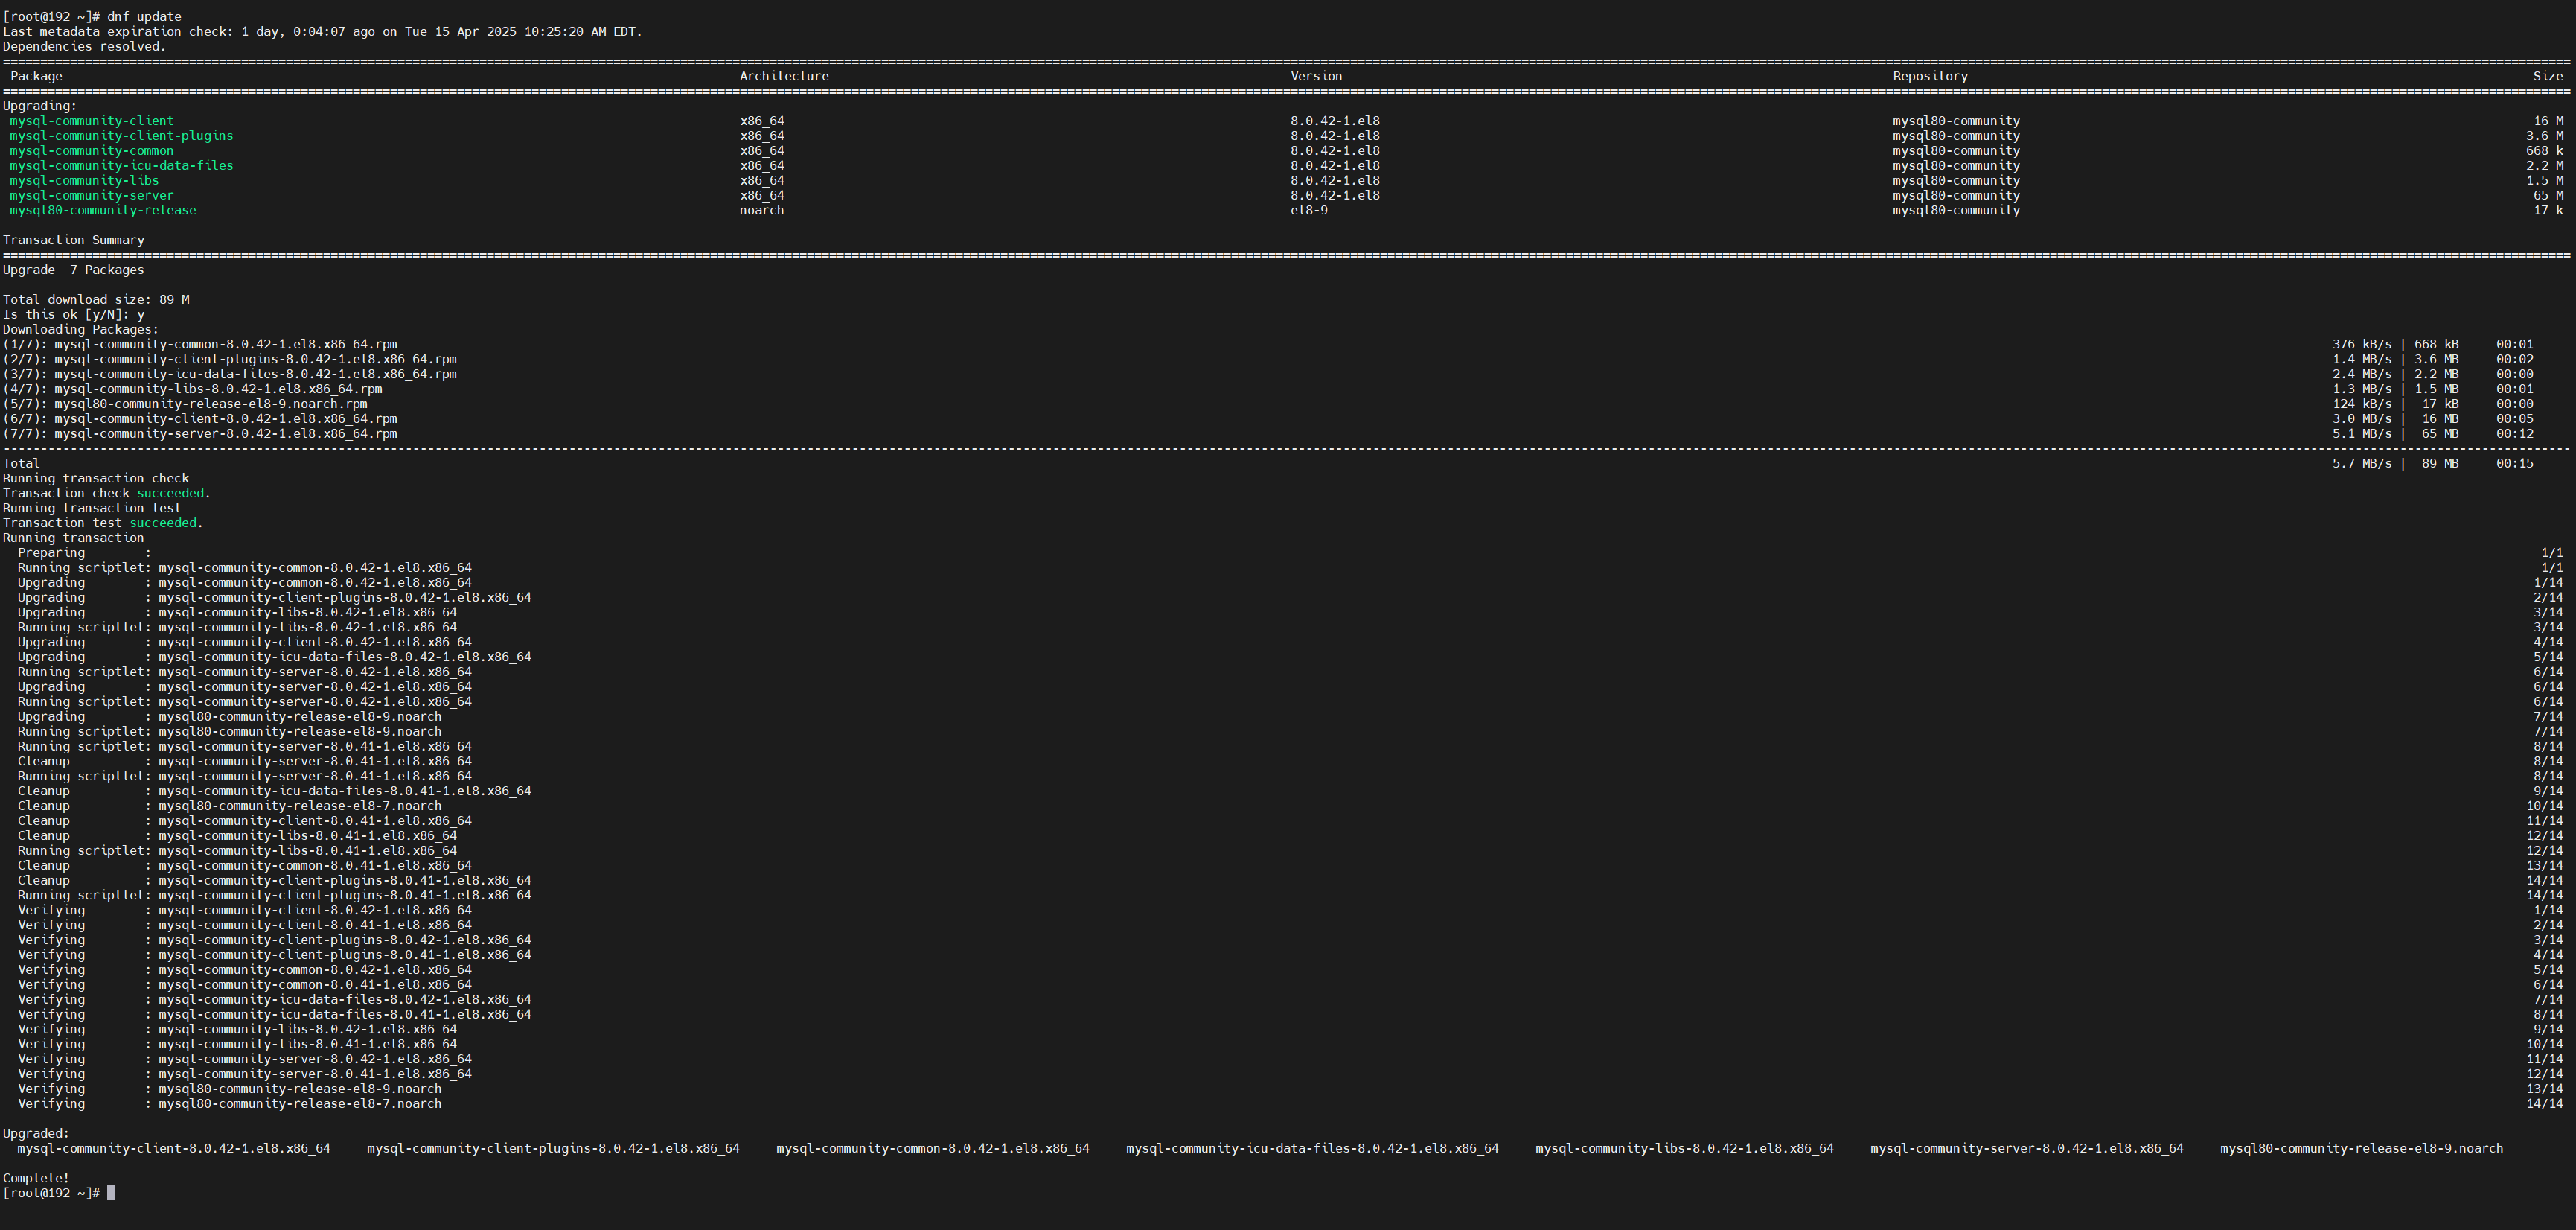
## 1.更新系统源
dnf update
## 2.启用 SCL 仓库
dnf install -y dnf-plugins-core
dnf install -y https://dl.fedoraproject.org/pub/epel/epel-release-latest-8.noarch.rpm
dnf install -y https://rpms.remirepo.net/enterprise/remi-release-8.rpm
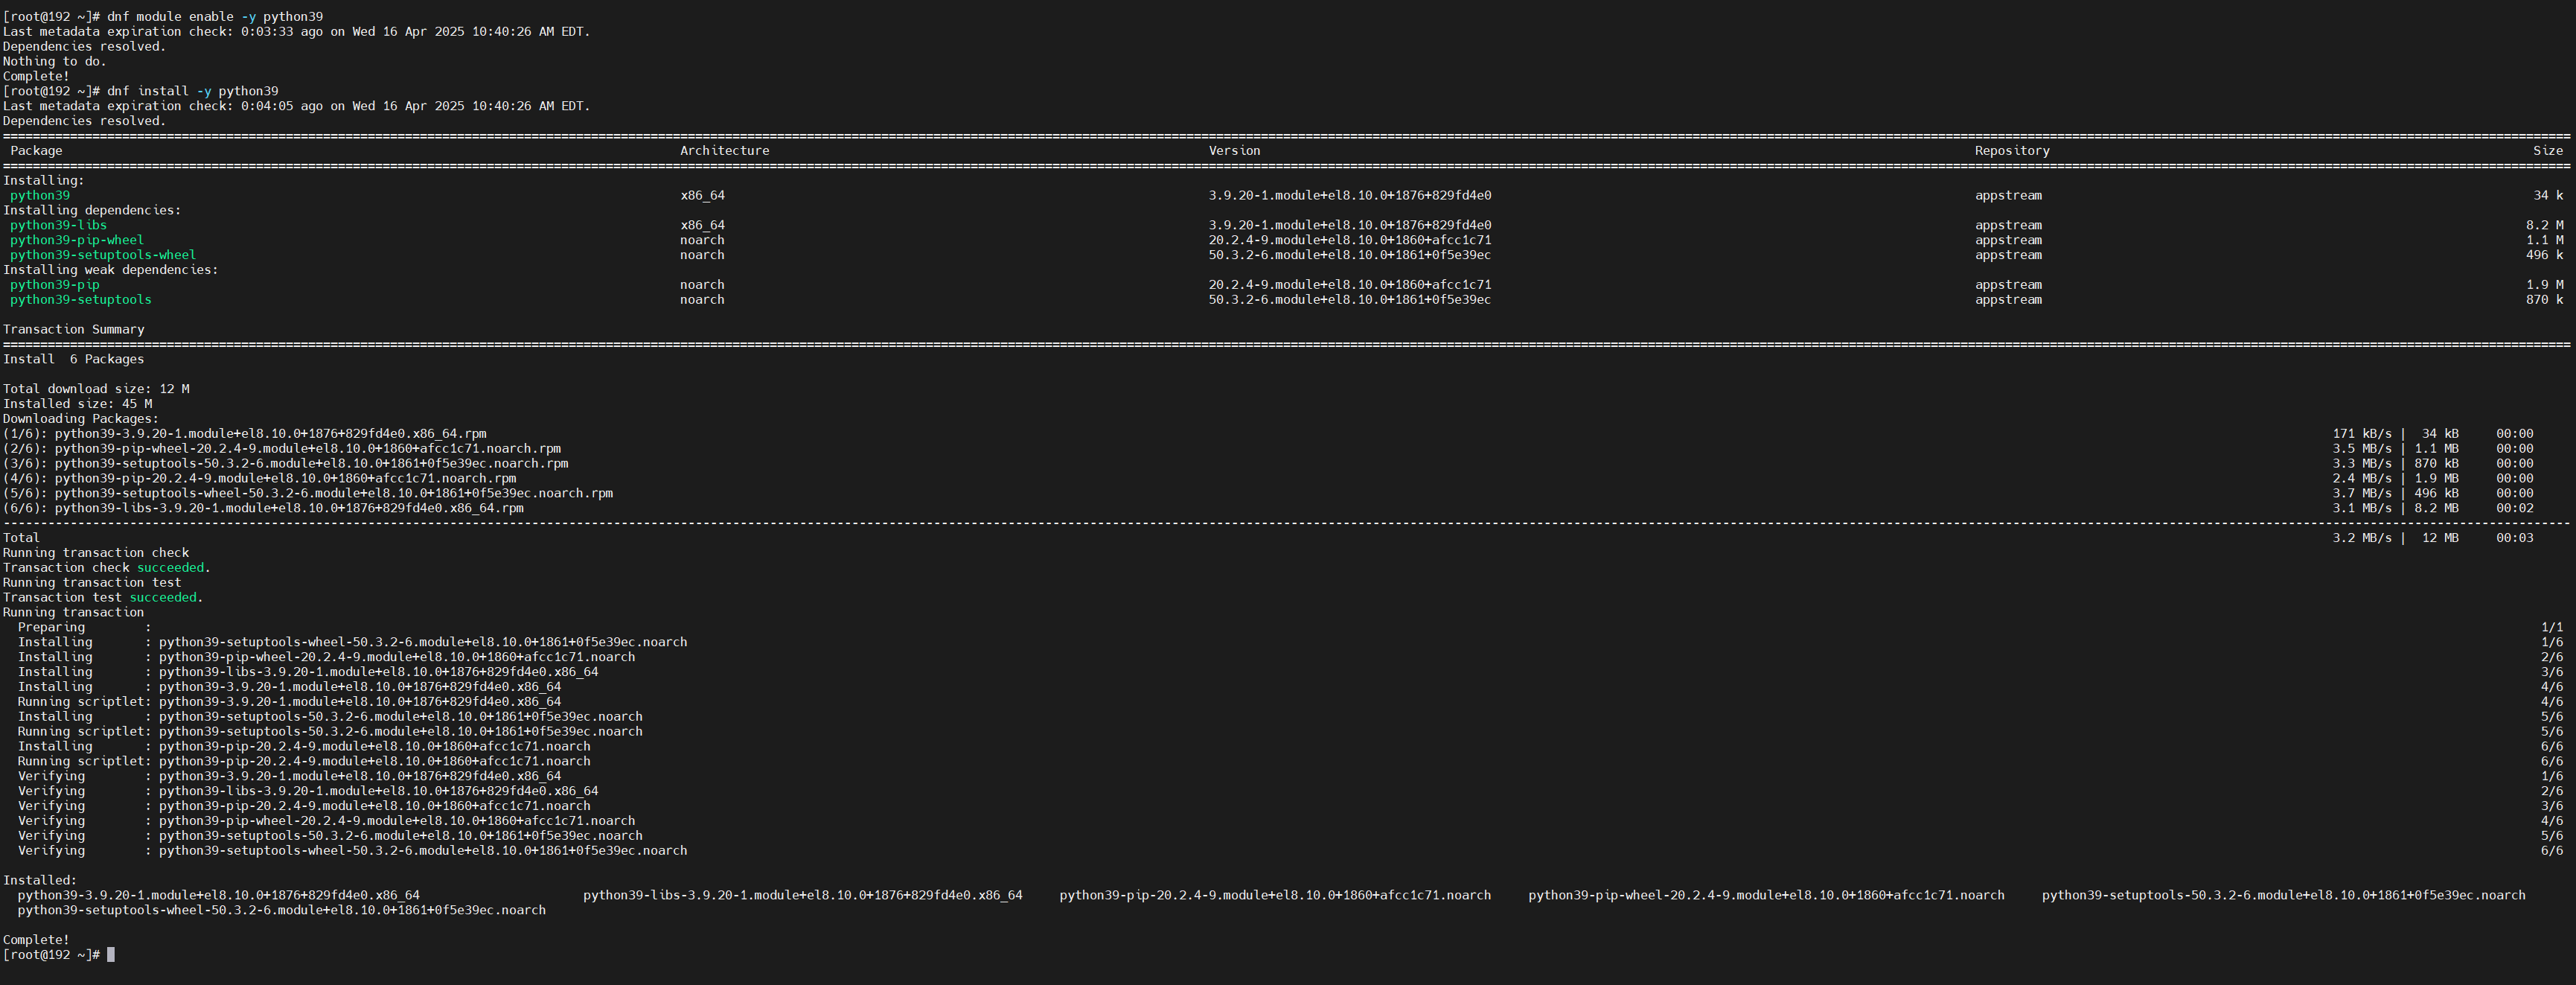
## 3.安装 Python3.9
dnf module enable -y python39
dnf install -y python39
clear启用 SCL 仓库

安装 Python3.9
## 1.升级 PIP
pip3 install --upgrade pip -i https://pypi.tuna.tsinghua.edu.cn/simple
## 2.查看 Python 版本
python3 -V
## 3.查看 PIP 版本
pip3 -V

1.2 Airflow 配置
1.2.1 基础配置
## 1.创建目录
mkdir -p /usr/local/ariflow
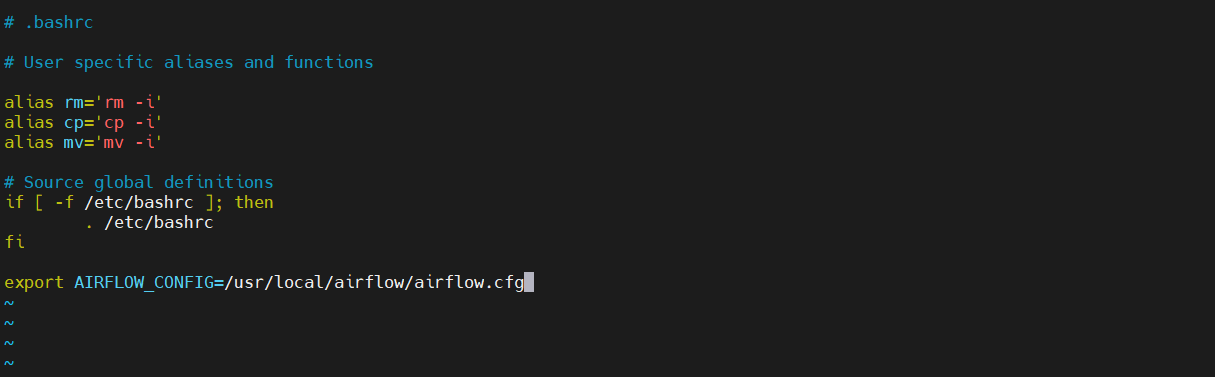
## 2.编辑
vim ~/.bashrc
## 3.写入以下内容,通过环境变量指定配置文件路径
export AIRFLOW_CONFIG=/usr/local/airflow/airflow.cfg
## 4.更新
source ~/.bashrc
## 5.查看值
echo $AIRFLOW_CONFIG
编辑
查看

1.2.2 新建数据库
新建一个 MYSQL 数据库,并将其配置为 AIRFLOW 元数据库
注意 MYSQL 字符集和排序规则 utf8mb4 utf8mb4_unicode_ci

1.2.3 配置文件 airflow.cfg
## 1.新建配置文件
vim /usr/local/airflow/airflow.cfg
写入如下内容
[core]
executor = LocalExecutor
dags_folder = /usr/local/airflow/dags
parallelism = 32

[logging]
base_log_folder = /usr/local/airflow/logs

[database]
sql_alchemy_conn = mysql+pymysql://admin:Ab_123456@127.0.0.1:3306/airflow

[webserver]
web_server_port = 8800
base_url = http://localhost:8800/airflow

[scheduler]
min_file_process_interval = 60
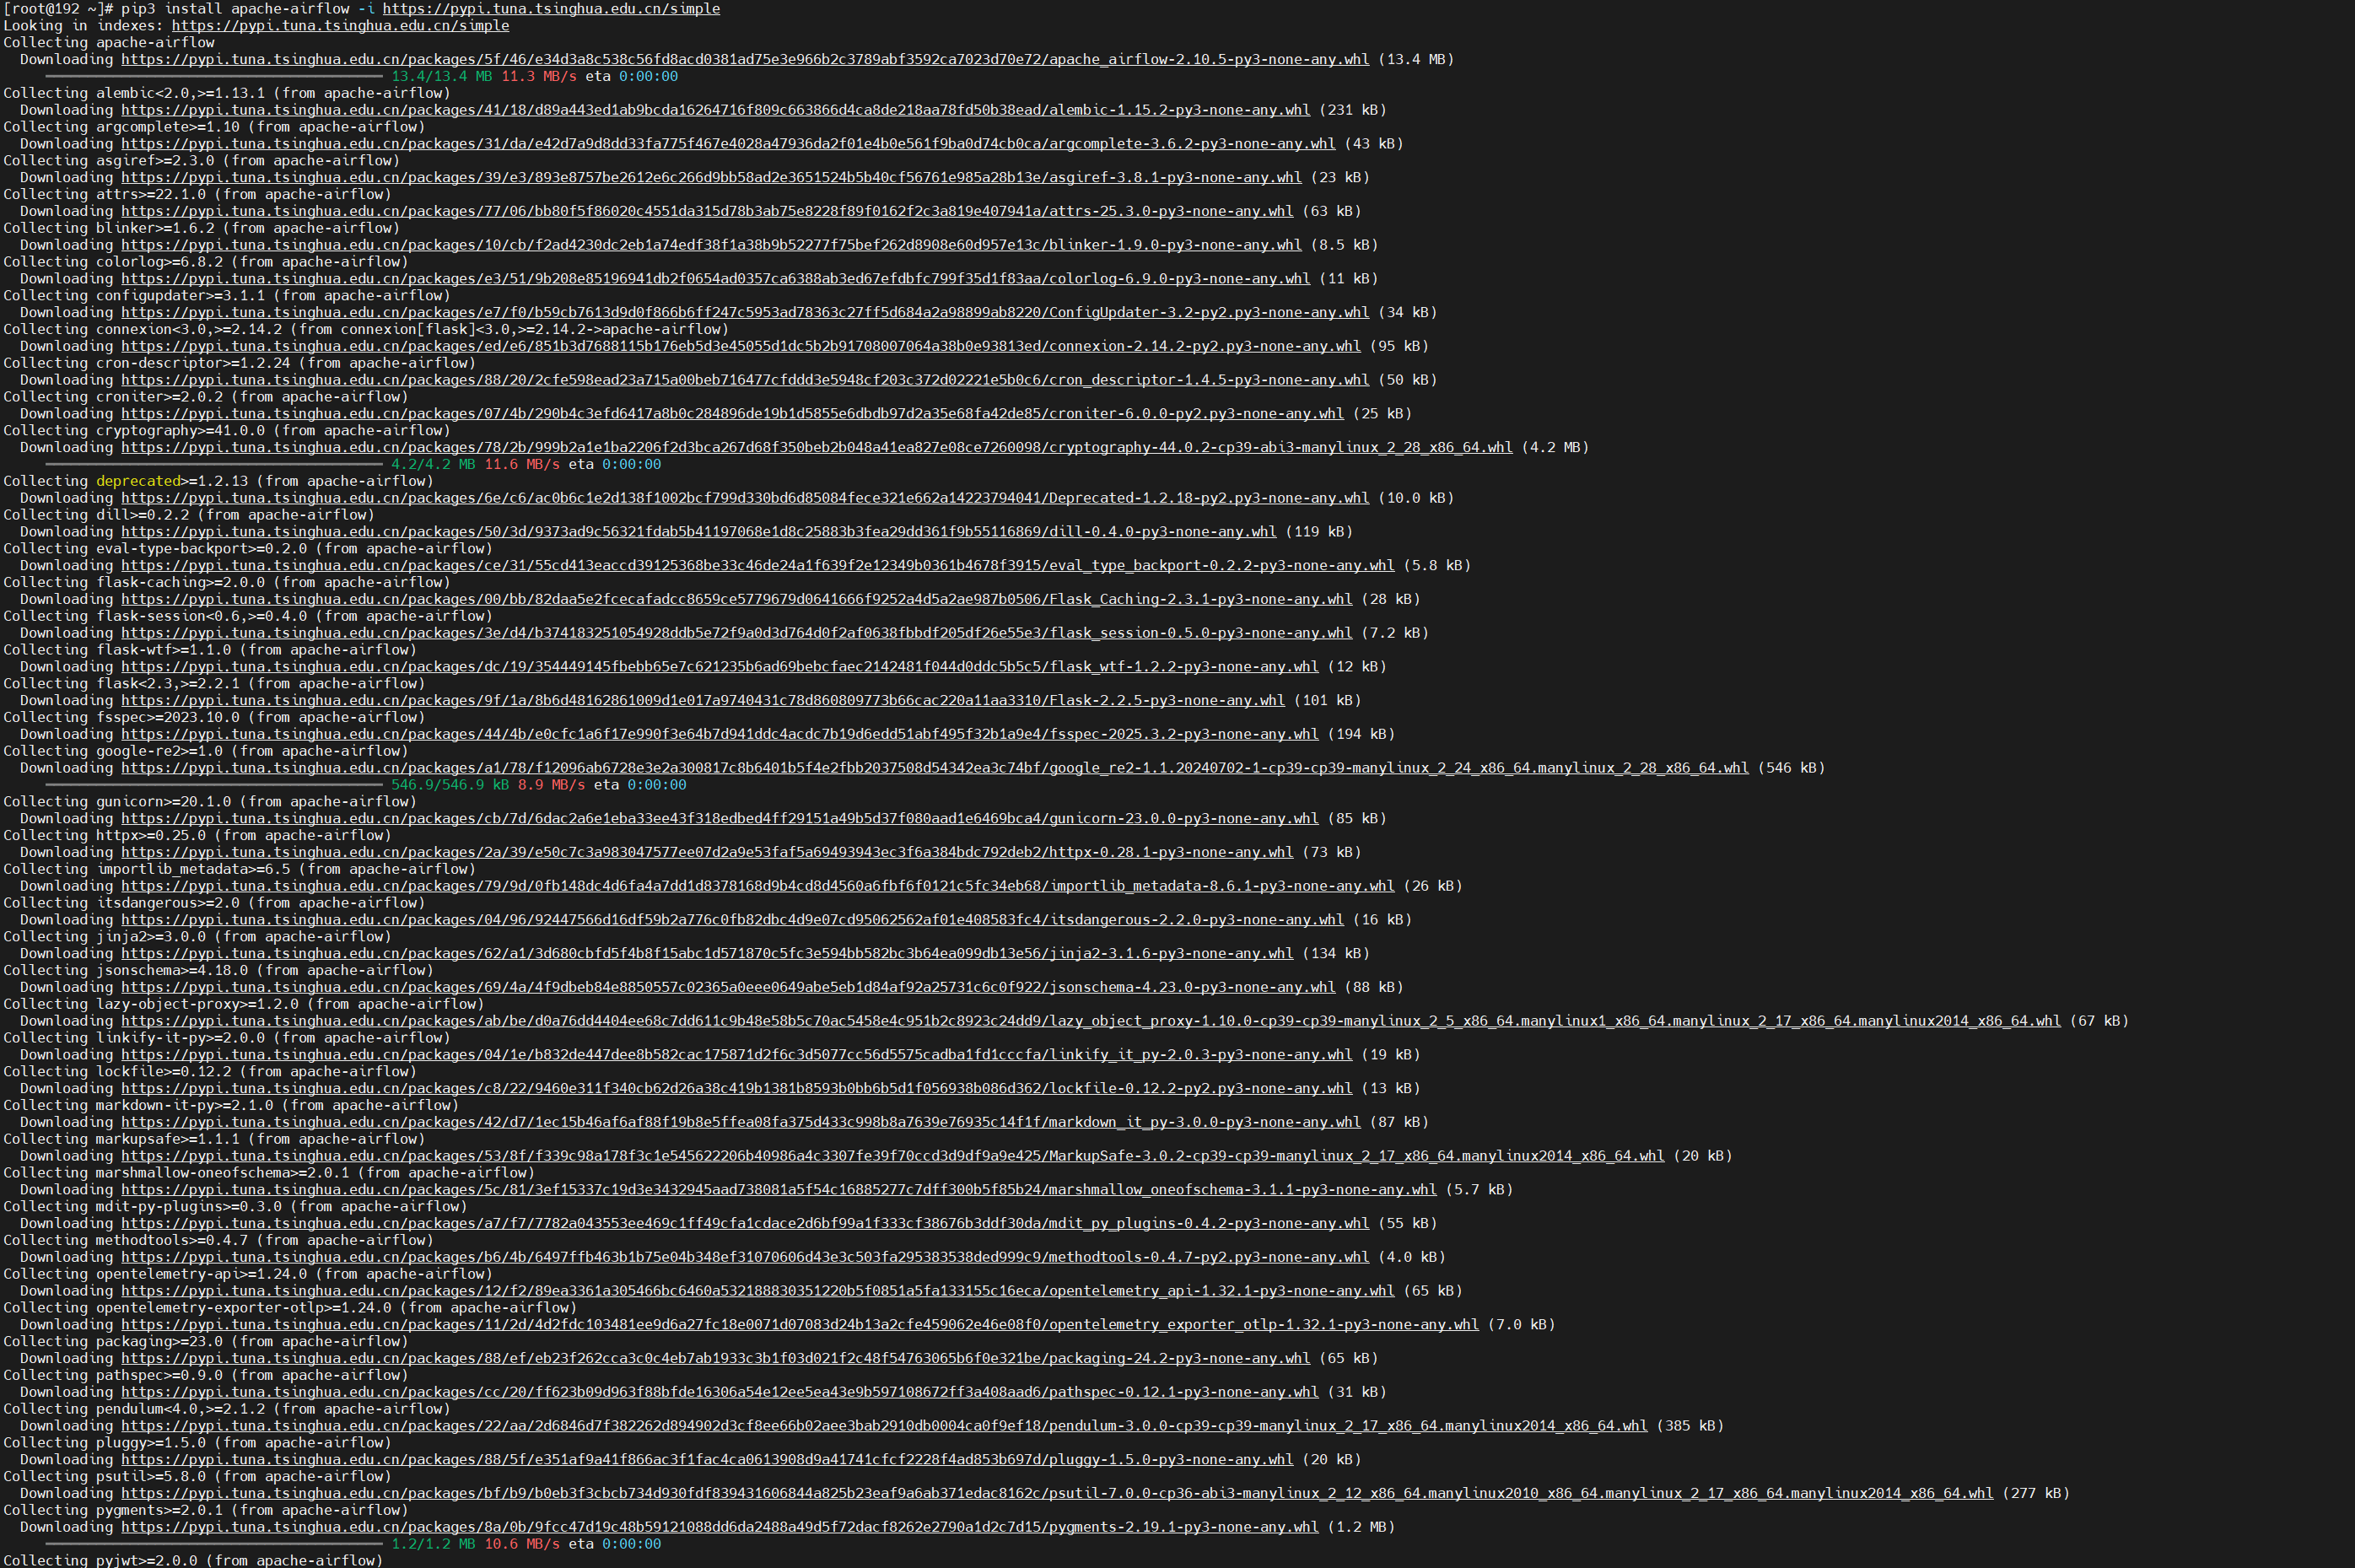
1.3 安装 Airflow
## 1.安装
pip3 install apache-airflow -i https://pypi.tuna.tsinghua.edu.cn/simple
## 2.安装 MySQL 的 Python 驱动
pip3 install pymysql -i https://pypi.tuna.tsinghua.edu.cn/simple
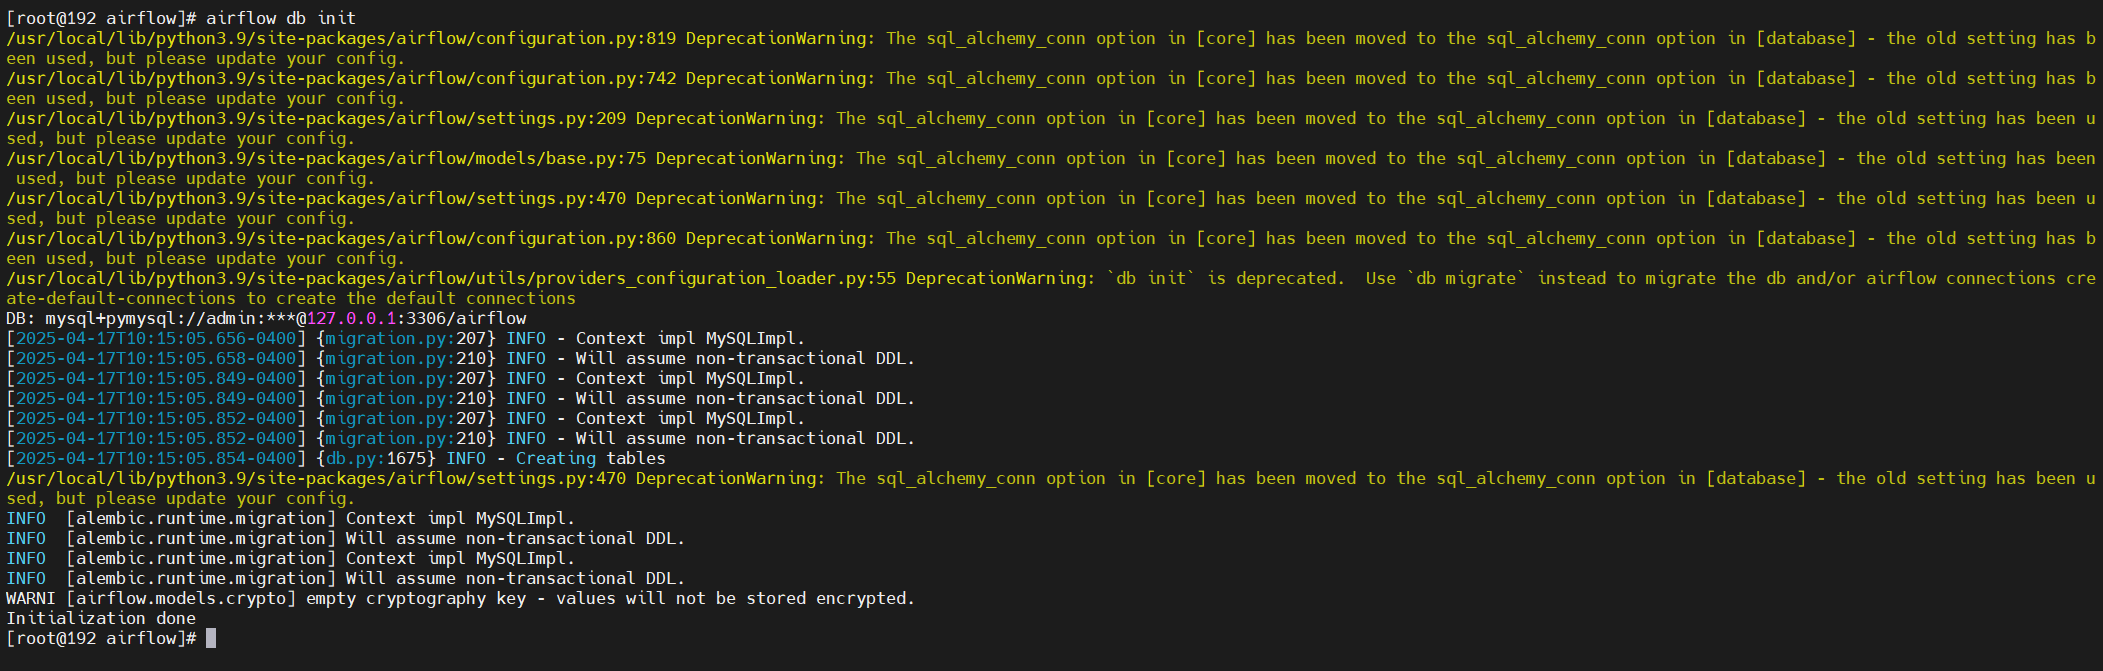
## 1.初始化数据库
airflow db init
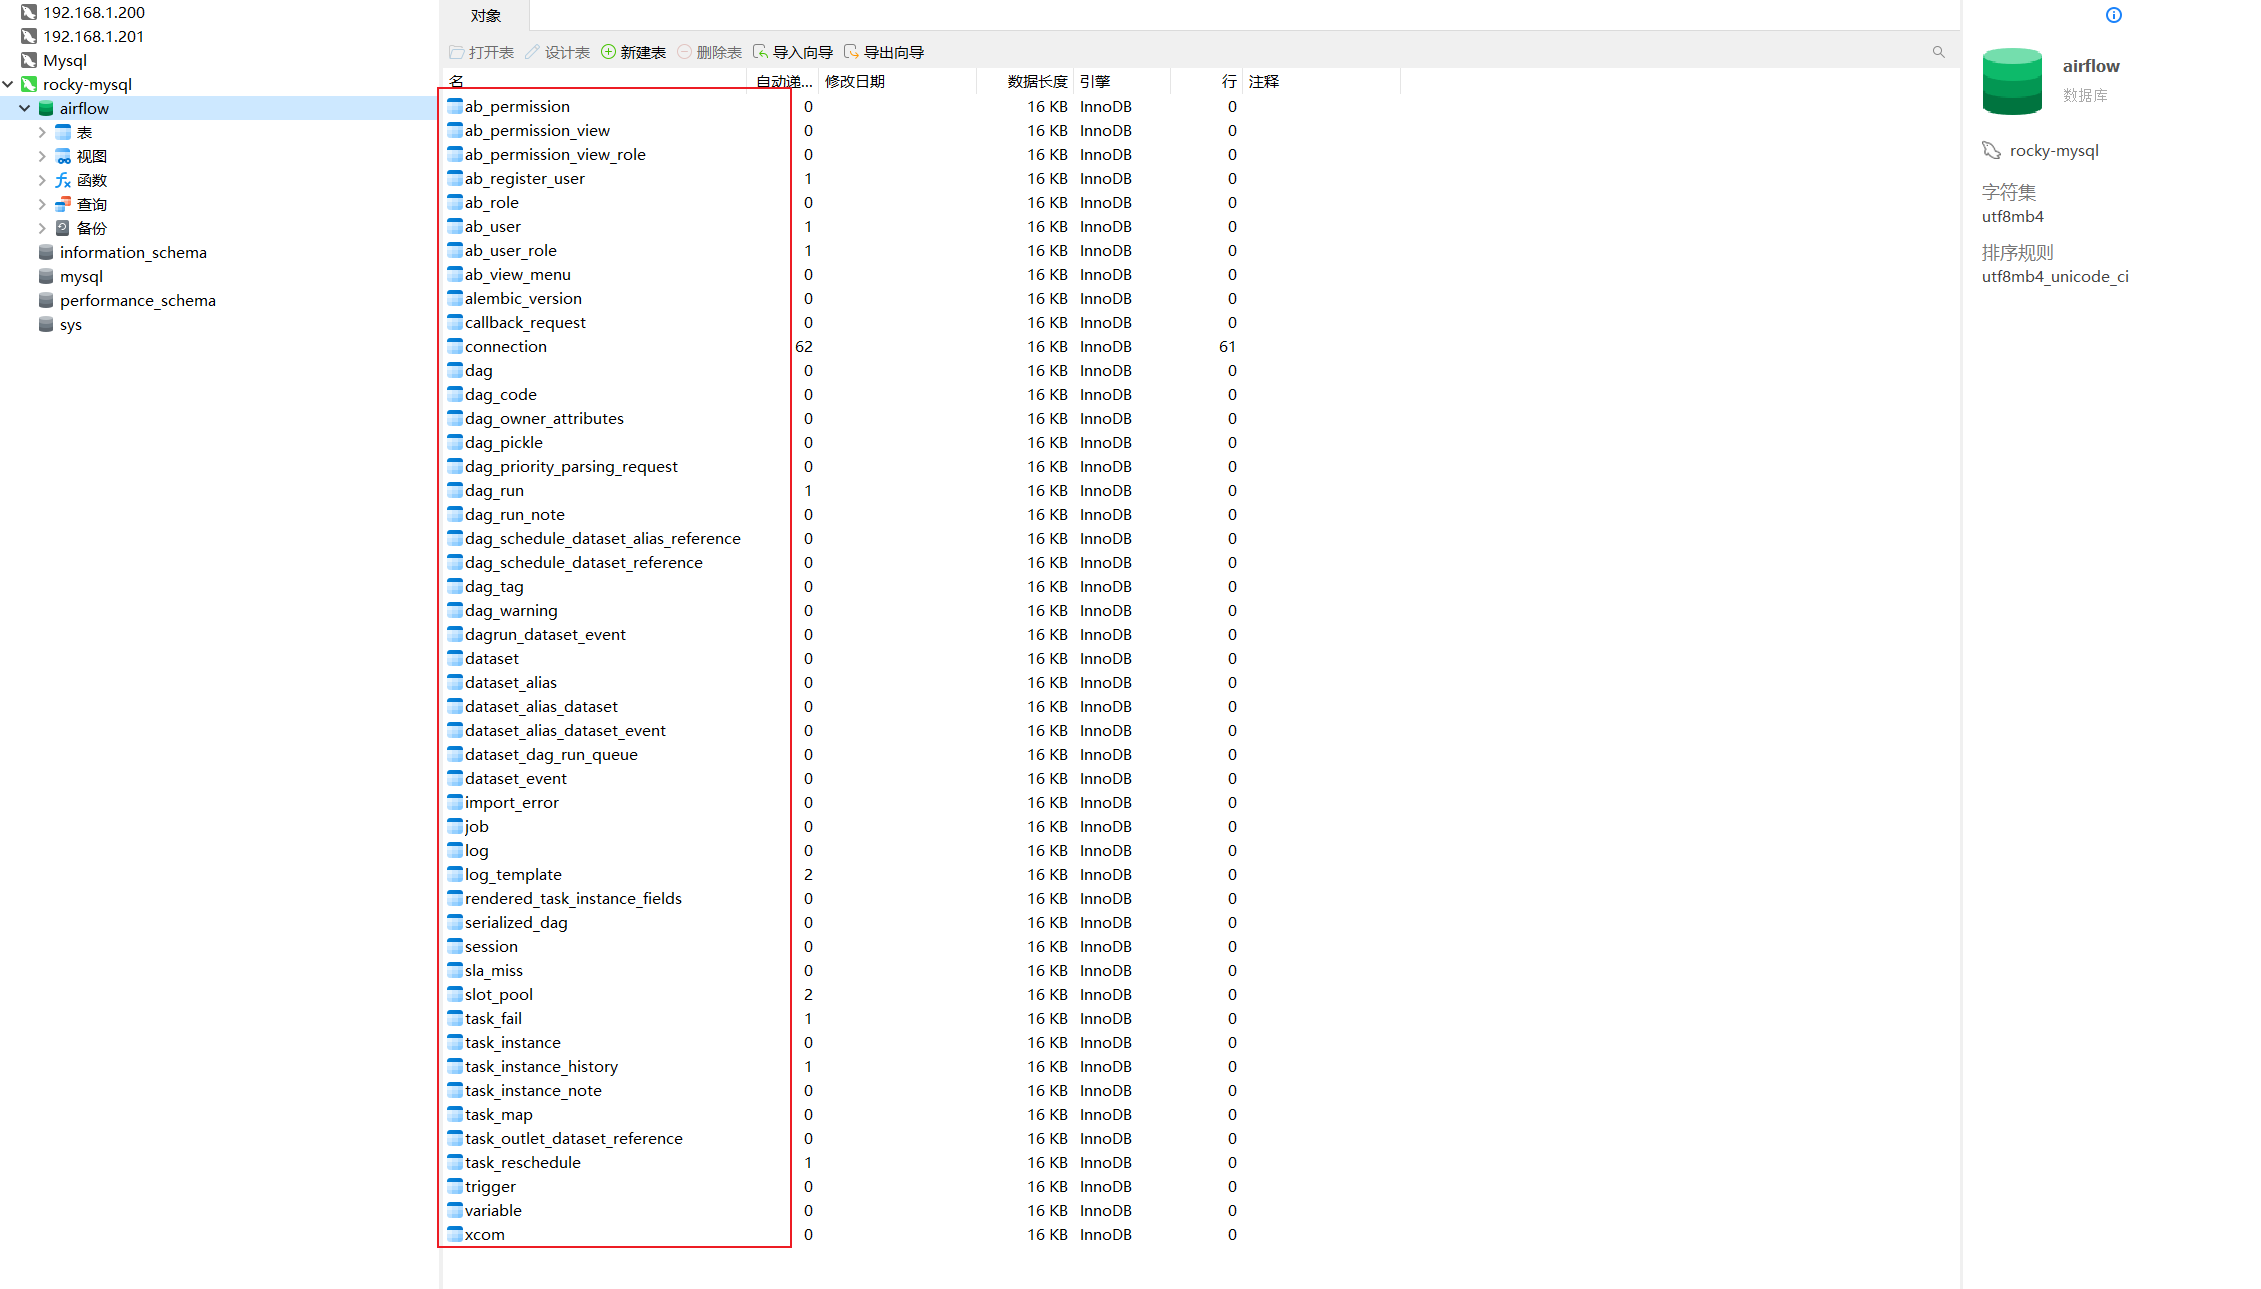
表
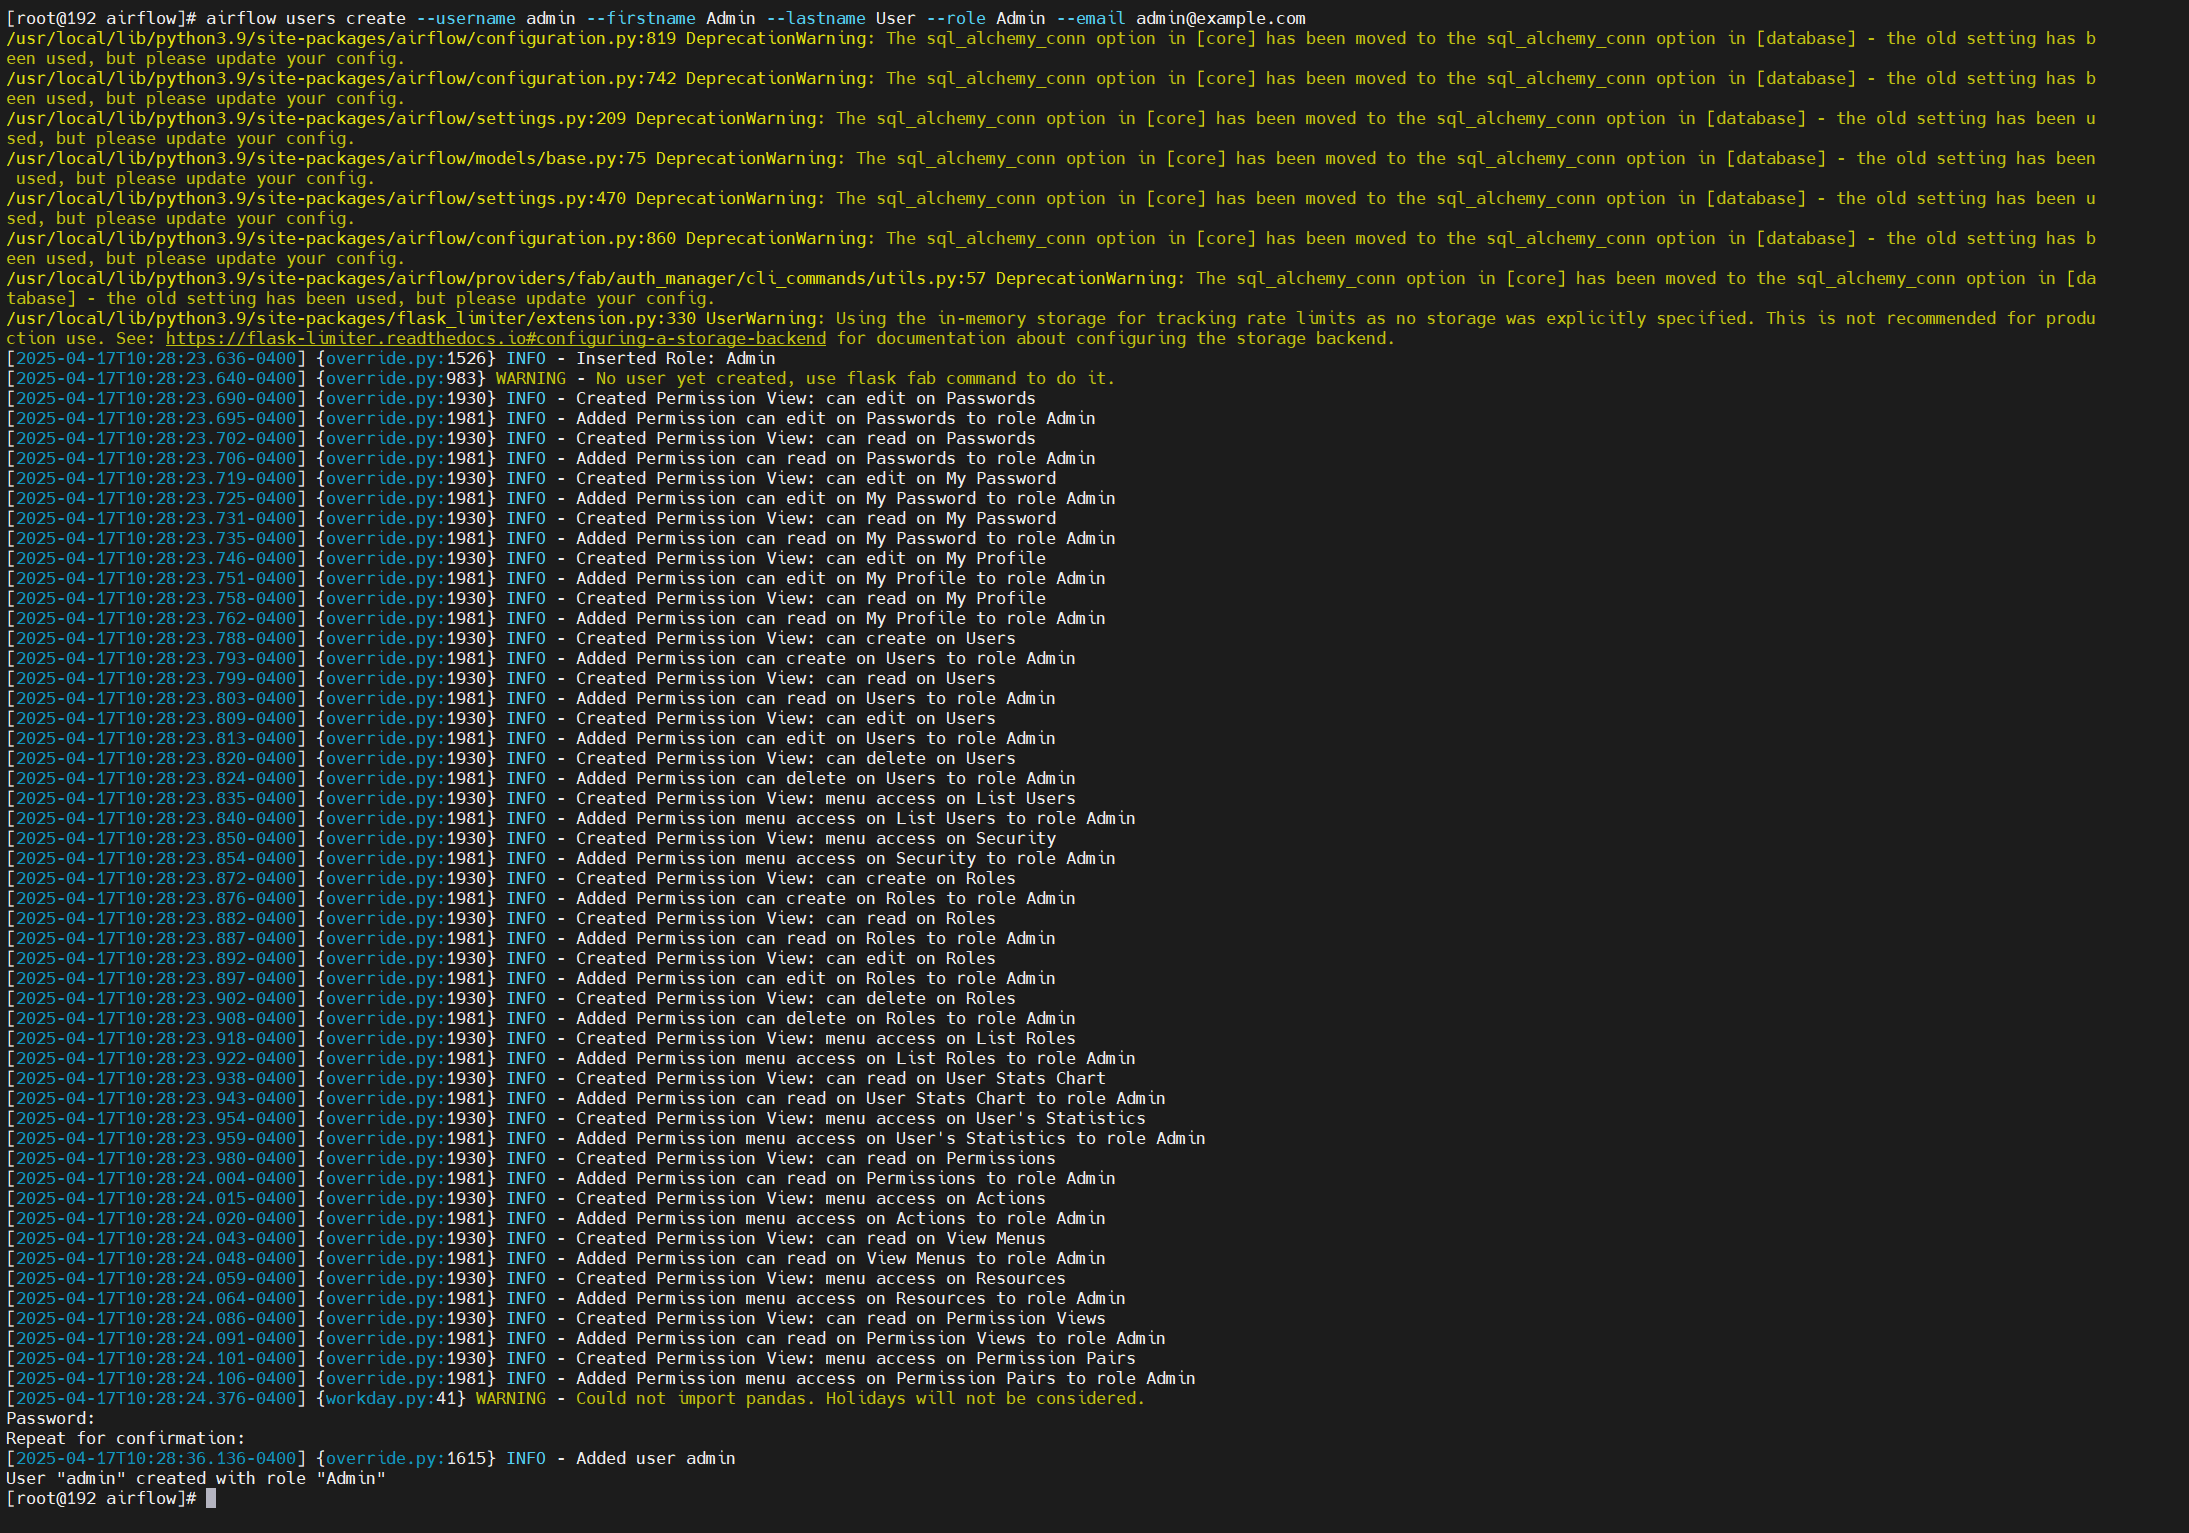
## 1.创建用户
airflow users create --username admin --firstname Admin --lastname User --role Admin --email admin@example.com
## 1.创建服务文件
vim /etc/systemd/system/airflow-webserver.service
## 2.写入如下信息
[Unit]
Description=Airflow webserver
After=network.target

[Service]
User=root
Environment="AIRFLOW_HOME=/usr/local/airflow"
ExecStart=/usr/local/bin/airflow webserver
Restart=on-failure
RestartSec=10s

[Install]
WantedBy=multi-user.target
## 3.加载
systemctl daemon-reload
## 4.启动
systemctl start airflow-webserver
## 5.查看状态
systemctl status airflow-webserver
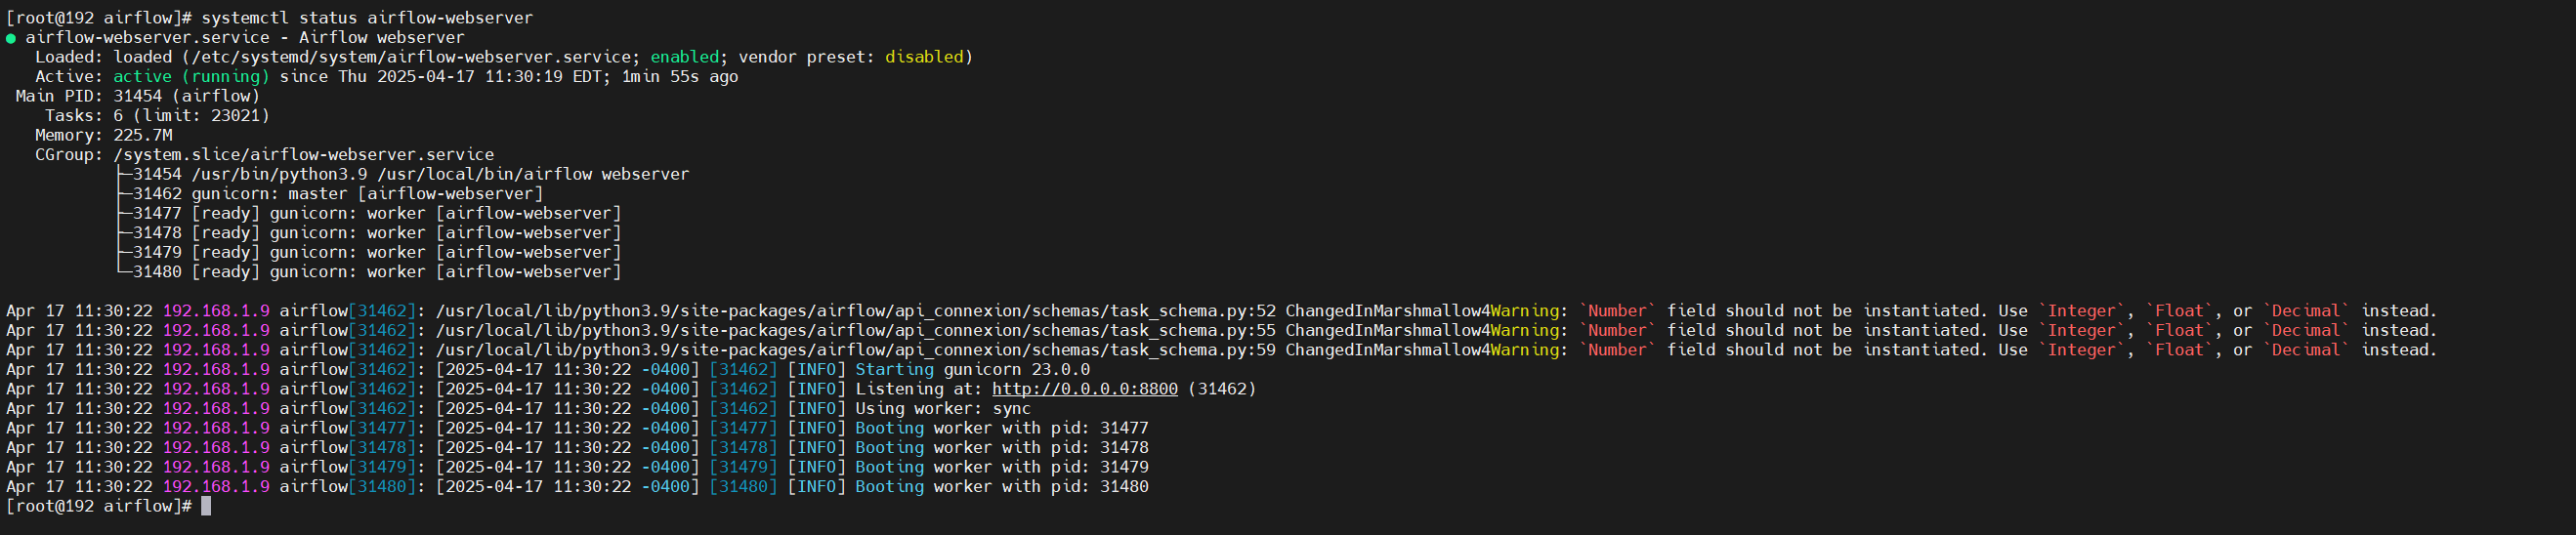
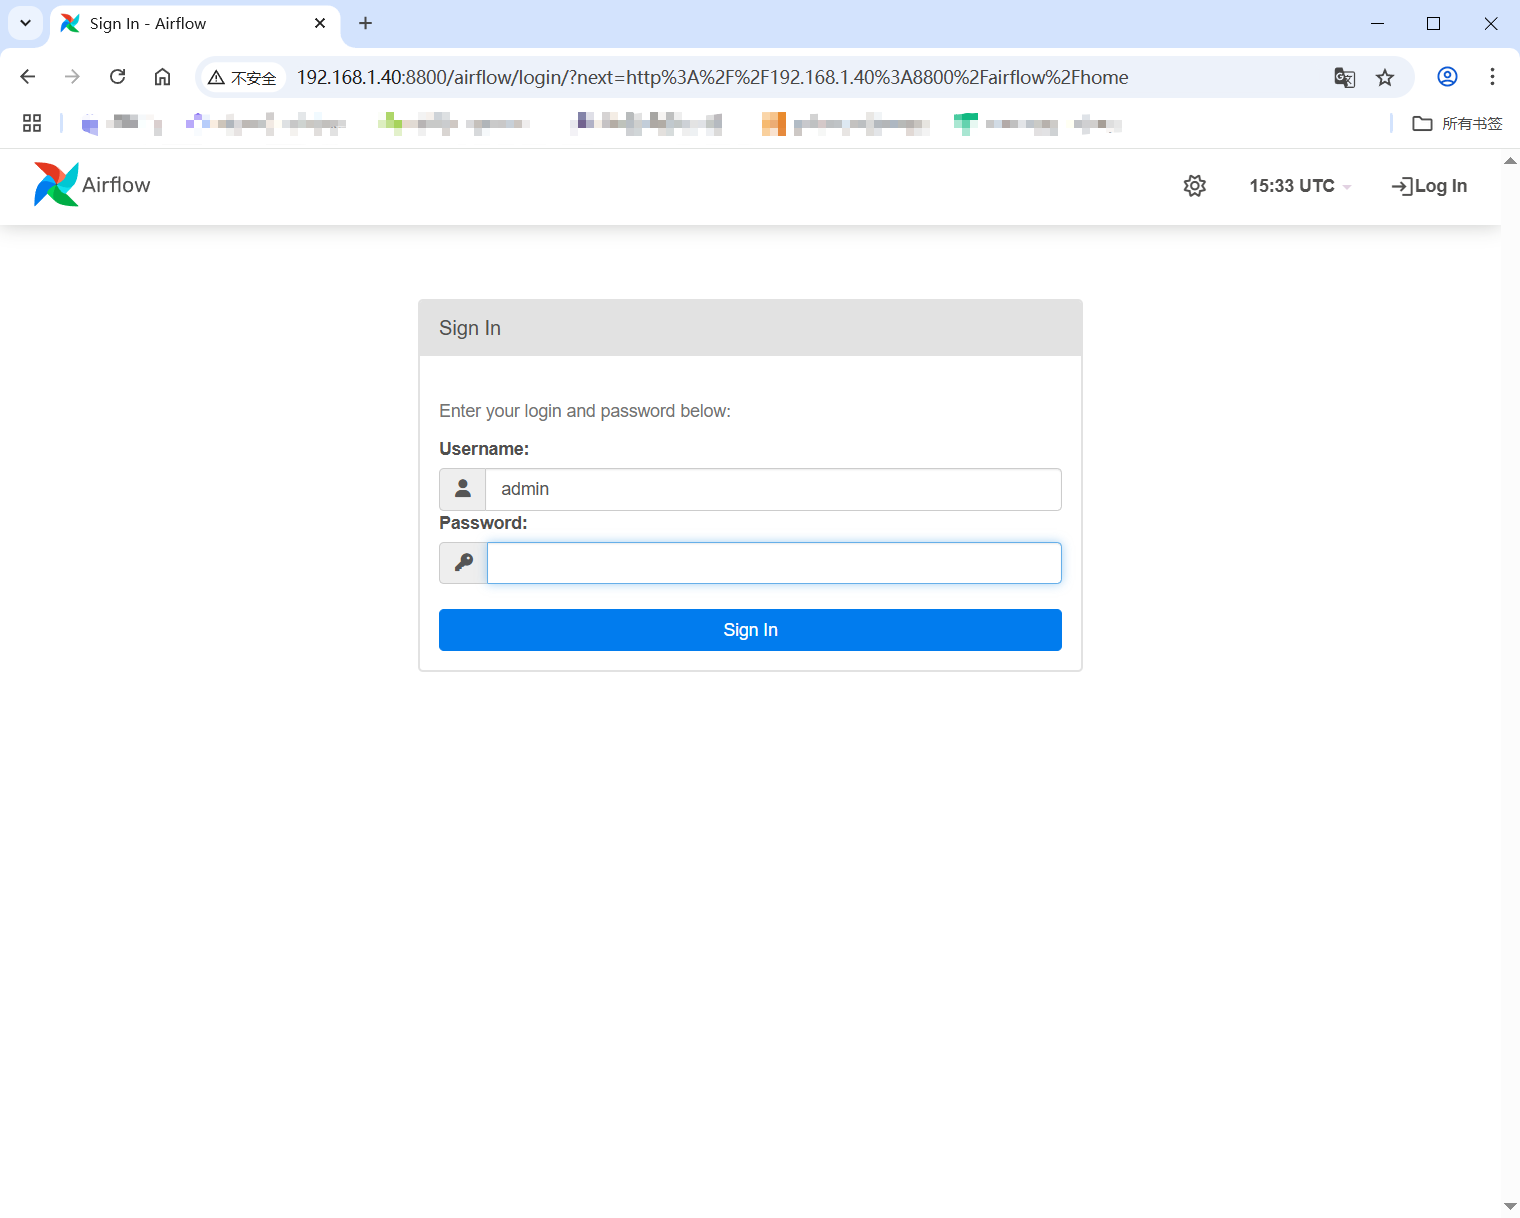
登录:http://192.168.1.40:8800/airflow
2.Airflow 测试
1.启动定时器
## 1.创建服务文件
vim /etc/systemd/system/airflow-scheduler.service
## 2.写入如下信息
[Unit]
Description=Airflow scheduler
After=network.target
[Service]
User=root
Environment="AIRFLOW_HOME=/usr/local/airflow"
ExecStart=/usr/local/bin/airflow scheduler
Restart=on-failure
RestartSec=10s
[Install]
WantedBy=multi-user.target
## 3.加载
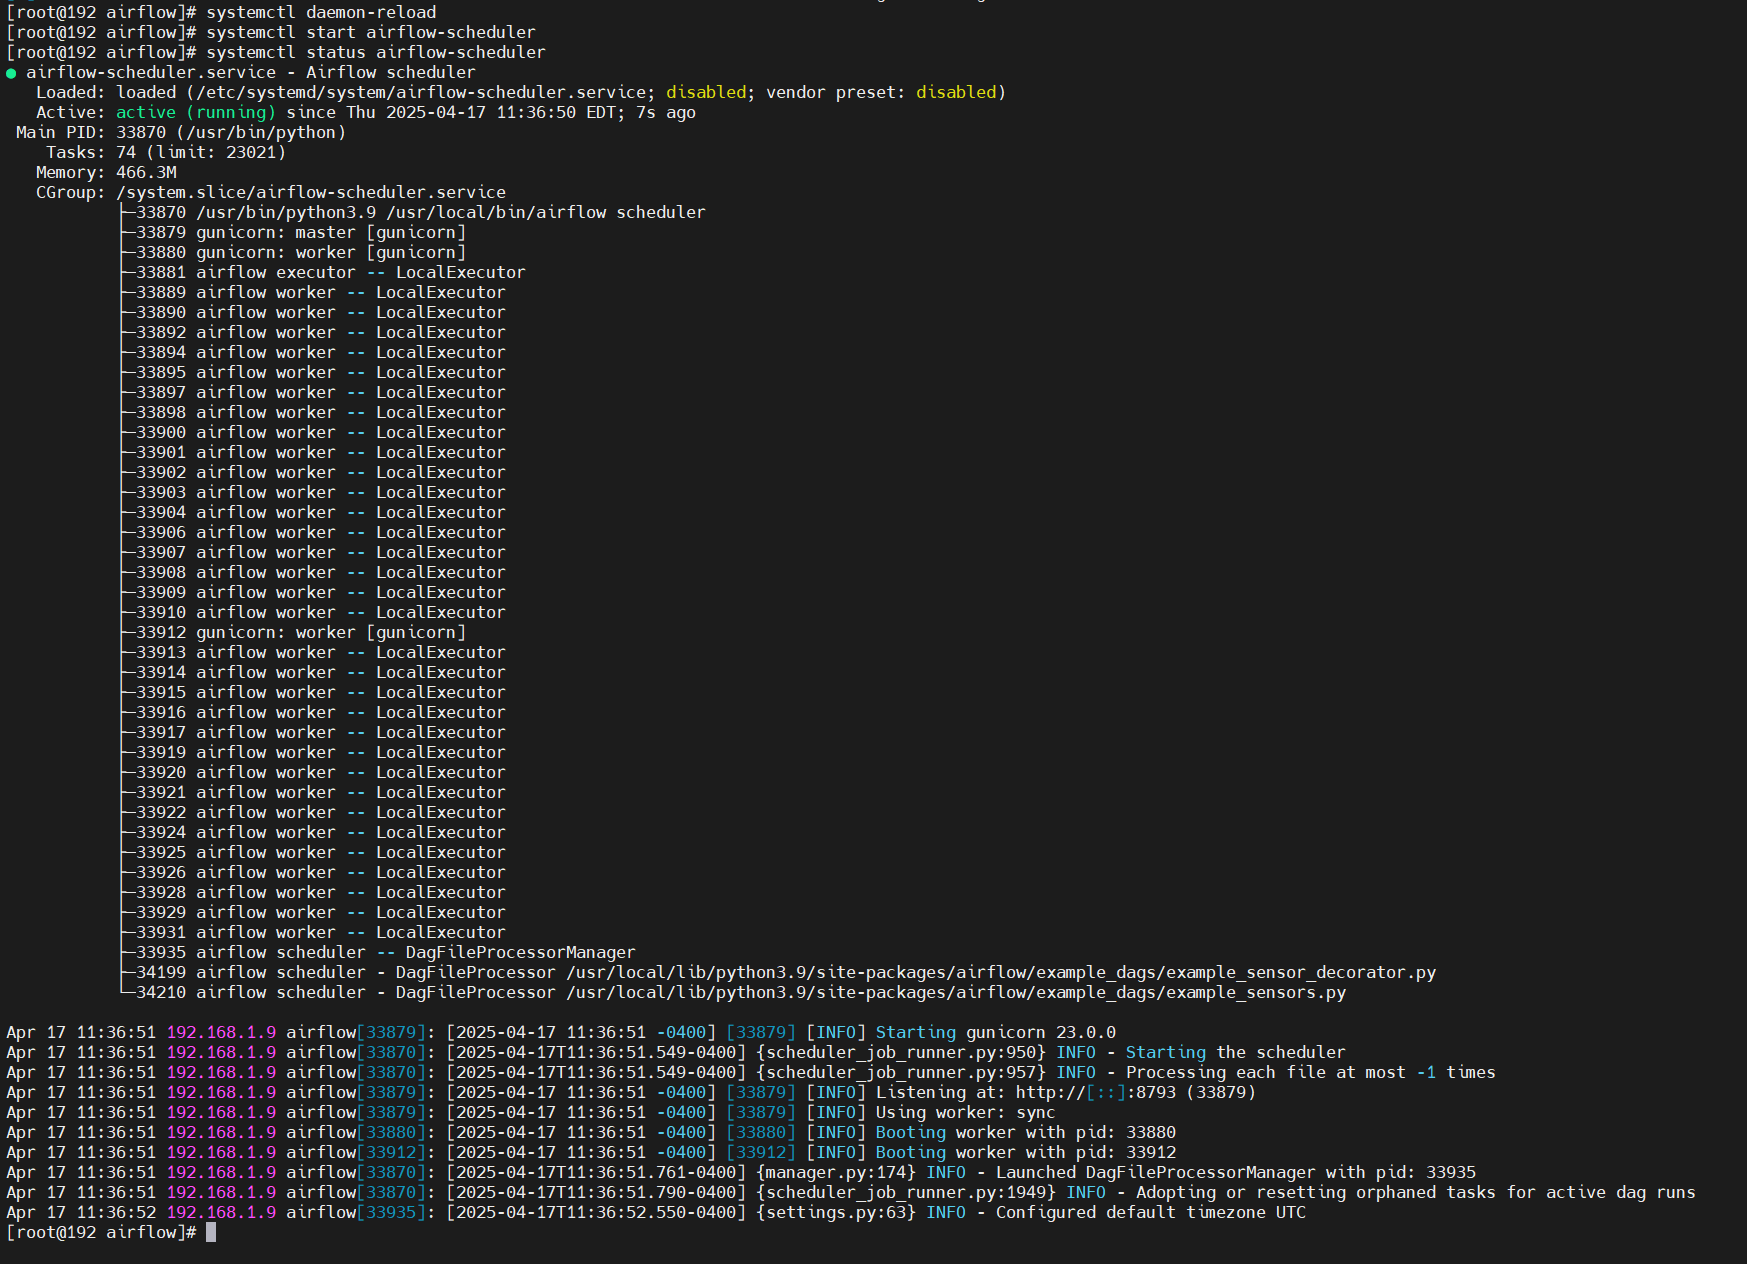
systemctl daemon-reload
## 4.启动
systemctl start airflow-scheduler
## 5.查看状态
systemctl status airflow-scheduler
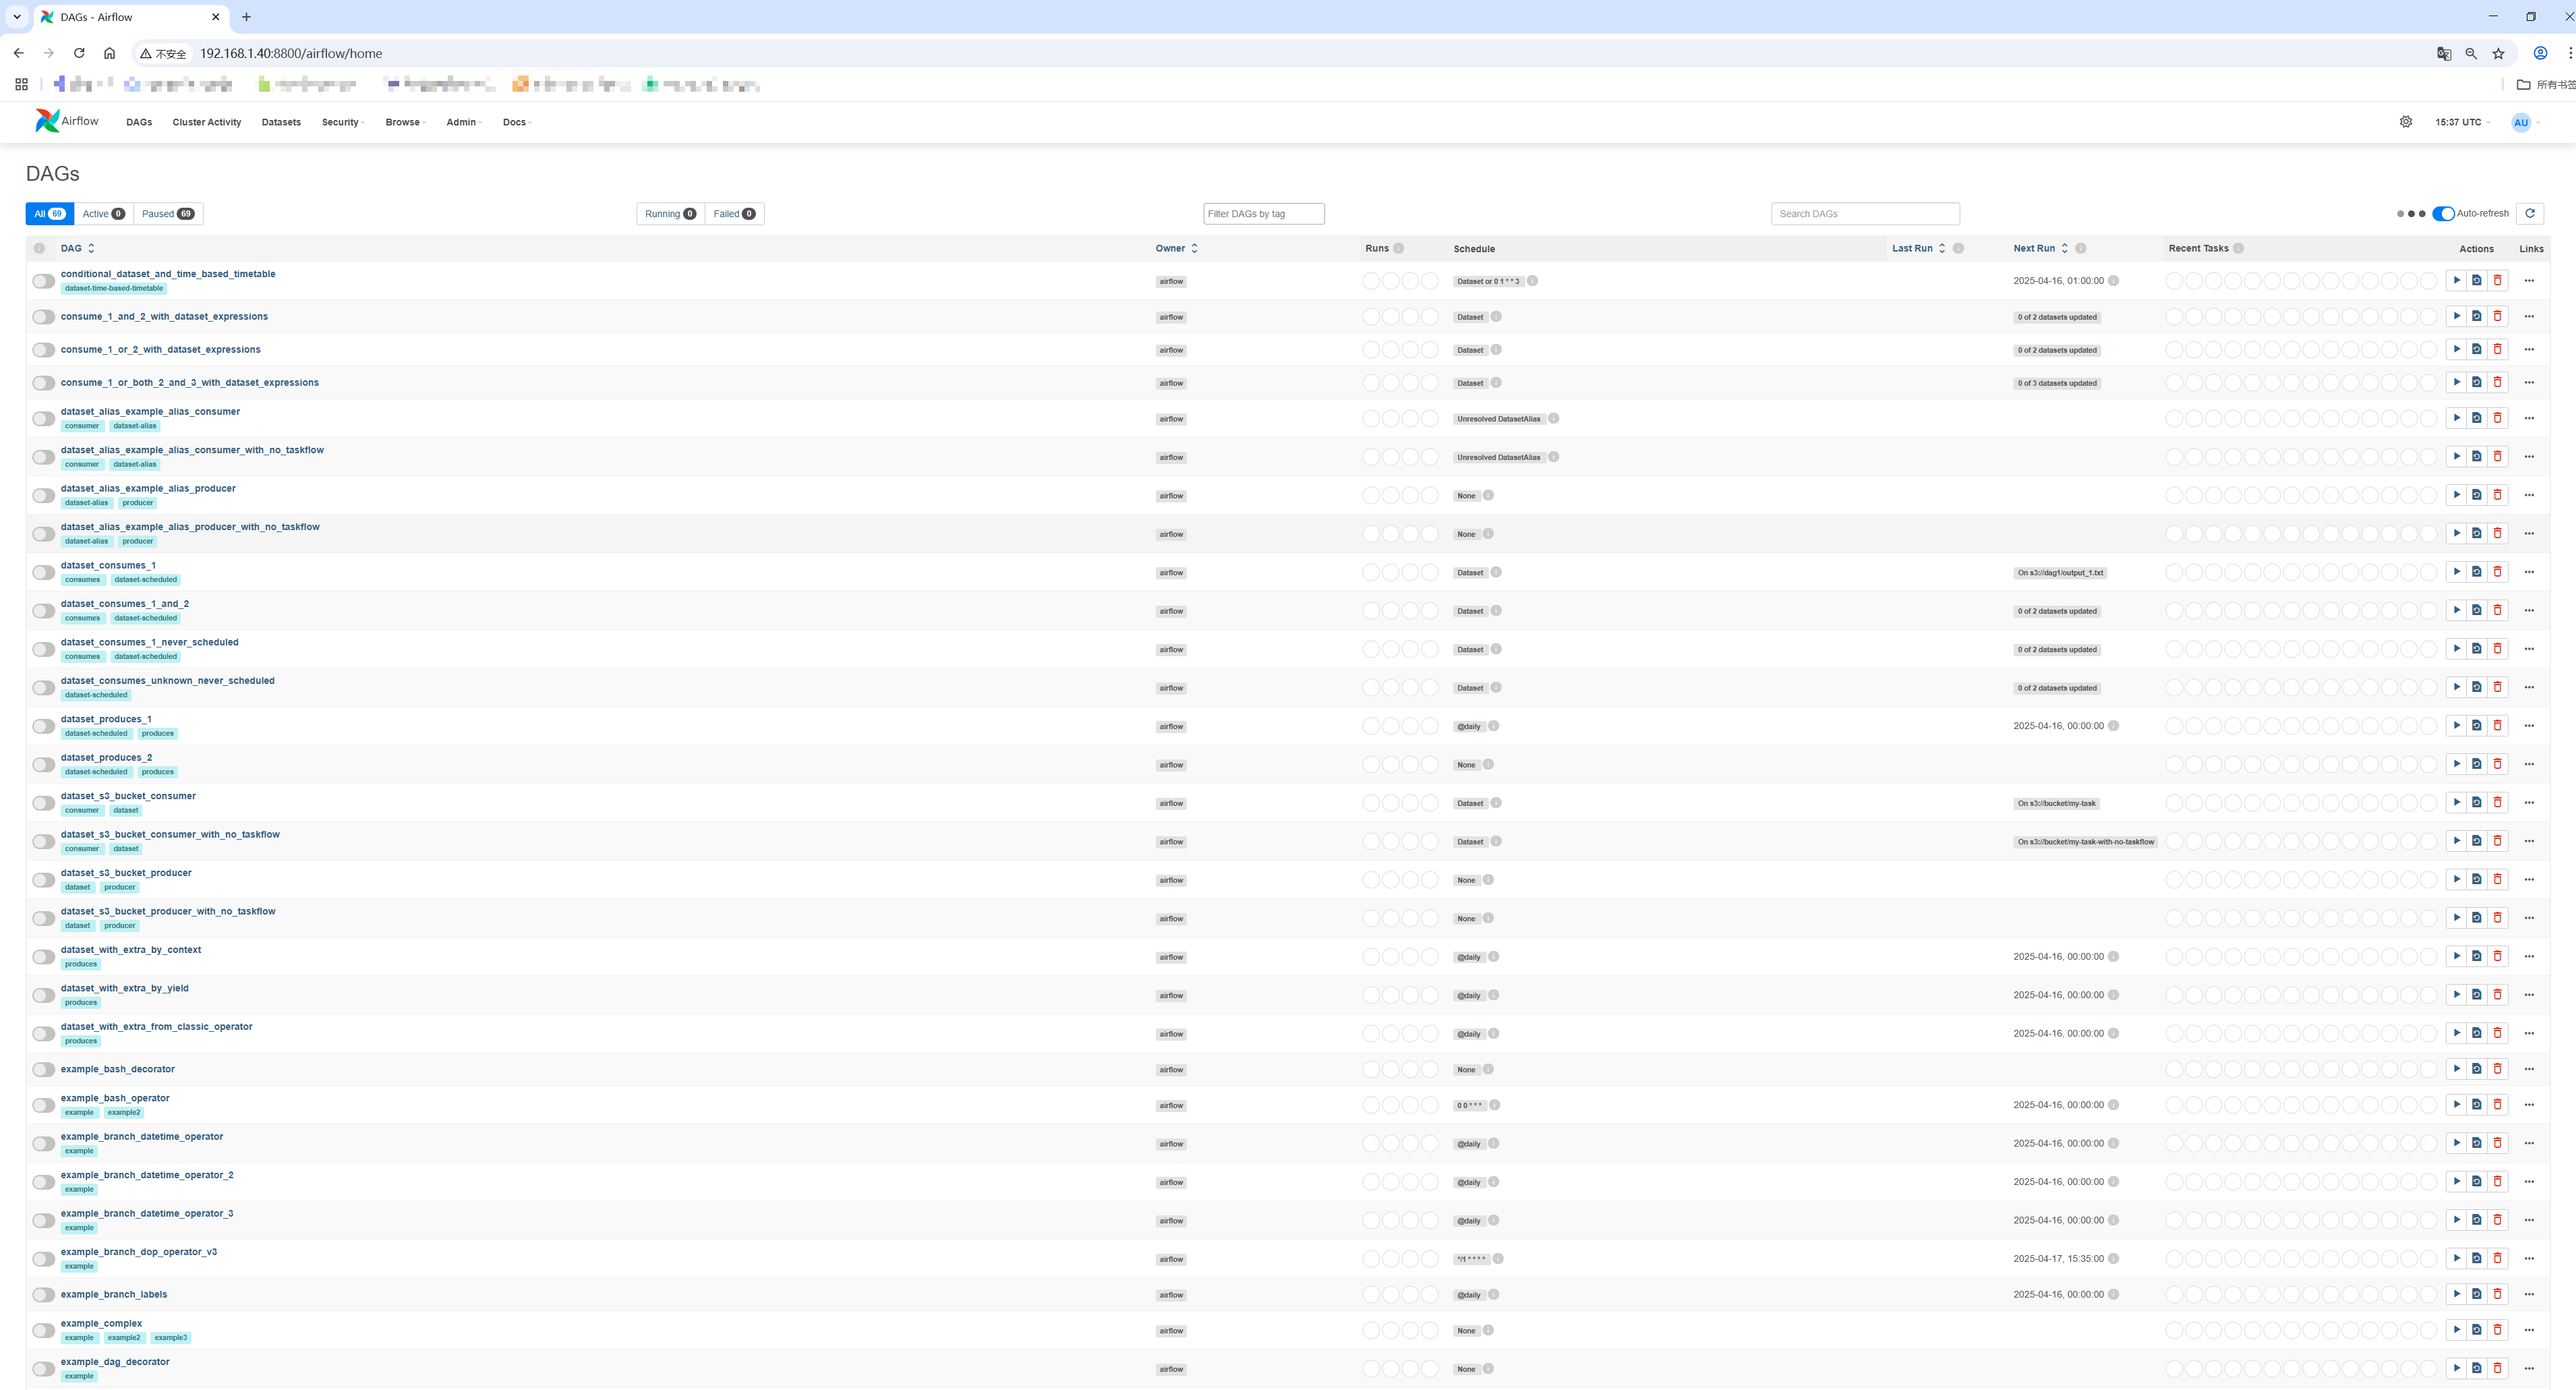
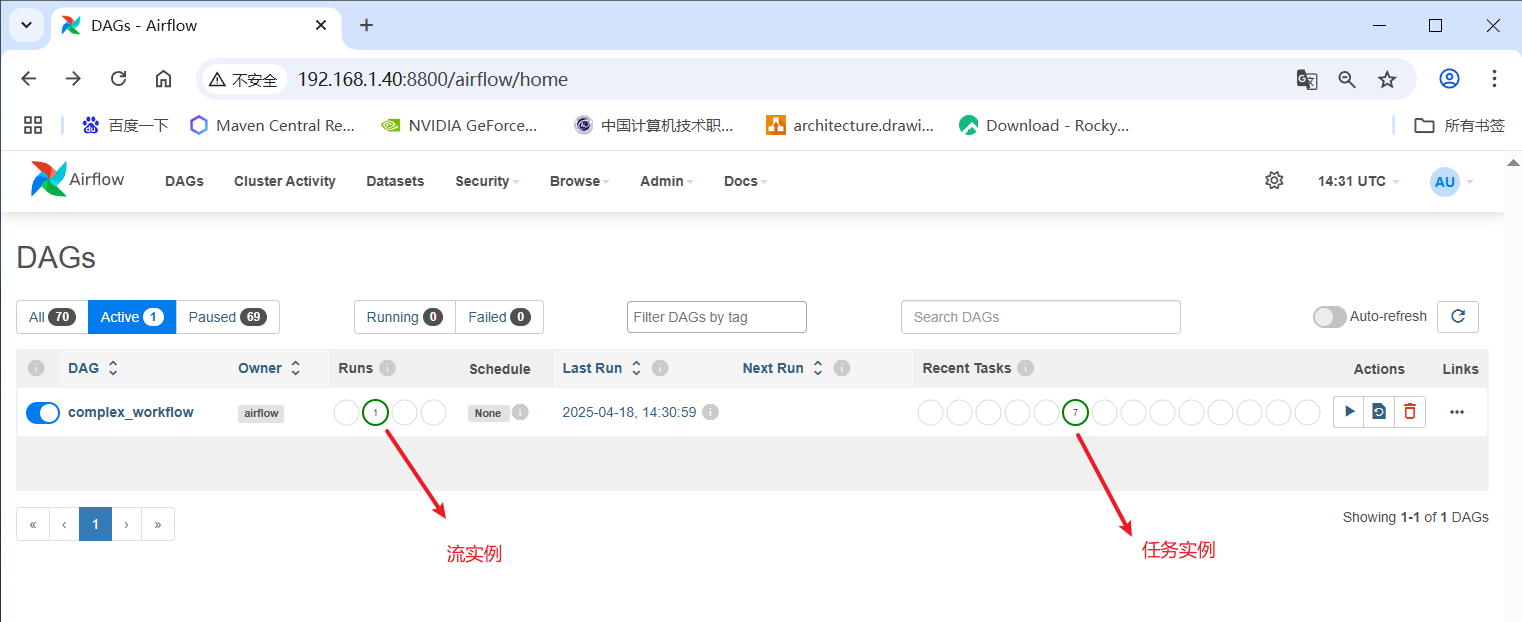
2.登录系统
3.自定义流
3.1测试流
from airflow import DAG
from airflow.operators.python import PythonOperator
from datetime import datetime

def print_task(task_id):
    def _print():
        print(f"Executing {task_id}")
    return _print

default_args = {
    'owner': 'airflow',
    'depends_on_past': False,
    'start_date': datetime(2023, 1, 1),
    'retries': 0
}

with DAG(
    dag_id='complex_workflow',
    default_args=default_args,
    schedule_interval=None,
    catchup=False
) as dag:

    # 定义所有任务
    task1 = PythonOperator(
        task_id='Task1',
        python_callable=print_task('Task1')
    )

    task2 = PythonOperator(
        task_id='Task2',
        python_callable=print_task('Task2')
    )

    task3 = PythonOperator(
        task_id='Task3',
        python_callable=print_task('Task3')
    )

    task4 = PythonOperator(
        task_id='Task4',
        python_callable=print_task('Task4')
    )

    task5 = PythonOperator(
        task_id='Task5',
        python_callable=print_task('Task5')
    )

    task6 = PythonOperator(
        task_id='Task6',
        python_callable=print_task('Task6')
    )

    task7 = PythonOperator(
        task_id='Task7',
        python_callable=print_task('Task7')
    )

    # 设置依赖关系
    task1 >> [task2, task3]  # Task1触发Task2和Task3
    [task2, task3] >> task4  # Task2和Task3结束后触发Task4
    task4 >> task5            # Task4结束后触发工作流2(Task5)
    task5 >> task6            # 工作流2内Task5触发Task6(串行)
    task6 >> task7            # 工作流2结束后触发Task7
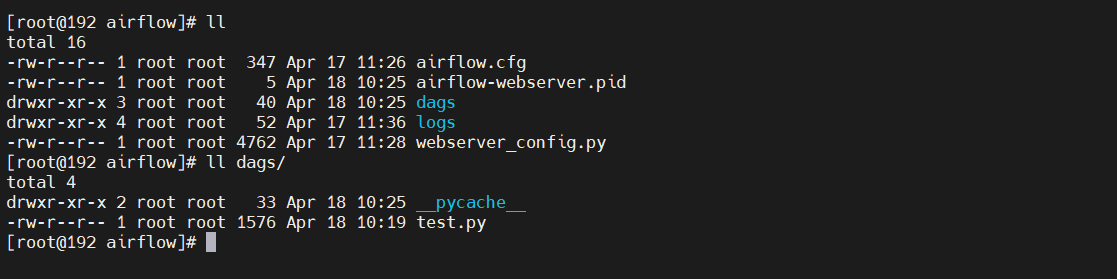
将上面代码保存为 test.py 文件,放到 airflow 的 dags 目录
执行

查看实例


欢迎加入DeepSeek 技术社区。在这里,你可以找到志同道合的朋友,共同探索AI技术的奥秘。
更多推荐


 5
5 0
0- 0


 已为社区贡献1条内容

所有评论(0)