【释放RAG的潜能】零基础本地大模型+Weaviate,打造私有智能知识库
本文介绍了 RAG(检索增强生成)技术,结合向量数据库(如 Weaviate)和嵌入模型(如 BGE、E5)优化大模型回答。文章涵盖环境配置(Docker 部署 Weaviate、Ollama 安装)、文本向量化存储,以及基于余弦相似度的检索方法。最终,通过 DeepSeek-R1 生成增强型回答,并构建合理的提示词。RAG 可提升专业领域问答效果,同时介绍了轻量级替代方案 LightRAG,未来
概述
简介
RAG(检索增强生成,Retrieval-Augmented Generation)是一种结合检索(Retrieval)和生成(Generation)**的 AI 技术,旨在提升大语言模型(LLM)的回答准确性、知识丰富度和实时性。
传统的大语言模型(如 ChatGPT、Llama、ChatGLM 等)主要依靠预训练的参数来生成回答,但这些模型的知识是静态的,无法轻松更新,且可能因信息不足而产生幻觉(hallucination)。RAG 通过动态检索外部知识库的信息,并结合 LLM 生成回答,有效克服这些问题。
RAG主要有两个关键流程
1.检索:
通过检索向量数据库(如 Weaviate、FAISS、Milvus、Elasticsearch等)筛选与用户提问相近的文章或片段。
通过使用enbedding模型(如 BGE、E5、OpenAI Embeddings)将文字语言转化为向量,以便于进行相似度搜索。
2.生成:
结合检索到的内容,让LLM生成的信息更可靠,更准确。
更具自己构建的知识库,可以更好地解决大模型的幻觉问题。
环境配置
docker
想要使用weaviate最简单的方式就是docker直接拉取镜像。
1.官网下载docker后注册
docker官网:Docker: Accelerated Container Application Development
2.创建docker-compose.yml文件
文件内容如下
version: '3.8'

services:
  weaviate:
    image: semitechnologies/weaviate:latest
    container_name: weaviate
    restart: always
    ports:
      - "8080:8080"
      - "50051:50051"
    environment:
      - AUTHENTICATION_APIKEY_ENABLED=true
      - AUTHENTICATION_APIKEY_ALLOWED_KEYS=test-secret-key,test2-secret-key
      - AUTHENTICATION_APIKEY_USERS=test@2024.com,test2@2024.com
      - AUTHORIZATION_ADMINLIST_ENABLED=true
      - AUTHORIZATION_ADMINLIST_USERS=test@2024.com
      - AUTHORIZATION_ADMINLIST_READONLY_USERS=test2@2024.com
      - WEAVIATE_HOSTNAME=0.0.0.0
    volumes:
      - E:\weaviate\data
3.拉取镜像
确保docker运行,在文件所在目录下执行:
docker-compose up -d
运行成功后执行:
docker images

出现如上信息表明镜像已经拉取下来了。
python环境
requirement.txt文件如下:
annotated-types==0.7.0
anyio==4.5.2
Authlib==1.3.1
certifi==2025.1.31
cffi==1.17.1
charset-normalizer==3.4.1
cryptography==44.0.1
exceptiongroup==1.2.2
grpcio==1.70.0
grpcio-health-checking==1.70.0
grpcio-tools==1.70.0
h11==0.14.0
httpcore==1.0.7
httpx==0.27.0
idna==3.10
protobuf==5.29.3
pycparser==2.22
pydantic==2.10.6
pydantic_core==2.27.2
requests==2.32.3
sniffio==1.3.1
typing_extensions==4.12.2
urllib3==2.2.3
validators==0.34.0
weaviate-client==4.8.1
导入requirement.txt文件。
pip install -r requirements.txtollama
如果你有本地大模型和embedding模型可以跳过当前步骤
下载ollama:
ollama官网:Download Ollama on macOS
下载deepseek-r1:7b:
ollama pull deepseek-r1:7b
下载embedding模型:
ollama pull nomic-embed-text:latest验证模型是否下载成功:
ollama list
出现如下结果表明下载成功

构建RAG
搭建向量数据库weaviate
测试链接weaviate数据库
# -*- coding: utf-8 -*-
import weaviate
from weaviate.auth import AuthApiKey

client = weaviate.Client(
    url="http://localhost:8080",
    auth_client_secret=AuthApiKey("test-secret-key")
)

if client.is_ready():
    print("✅ Weaviate 连接成功!")
else:
    print("❌ 连接失败,请检查 Weaviate 是否运行")

client.close()
在可以链接数据库后,首先需要我们创建一个数据库,我这里命名它为BJ-GR。在稍后的enbedding模型选用上,我使用的是nomic-embed-text其转换后向量维度为768,所以vector_dim = 768。
# -*- coding: utf-8 -*-
import weaviate
from weaviate.auth import AuthApiKey

def create(client: weaviate.Client, collection_name: str, vector_dim: int):
    collection_obj = {
        "class": collection_name,
        "description": "北京市相关条例",
        "vectorizer": "none",
        "properties": [
            {
                "name": "file_name",
                "description": "The name of the file",
                "dataType": ["string"]
            },
            {
                "name": "file_content",
                "description": "The content of the file",
                "dataType": ["string"]
            }
        ],
        "vectorIndexConfig": {
            "vectorType": "hnsw",
            "vectorDimension": vector_dim
        }
    }
    try:
        client.schema.create_class(collection_obj)
        print(f"创建集合 '{collection_name}' 成功.")
    except Exception as e:
        print(f"创建集合异常: {e}")

    client = weaviate.Client(
        url="http://localhost:8080",
        auth_client_secret=AuthApiKey("test-secret-key")
    )
    collection_name = "BJ-GR"
    vector_dim = 768

create(client, collection_name, vector_dim)我这里不使用weaviate自带的embedding模型所以在vectorizer的值为none,如果你想使用其自带模型可已经此处改为对应模型。在properties可以你想存储的数据格式,在vectorIndexConfig中设定向量索引的配置。
import requests

def vector(text: str):
    response = requests.post(
        "http://localhost:11434/api/embeddings",
        json={
            "model": "nomic-embed-text",
            "prompt": text
        }
    )
    return response.json()["embedding"]
def save(client: weaviate.Client, collection_name: str, file_name: str, file_content: str, vector: list):
data_object = {
"file_name": file_name,
"file_content": file_content
}
try:
uuid = client.data_object.create(
data_object,
class_name=collection_name,
vector=vector,
)
print(f"文件 '{file_name}' 保存成功, UUID: {uuid}")
except Exception as e:
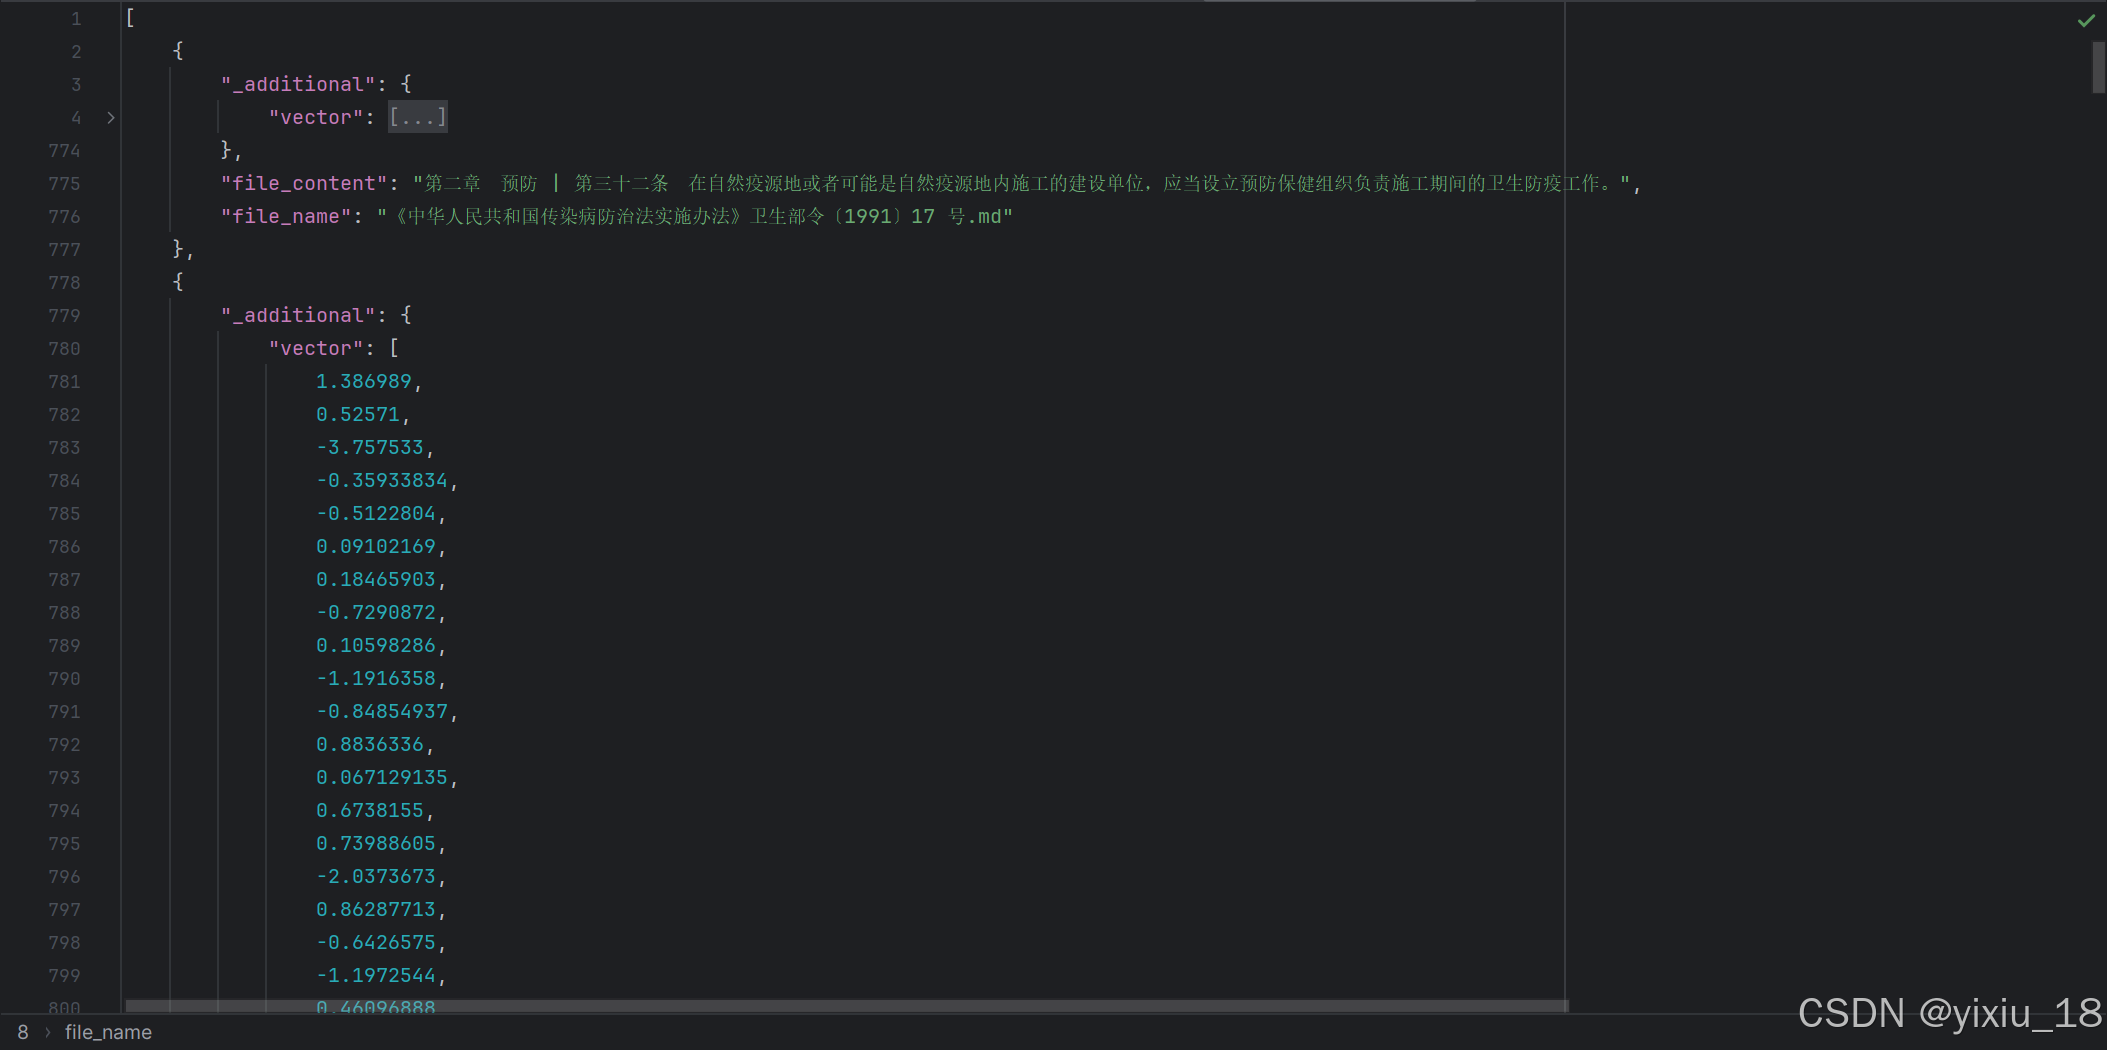
print(f"保存文件异常: {e}")文件保存成功后是储存在weaviate的云上,如果我们想查看可以将结果导出为json格式
import json

def export_data(client: weaviate.Client, collection_name: str):
    try:
        query = client.query.get("BUCEA", ["file_name", "file_content"]).with_additional(["vector"]).do()

        if "data" in query and "Get" in query["data"]:
            results = query["data"]["Get"][collection_name]

            with open("exported_data.json", "w", encoding='gbk') as outfile:
                json.dump(results, outfile, indent=4, ensure_ascii=False)

            print("数据已导出到 'exported_data.json' 文件.")
        else:
            print("没有找到数据.")
    except Exception as e:
        print(f"导出数据异常: {e}")
文件批量导入weaviate
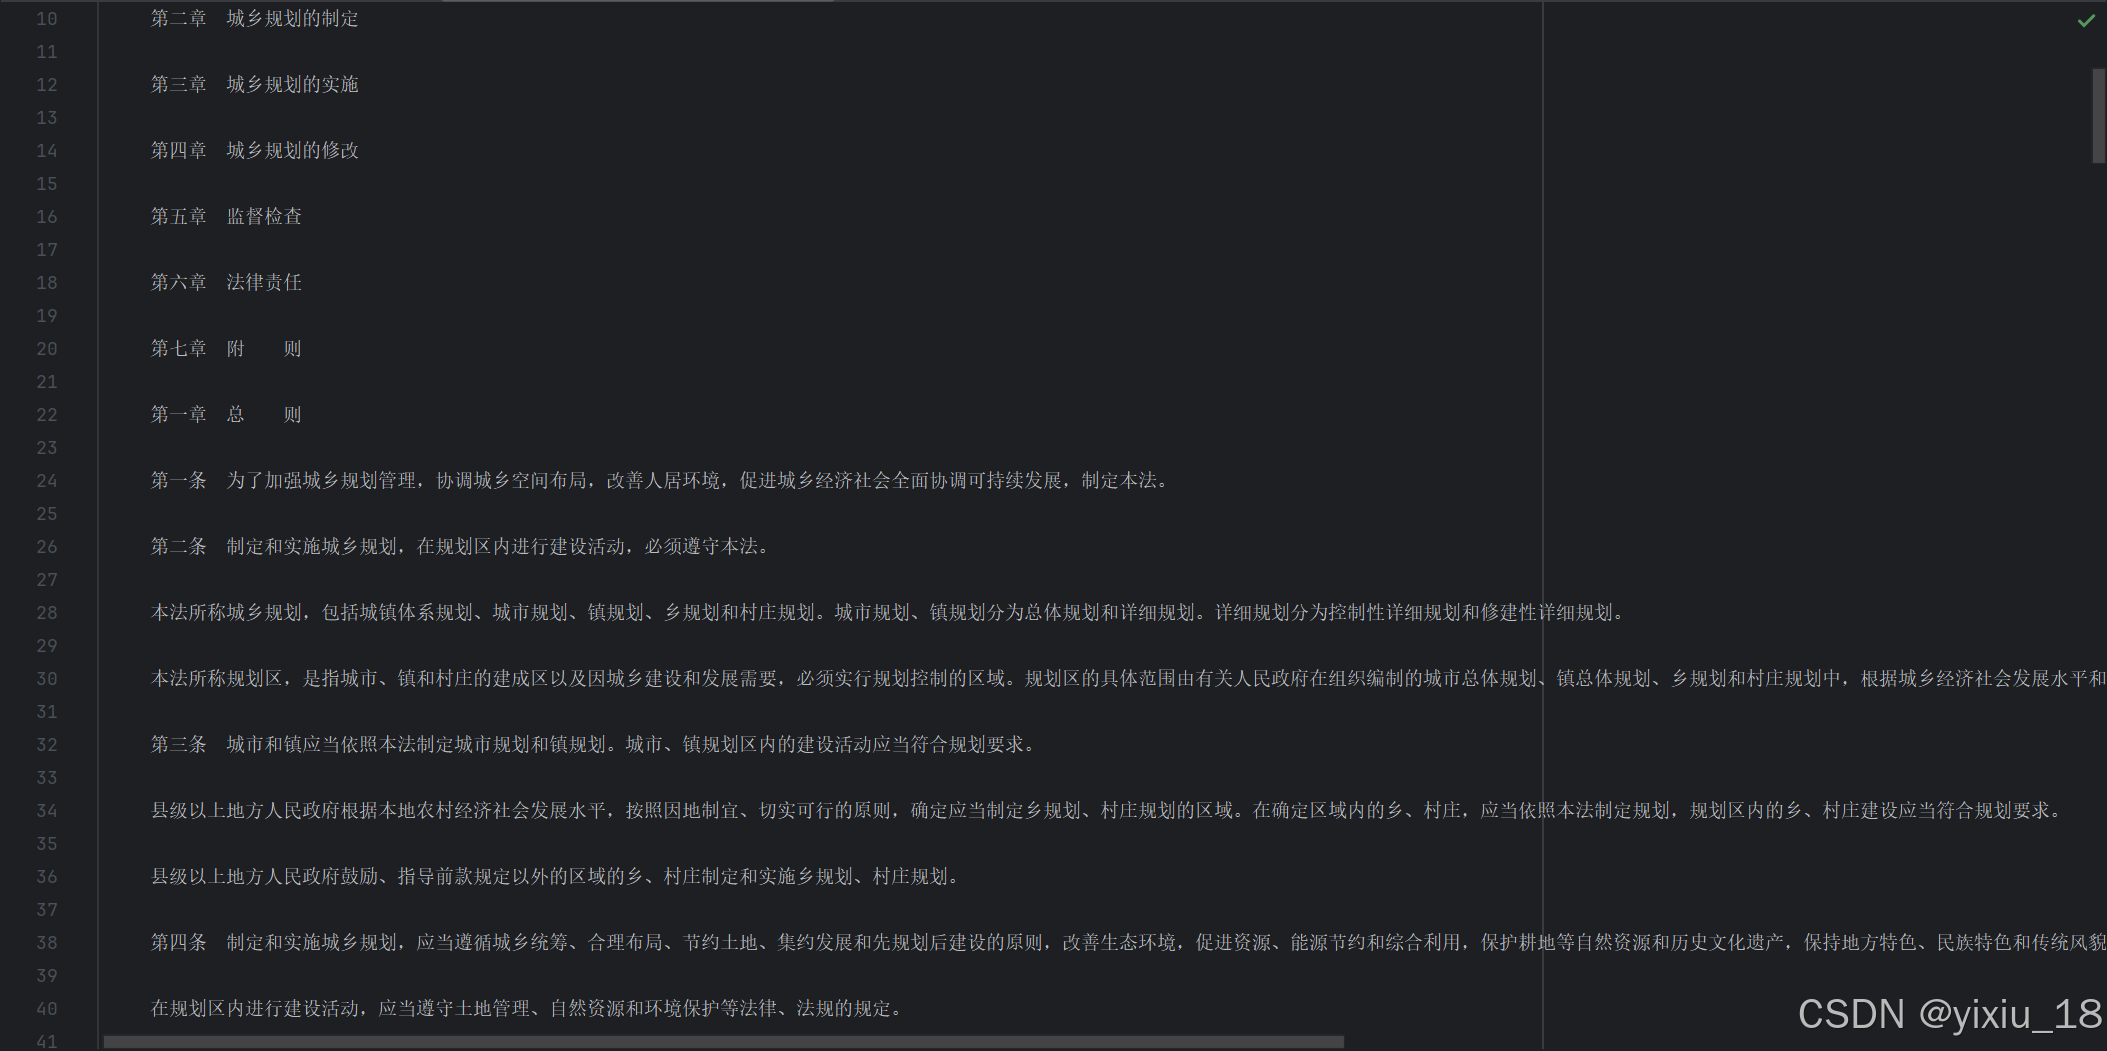
因为存储格式中包含文件名与文件内容,且此知识库是文件法规类,所以我希望其可以按照章节和条款存储,如果其为txt格式不方便与存储,所以需要将其按章节存储为markdown格式。
# -*- coding: utf-8 -*-
import os
import re

def process_law_file(input_file, output_file):
    chapter_pattern = re.compile(r"(第[一二三四五六七八九十百千]+章)\s+(.+)")
    article_pattern = re.compile(r"(第[一二三四五六七八九十百千]+条)\s+(.+)")

    current_chapter = ""

    with open(input_file, "r", encoding="utf-8") as file, open(output_file, "w", encoding="utf-8") as output:
        for line in file:
            line = line.strip()

            chapter_match = chapter_pattern.match(line)
            article_match = article_pattern.match(line)

            if chapter_match:
                current_chapter = f"{chapter_match.group(1)} {chapter_match.group(2)}"
            elif article_match:
                formatted_text = f"{current_chapter} | {article_match.group(1)} {article_match.group(2)}\n"
                output.write(formatted_text)

def batch_convert_txt_to_md(input_dir, output_dir):
    """ 批量处理指定目录下的所有 TXT 文件,转换为 Markdown """
    if not os.path.exists(output_dir):
        os.makedirs(output_dir)

    for filename in os.listdir(input_dir):
        if filename.endswith(".txt"):
            input_file = os.path.join(input_dir, filename)
            output_file = os.path.join(output_dir, filename.replace(".txt", ".md"))
            process_law_file(input_file, output_file)
            print(f"转换完成: {input_file} -> {output_file}")

input_directory = r"E:\"  # txt 文件所在目录
output_directory = r"E:\"  # markdown 输出目录

batch_convert_txt_to_md(input_directory, output_directory)
print("所有文件转换完成!")
效果如下:
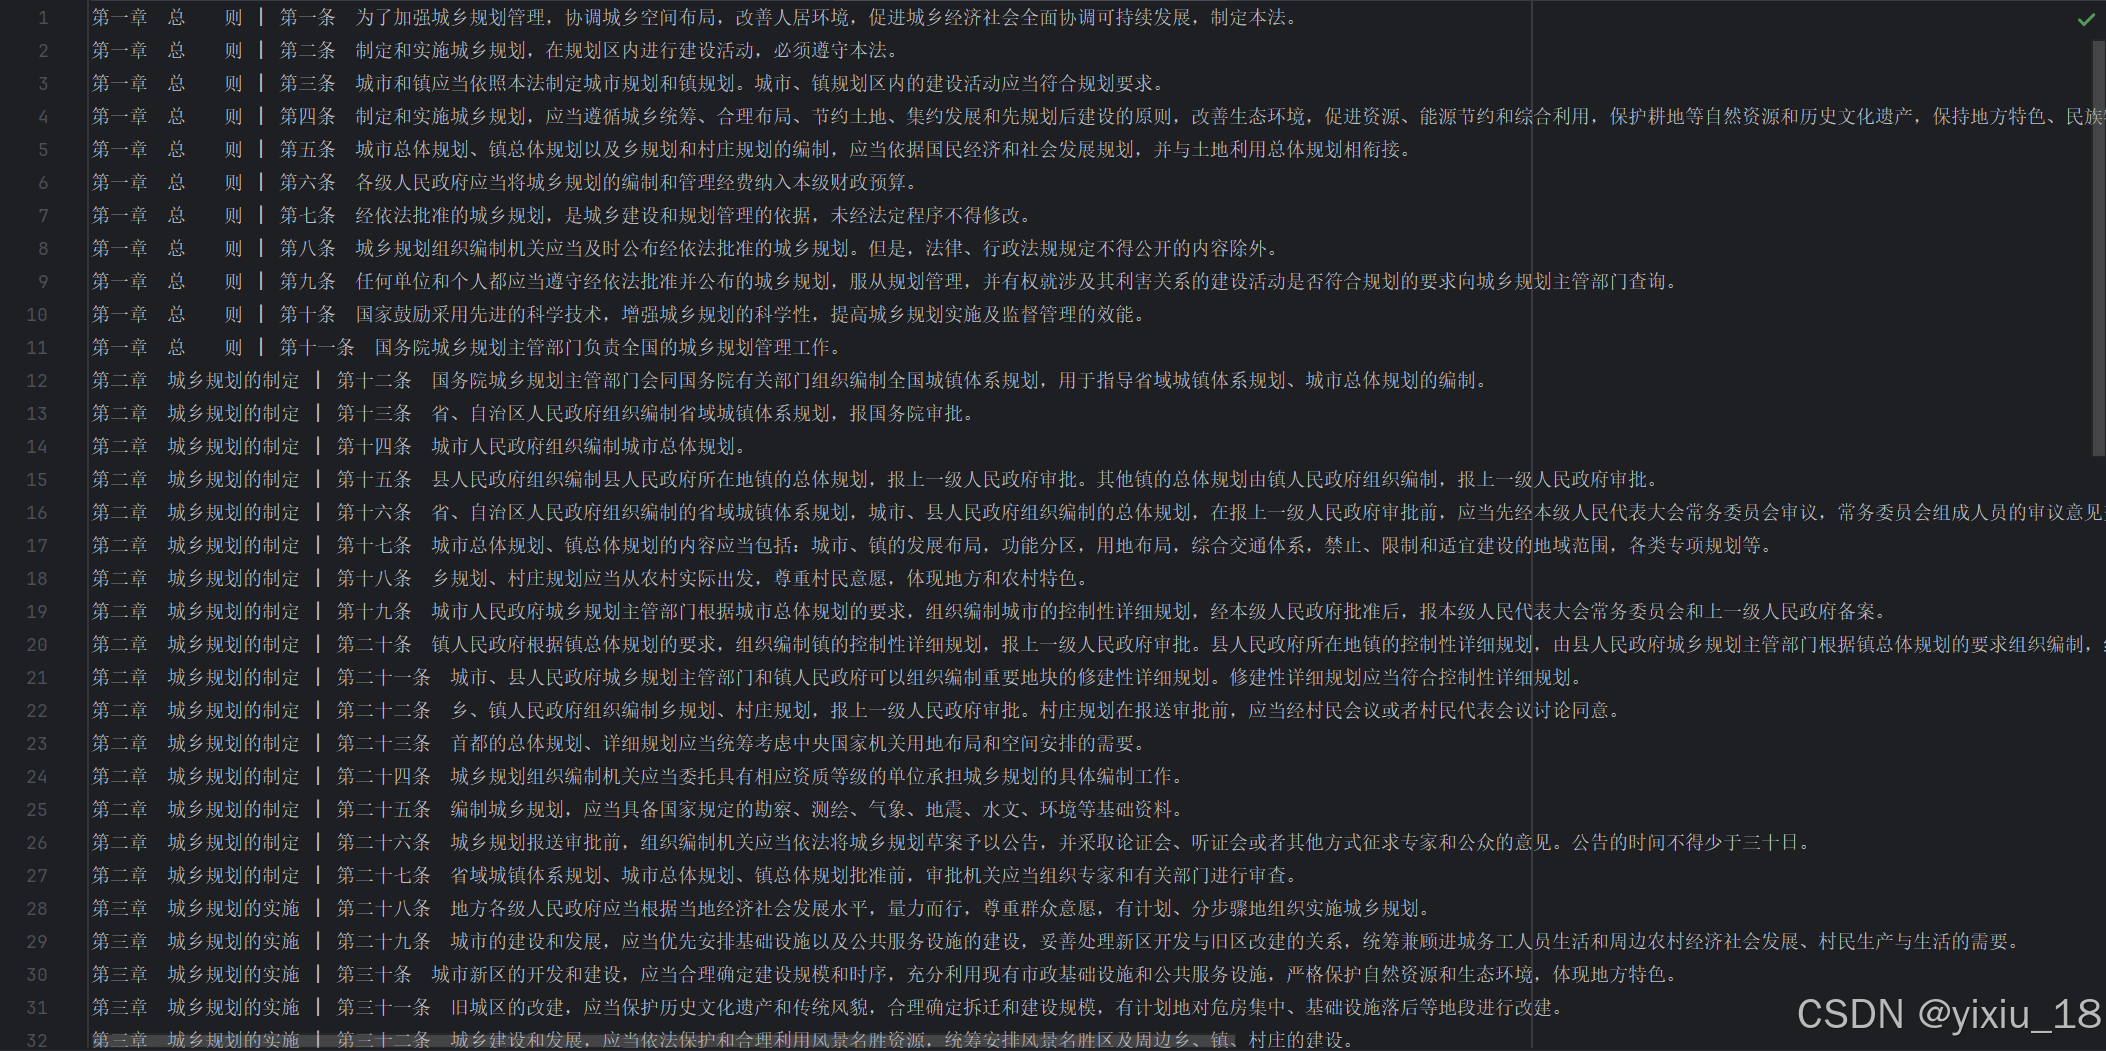
当格式为markdown形式,我们便可以对每行进行向量化后存储。
import os


def markdown(self, folder_path):
    for filename in os.listdir(folder_path):
        if filename.endswith(".md"):
            file_path = os.path.join(folder_path, filename)
            with open(file_path, "r", encoding="utf-8") as file:
                line_number = 1
                for line in file:
                    file_content = line.strip()
                    if file_content:
                        vector = self.vector(file_content)
                        if len(vector) != self.vector_dim:
                            print(f"向量维度错误: {filename} 第 {line_number} 行,跳过")
                            continue

                        data_object = {
                            "file_name": filename,
                            "file_content": file_content
                        }

                        try:
                            uuid = self.client.data_object.create(
                                data_object,
                                class_name=self.collection_name,
                                vector=vector,
                            )
                            print(f"存储成功: {filename} 第 {line_number} 行, UUID: {uuid}")
                        except Exception as e:
                            print(f"存储失败: {filename} 第 {line_number} 行, 错误: {e}")

                    line_number += 1
其存储后格式应例如:
向量相似度查找
向量相似度查找主要有三类:欧几里得距离(L2 Norm) → 用于衡量向量之间的直线距离、余弦相似度(Cosine Similarity) → 衡量向量方向是否相近、点积(Dot Product) → 适用于归一化向量。
这里我们使用weaviate自带的余弦相似度查找,同时余弦相似度也是最常见的向量相似度查找。
def search(self, client: weaviate.Client, question: str):
    response = requests.post(
        "http://localhost:11434/api/embeddings",
        json={
            "model": "nomic-embed-text",
            "prompt": question
        }
    )

    data = response.json()
    query_vector = data.get("embedding", None)

    nearVector = {
        'vector': query_vector
    }
    response = (
        client.query
        .get(collection_name, ['file_name', 'file_content'])
        .with_near_vector(nearVector)
        .with_limit(5)
        .with_additional(['distance'])
        .do()
    )
return response在.with_limit(5)处可以选择通过查找后反馈的个数,例如此处为反馈最相似的五个,在.with_additional(['distance'])处可以选择是否反馈距离。
构建提示词
在完成知识库的构建和相似度查找后我们需要为大模型构建提示词
import requests
import json

def deepseek(question: str):
    response = requests.post(
        "http://localhost:11434/api/generate",
        json={
            "model": "deepseek-r1:7b",
            "prompt": question
        },
        stream=True
    )

    full_response = ""
    for line in response.iter_lines():
        if line:
            try:
                data = json.loads(line.decode("utf-8"))
                if "response" in data:
                    full_response += data["response"]
            except Exception as e:
                print(f"解析错误: {e}")

    return full_response.strip()

ask = input()
Eback = search(ask)
question = f"用户问题为:{ask}\n根据以下知识回答问题:{Eback}"
以上只是一个实例,你可以根据需要构建提示词。
结语
通过构建RAG,可以很好并低成本的提高大模型在某一垂类领域的表现,解决在该领域内大模型会出现的幻觉问题。你只需要对相应文本进行存储,那么就可以构建自己的专有大模型。本贴中构建的RAG流程相对复杂,如果你希望可以更加简单构建RAG,推荐你使用LightRAG。其与本贴介绍的RAG最大的区别在于不使用向量数据库进行存储,转为存储在json文件中,其好处是不再需要docker拉取镜像,但其在相似度查找时需要更高的时间复杂度。
LightRAG:https://zhuanlan.zhihu.com/p/13261291813
详细代码会在后续整合完成后开源到github上,在此处也要感谢B站大佬的RAG视频,该视频很好的将RAG流程呈现
20分钟速成 RAG & 向量数据库核心概念 【小白学AI系列 -1 】_哔哩哔哩_bilibili

欢迎加入DeepSeek 技术社区。在这里,你可以找到志同道合的朋友,共同探索AI技术的奥秘。
更多推荐

 27
27 0
0- 0


 已为社区贡献1条内容

所有评论(0)