DeepSeek本地部署/SGLang/单节点/多节点
我们采用SGLang框架进行DeepSeek模型的本地部署,基于物理设备限制,这里我们以DeepSeek-R1-Distill-Qwen-7B为例,更多配置可以参考,满血版本也可参考下述流程,最小设备支持为8*H20。
·
DeepSeek本地部署
简介
我们采用SGLang框架进行DeepSeek模型的本地部署,基于物理设备限制,这里我们以DeepSeek-R1-Distill-Qwen-7B为例,更多配置可以参考官方服务支持,满血版本也可参考下述流程,最小设备支持为8*H20
环境配置
| 系统 | 显卡 | CUDA | pytorch | python |
|---|---|---|---|---|
| Ubuntu 20.04 | A10*1 | 12.4 | 2.5.1 | 3.10 |
单机部署
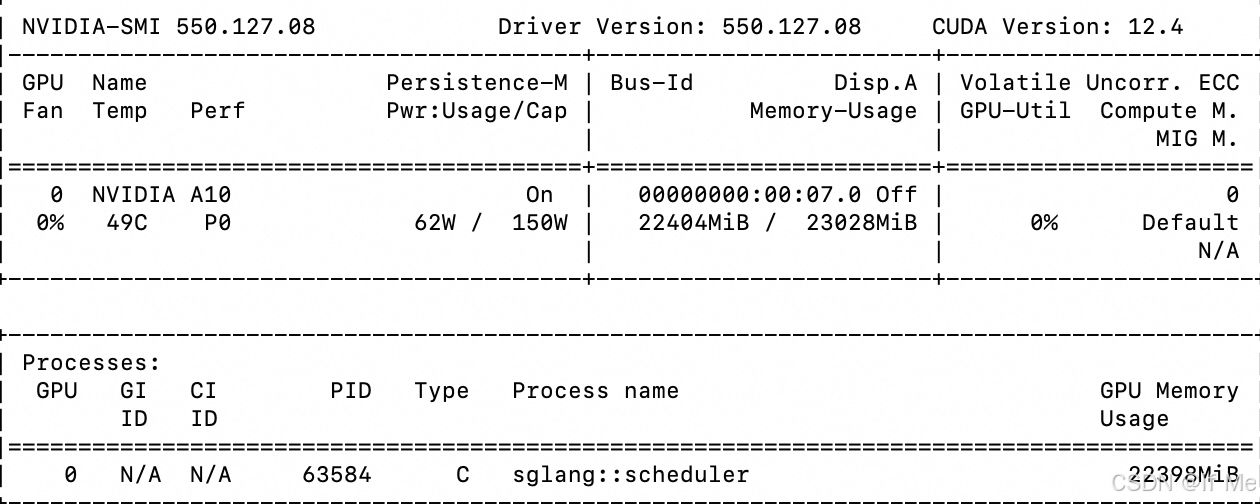
基础环境默认大家安装成功,以下仅作检查
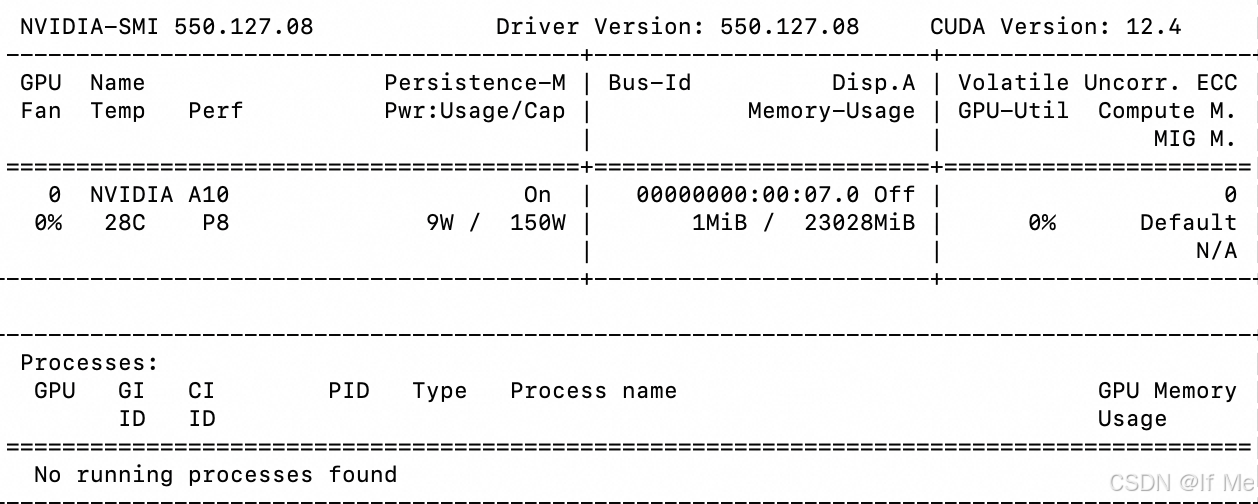
# 查看驱动
nvidia-smi
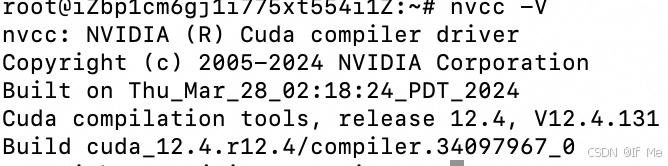
# 查看cuda版本
nvcc -V
# 在anconda官网查看对应安装包并复制对应链接地址
https://repo.anaconda.com/archive/

# 云服务器下载安装包
wget https://repo.anaconda.com/archive/Anaconda3-2024.10-1-Linux-x86_64.sh


# 给安装包赋予权限(对应文件在执行上一步命令时的文件夹下)
chmod +x Anaconda3-2024.10-1-Linux-x86_64.sh
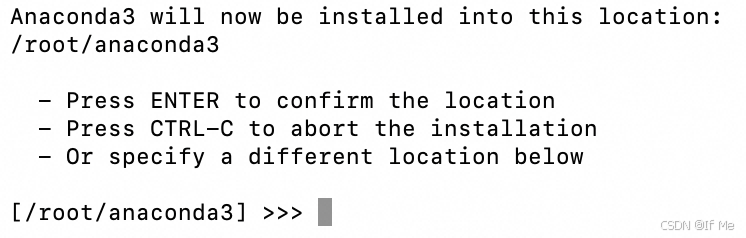
# 安装anaconda(安装过程一路选择yes即可,在安装路径配置时,选择默认路径即可)
./Anaconda3-2024.10-1-Linux-x86_64.sh
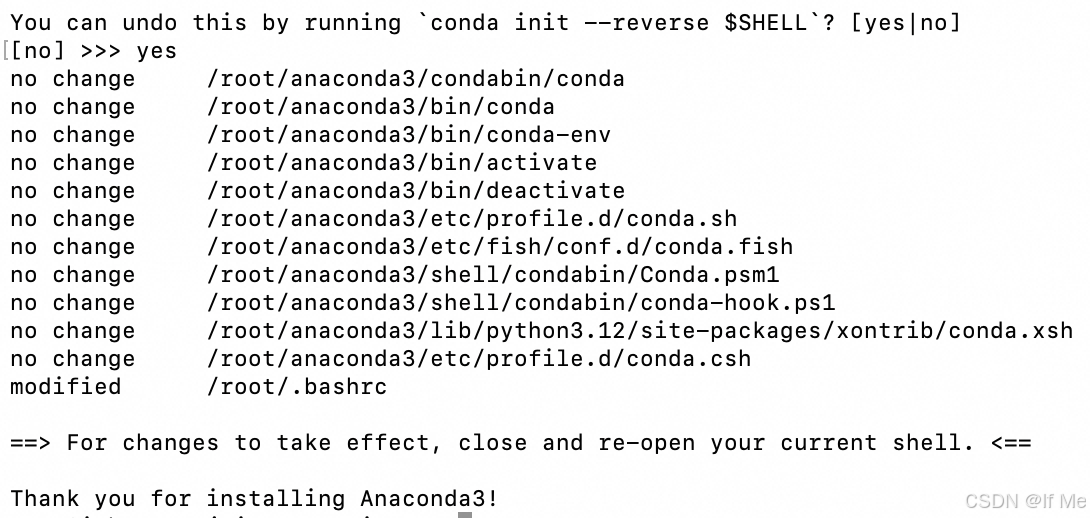
# 安装完毕后重启终端,一般会激活conda的base环境,如未激活,请使用下述命令
conda init
# 查看是否安装成功
conda -V
# 创建虚拟环境(Python≥3.10 and <3.13)
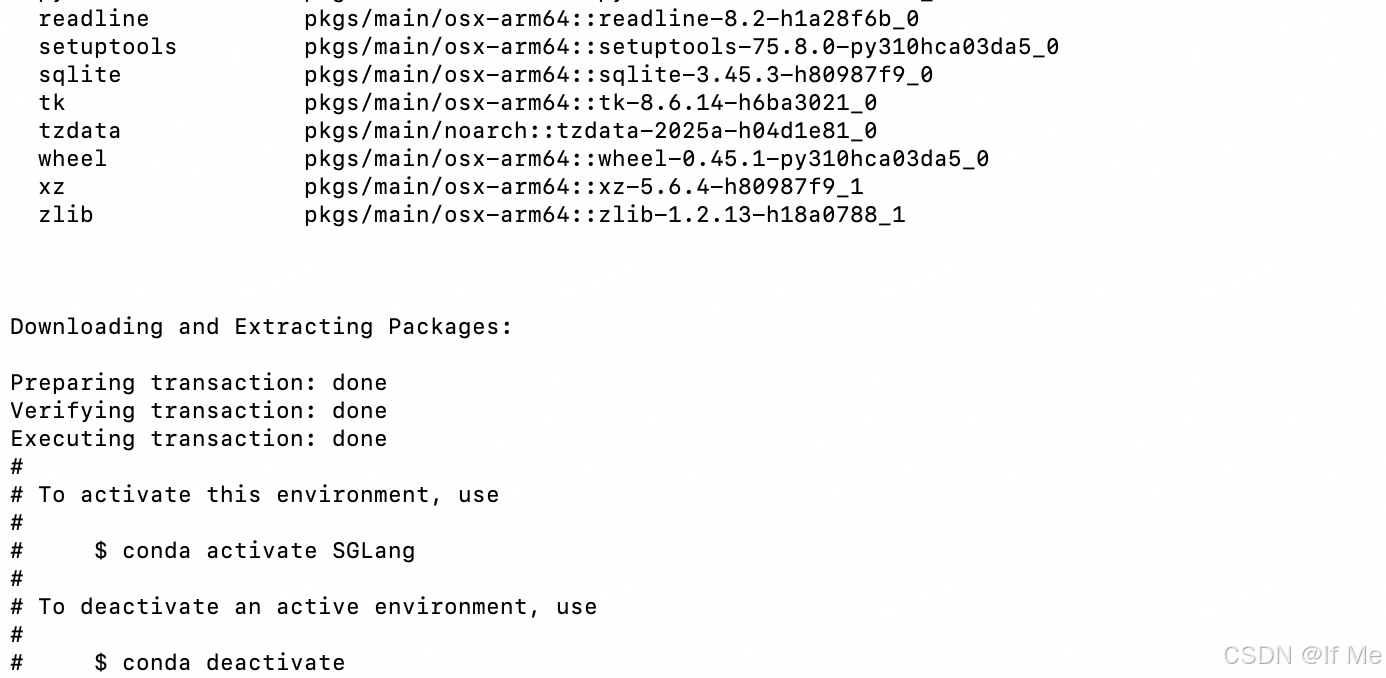
conda create -n SGLang python=3.10 -y
conda activate SGLang
# 安装torch及其套件
pip install torch==2.5.1 torchvision==0.20.1 torchaudio==2.5.1 --index-url https://download.pytorch.org/whl/cu124
# 安装SGLang推理架构
pip install --upgrade pip
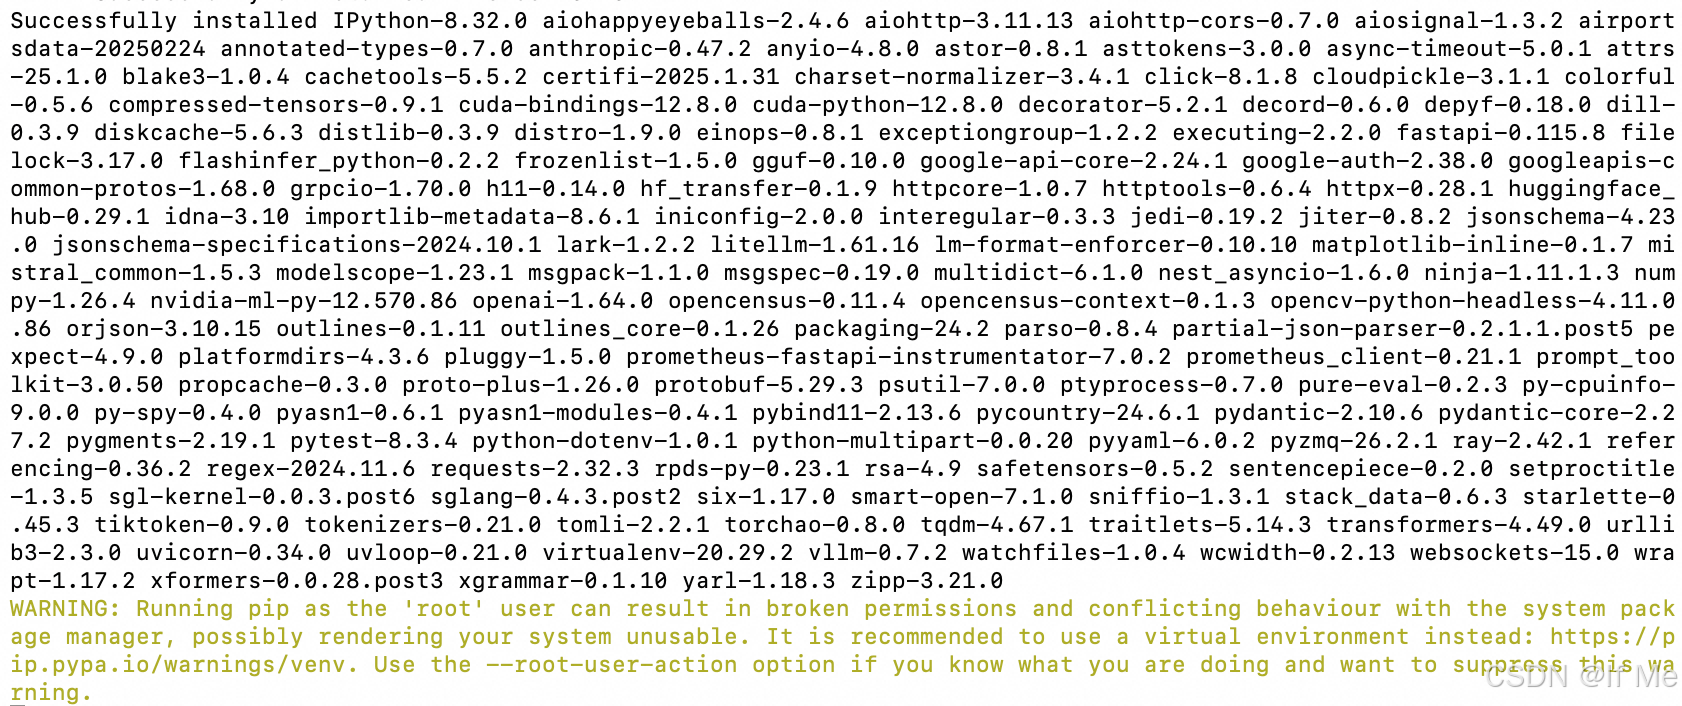
pip install sgl-kernel --force-reinstall --no-deps
pip install "sglang[all]" --find-links https://flashinfer.ai/whl/cu124/torch2.5/flashinfer/

# 通过git lfs+modelscope加速下载模型
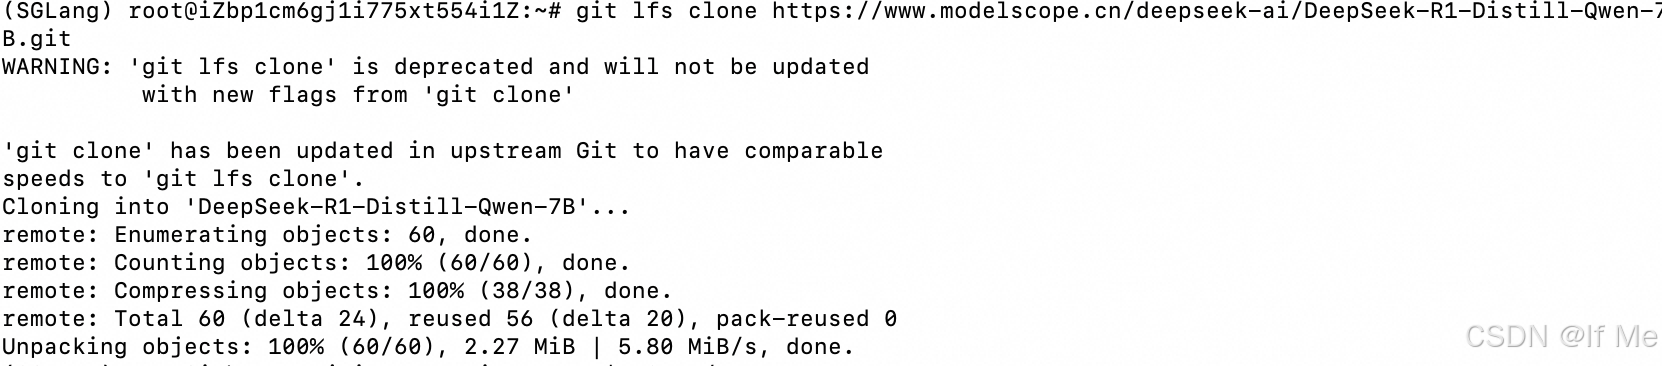
apt install git git-lfs
git lfs clone https://www.modelscope.cn/deepseek-ai/DeepSeek-R1-Distill-Qwen-7B.git
# 可选(由于模型下载时间较长,为避免因终端连接中断导致下载失败,建议后台挂起操作)
apt install screen
screen -S SGLang
# 启动服务
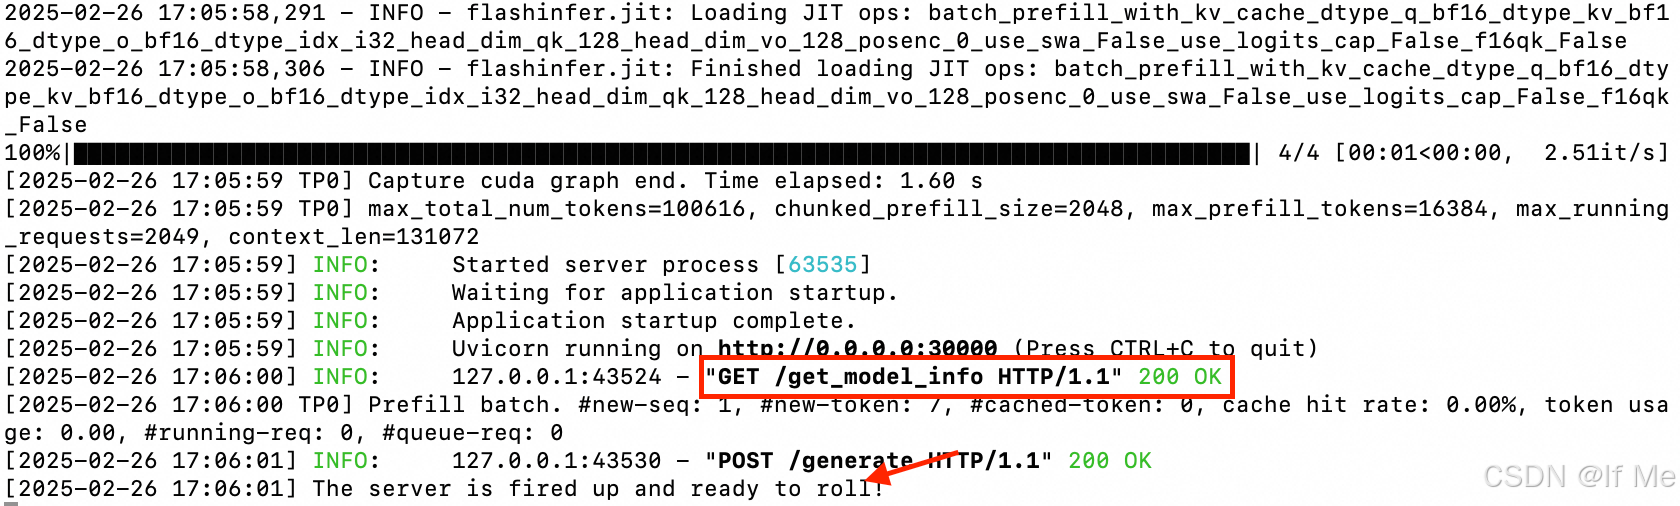
python3 -m sglang.launch_server --model-path /root/DeepSeek-R1-Distill-Qwen-7B --port 30000 --mem-fraction-static 0.9 --tp 1 --trust-remote-code --host 0.0.0.0
# 可选(如遇见transformers库报错,请尝试降低版本,下述版本确认可用)
pip install transformers==4.48.3
推理测试
# 在本地发起请求而非云服务器终端,需在启动命令中加入--host 0.0.0.0,同时需确认对应IP有数据入口权限
# OpenAI接口代码
import openai
client = openai.Client(
    base_url="http://<Master IP>:<port>/v1", api_key="EMPTY")
# 将上述base_url修改为具体配置即可,master IP为公网IP地址,port为启动命令中的--port参数

# Chat completion
response = client.chat.completions.create(
    model="default",
    messages=[
        {"role": "system", "content": "You are a helpful AI assistant"},
        {"role": "user", "content": "你是谁"},
    ],
    temperature=0.6,
    max_tokens=1024,
)
print(response.choices[0].message)

将localhost:port替换为对应IP以及端口即可
curl -X POST http://localhost:port/v1/chat/completions \
 -H "Content-Type: application/json" \
 -d '{
    "model": "default",
    "messages": [
        {
            "role": "system",
            "content": "You are a helpful AI assistant"
        },
        {
            "role": "user",
            "content": "你是谁"
        }
    ],
    "temperature": 0.6,
    "max_tokens": 1024
}'

性能选项
| 参数名称 | 参数介绍 | 实际测试 |
|---|---|---|
| –tp | 启用多 GPU 张量并行,常规并行方式 | 设置为实际的卡数即可 |
| –dp | 启用多 GPU 数据并行,需要内存充足,可以提升吞吐量 | 单节点单卡不适用 |
| –mem-fraction-static | 控制 KV 缓存池的内存使用量,默认为0.9 | 如服务期间遇内存不足错误,可尝试调小该参数 |
| –chunked-prefill-size | 控制分块预填充大小 | 如如在为长提示进行预填充时遇内存不足错误,可尝试调小该参数 |
| –enable-torch-compile | PyTorch 2.0的一个主要功能,对模型进行提前编译优化,提升小批量并行速度 | A10单节点失败,满血可以 |
| –torch-compile-max-bs | torch.compile 优化的最大批处理大小,一般与–enable-torch-compile同时使用,在小批量时优化效果最佳,推荐为1-8 | A10单节点失败,满血可以 |
性能评估
# 下载测试数据集
git lfs clone https://www.modelscope.cn/datasets/gliang1001/ShareGPT_V3_unfiltered_cleaned_split.git
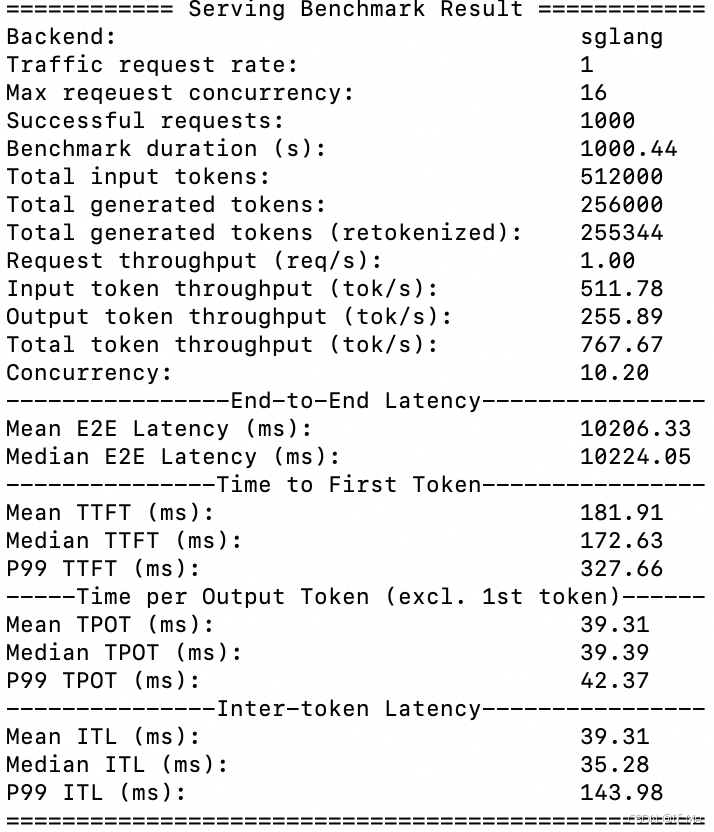
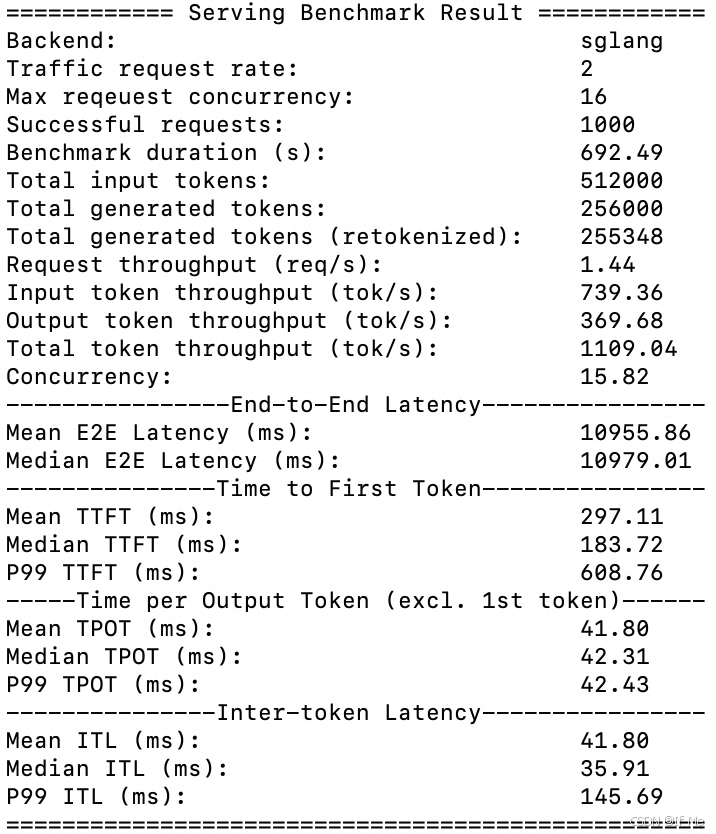
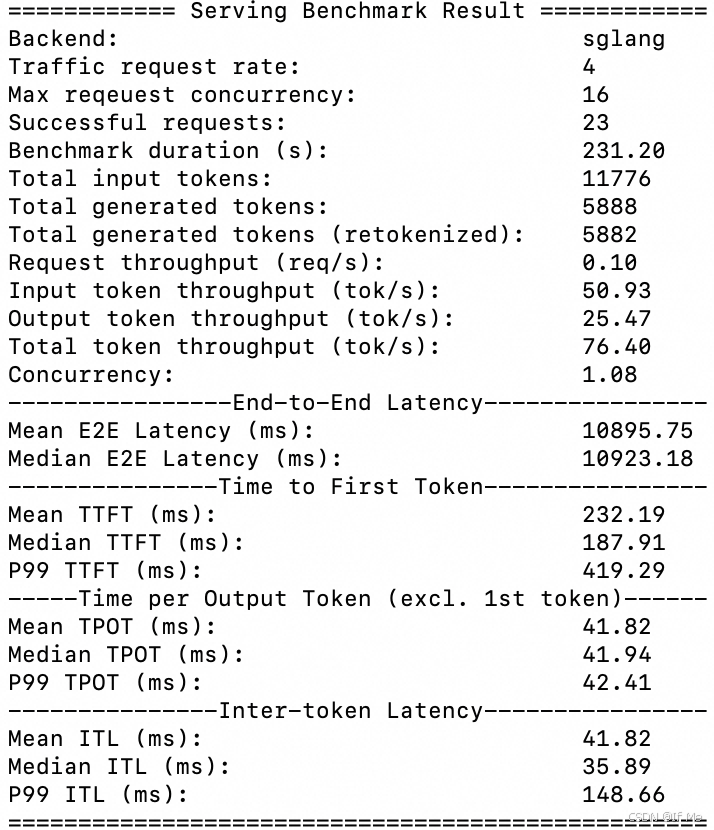
# 由于显存所剩空间不多,输入长度与输出长度在测试时分别设置为512,256,以防OOM
# 模拟并发限制,将最大并发限制为16
# 请求率为8时,显存不够崩溃了
python3 -m sglang.bench_serving --backend sglang --model /root/DeepSeek-R1-Distill-Qwen-7B --port 30000 --dataset-name random --request-rate-range 1,2,4,8 --random-input 512 --random-output 256 --random-range-ratio 1.0 --multi --dataset-path /root/ShareGPT_V3_unfiltered_cleaned_split/ShareGPT_V3_unfiltered_cleaned_split.json --max-concurrency 16
# 可选(动态观察显存变化)
watch -d -n 1 nvidia-smi
多机部署
多机部署的前置条件与单机部署一致,各节点均需下载模型,一切就绪后,然后在各自终端执行下列命令(示例:两个 A10节点,每个节点有 1 个 GPU)
# node 1
python3 -m sglang.launch_server --model-path /root/DeepSeek-R1-Distill-Qwen-7B --tp 2 --dist-init-addr IP:PORT --nnodes 2 --node-rank 0 --trust-remote-code --host 0.0.0.0 --port 40000


# node 2
python3 -m sglang.launch_server --model-path /root/DeepSeek-R1-Distill-Qwen-7B --tp 2 --dist-init-addr IP:PORT --nnodes 2 --node-rank 1 --trust-remote-code --host 0.0.0.0 --port 40000

# 补充说明
# IP为主节点IP,PORT为指定通信的端口,需提前确认多节点之间可以通信
# 启动命令时,先启动主节点,后启动副节点
# 所有节点的--dist-init-addr均需设置为主节点IP
# 在服务启动后,发起请求时需指定为主节点IP

欢迎加入DeepSeek 技术社区。在这里,你可以找到志同道合的朋友,共同探索AI技术的奥秘。
更多推荐


 19
19 1
1- 0


 已为社区贡献2条内容

所有评论(0)