初学者也能快速掌握的方式,.net core项目集成DeepSeek
想要在自己的API项目中集成DeepSeek大语言模型,我们该如何操作?直接使用HttpClient调用 DeepSeek API:通过手动构建 HTTP 请求,直接与 DeepSeek 的 RESTful API 进行交互。使用第三方 SDK(如:利用社区提供的 SDK,简化与 DeepSeek API 的交互过程。以下将详细介绍这两种方式的实现步骤,并提供完整的示例代码。以上两种方式各有优劣。
·
前言
想要在自己的API项目中集成DeepSeek大语言模型,我们该如何操作?
下面将介绍:ASP.NET Core Web API 与 DeepSeek 集成的主要有以下两种方式:
- 直接使用
HttpClient调用 DeepSeek API:通过手动构建 HTTP 请求,直接与 DeepSeek 的 RESTful API 进行交互。 - 使用第三方 SDK(如
DeepSeekSDK-NET):利用社区提供的 SDK,简化与 DeepSeek API 的交互过程。
以下将详细介绍这两种方式的实现步骤,并提供完整的示例代码。
方法一:直接使用 HttpClient 调用 DeepSeek API
步骤:
- 获取 DeepSeek API 密钥:在 DeepSeek 开放平台注册账号并创建 API 密钥。阅读官网即可获取,这里不再赘述。
- 在 ASP.NET Core 项目中配置
HttpClient:使用依赖注入(Dependency Injection)配置HttpClient。 - 编写控制器以处理 API 请求:创建一个 API 控制器,接收客户端请求,并调用 DeepSeek API。
示例代码:
- 在
Startup.cs中配置HttpClient:
public void ConfigureServices(IServiceCollection services)
{
    services.AddControllers();
    services.AddHttpClient("DeepSeekClient", client =>
    {
        client.BaseAddress = new Uri("https://api.deepseek.com/");
        client.DefaultRequestHeaders.Add("Authorization", "Bearer YOUR_API_KEY");
        client.DefaultRequestHeaders.Add("Accept", "application/json");
    });
}
- 创建控制器
DeepSeekController:
using Microsoft.AspNetCore.Mvc;
using System.Net.Http;
using System.Text;
using System.Text.Json;
using System.Threading.Tasks;

[Route("api/[controller]")]
[ApiController]
public class DeepSeekController : ControllerBase
{
    private readonly IHttpClientFactory _httpClientFactory;

    public DeepSeekController(IHttpClientFactory httpClientFactory)
    {
        _httpClientFactory = httpClientFactory;
    }

    [HttpPost("Chat")]
    public async Task<IActionResult> Chat([FromBody] UserMessage userMessage)
    {
        var client = _httpClientFactory.CreateClient("DeepSeekClient");

        var requestBody = new
        {
            model = "deepseek-chat",
            messages = new[]
            {
                new { role = "system", content = "You are a helpful assistant." },
                new { role = "user", content = userMessage.Content }
            }
        };

        var content = new StringContent(JsonSerializer.Serialize(requestBody), Encoding.UTF8, "application/json");
        var response = await client.PostAsync("chat/completions", content);

        if (response.IsSuccessStatusCode)
        {
            var responseContent = await response.Content.ReadAsStringAsync();
            return Ok(responseContent);
        }
        else
        {
            return StatusCode((int)response.StatusCode, "Error calling DeepSeek API");
        }
    }
}

public class UserMessage
{
    public string Content { get; set; }
}
注意事项:
- 确保在
HttpClient的默认请求头中添加正确的Authorization信息。 - 处理可能的异常情况,如网络错误或 API 调用失败。
测试
由于官网无法充值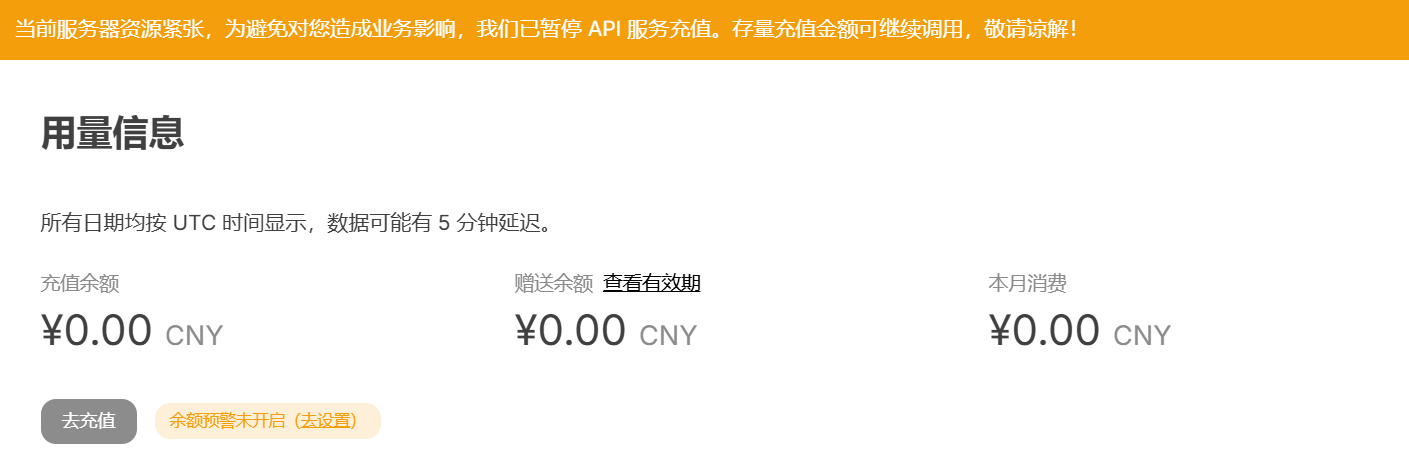
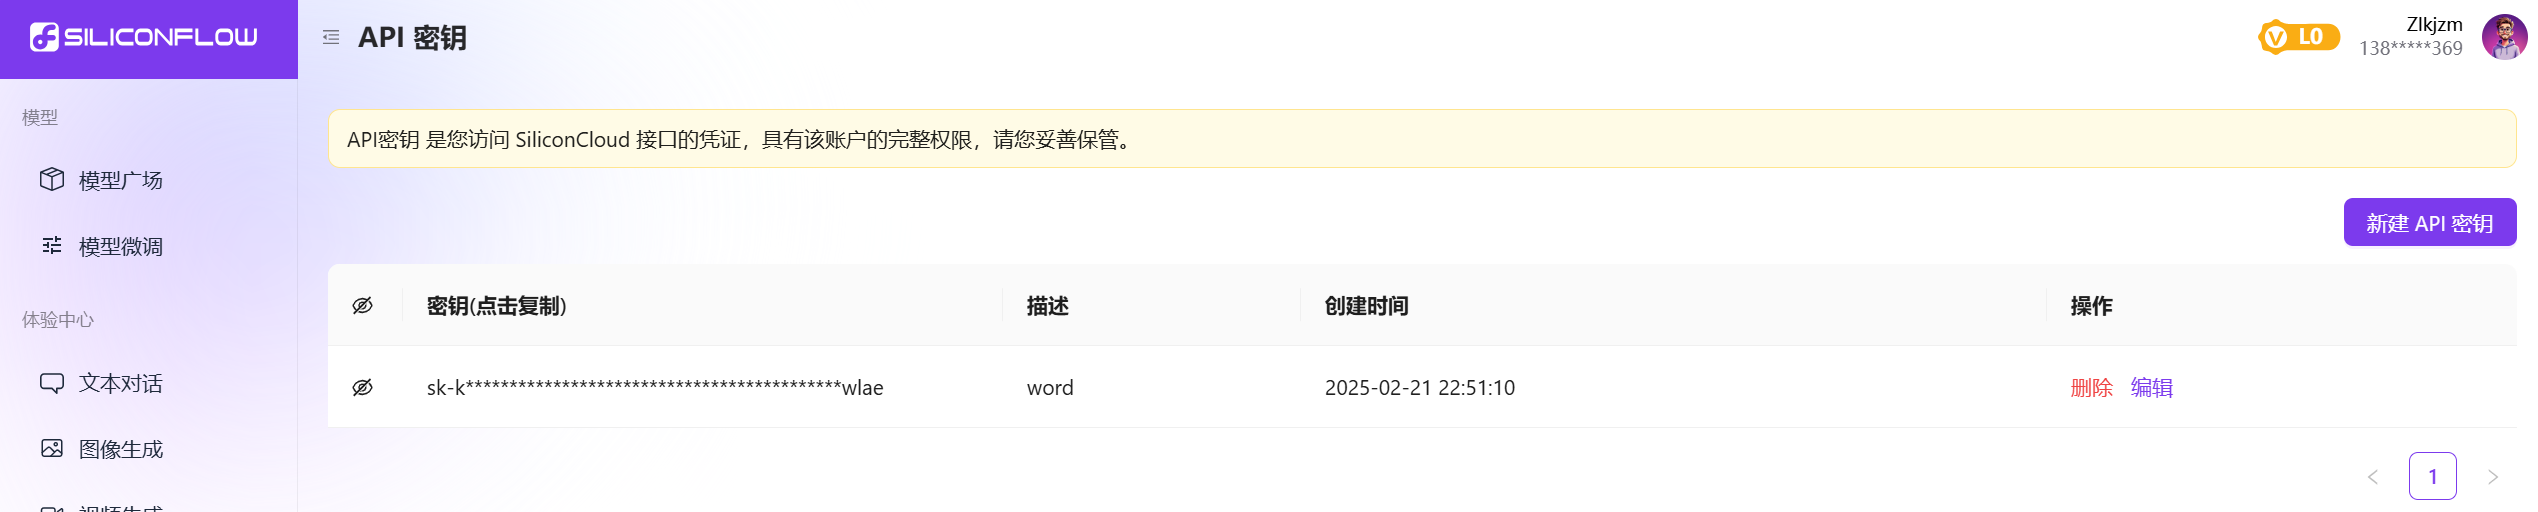
我们可以在硅基流动上注册和使用。将请求的地址和API Key替换一下,比如
选择对应的地址和模型名称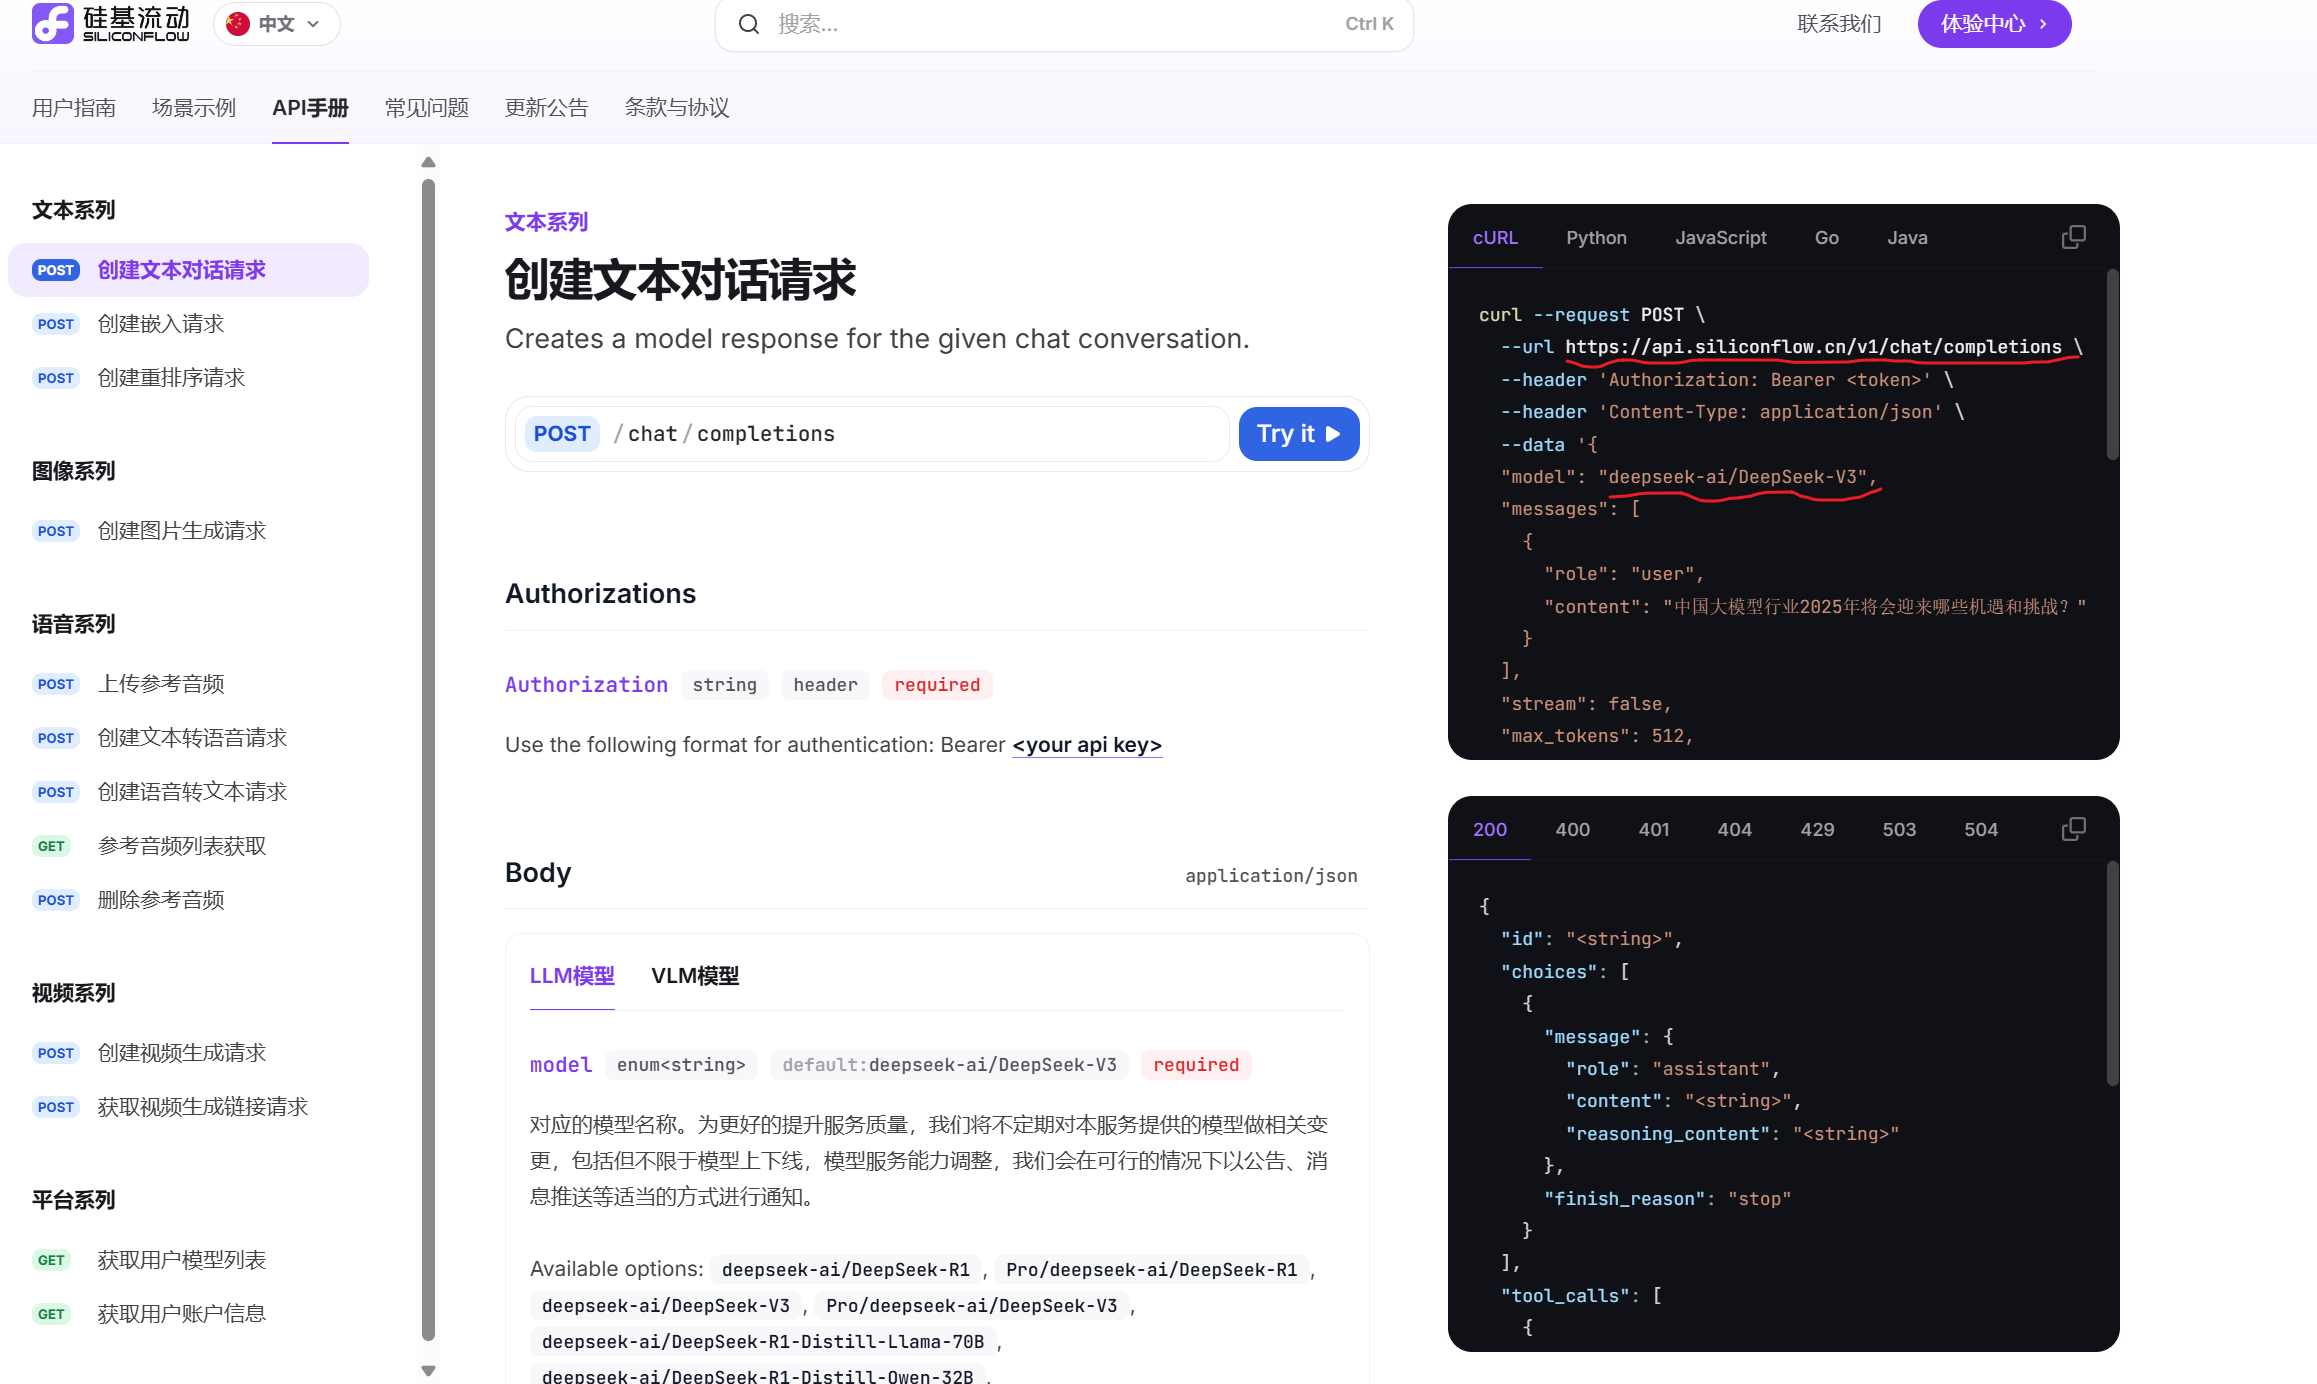
builder.Services.AddHttpClient("DeepSeekClient", client =>
{
    client.BaseAddress = new Uri("https://api.siliconflow.cn/v1");
    client.DefaultRequestHeaders.Add("Authorization", "Bearer sk-...");
    client.DefaultRequestHeaders.Add("Accept", "application/json");
});
模型选择
var requestBody = new
{
    model = "deepseek-ai/DeepSeek-V3",
    messages = new[]
    {
    new { role = "system", content = "You are a helpful assistant." },
    new { role = "user", content = userMessage.Content }
}
};
执行后,成功调用返回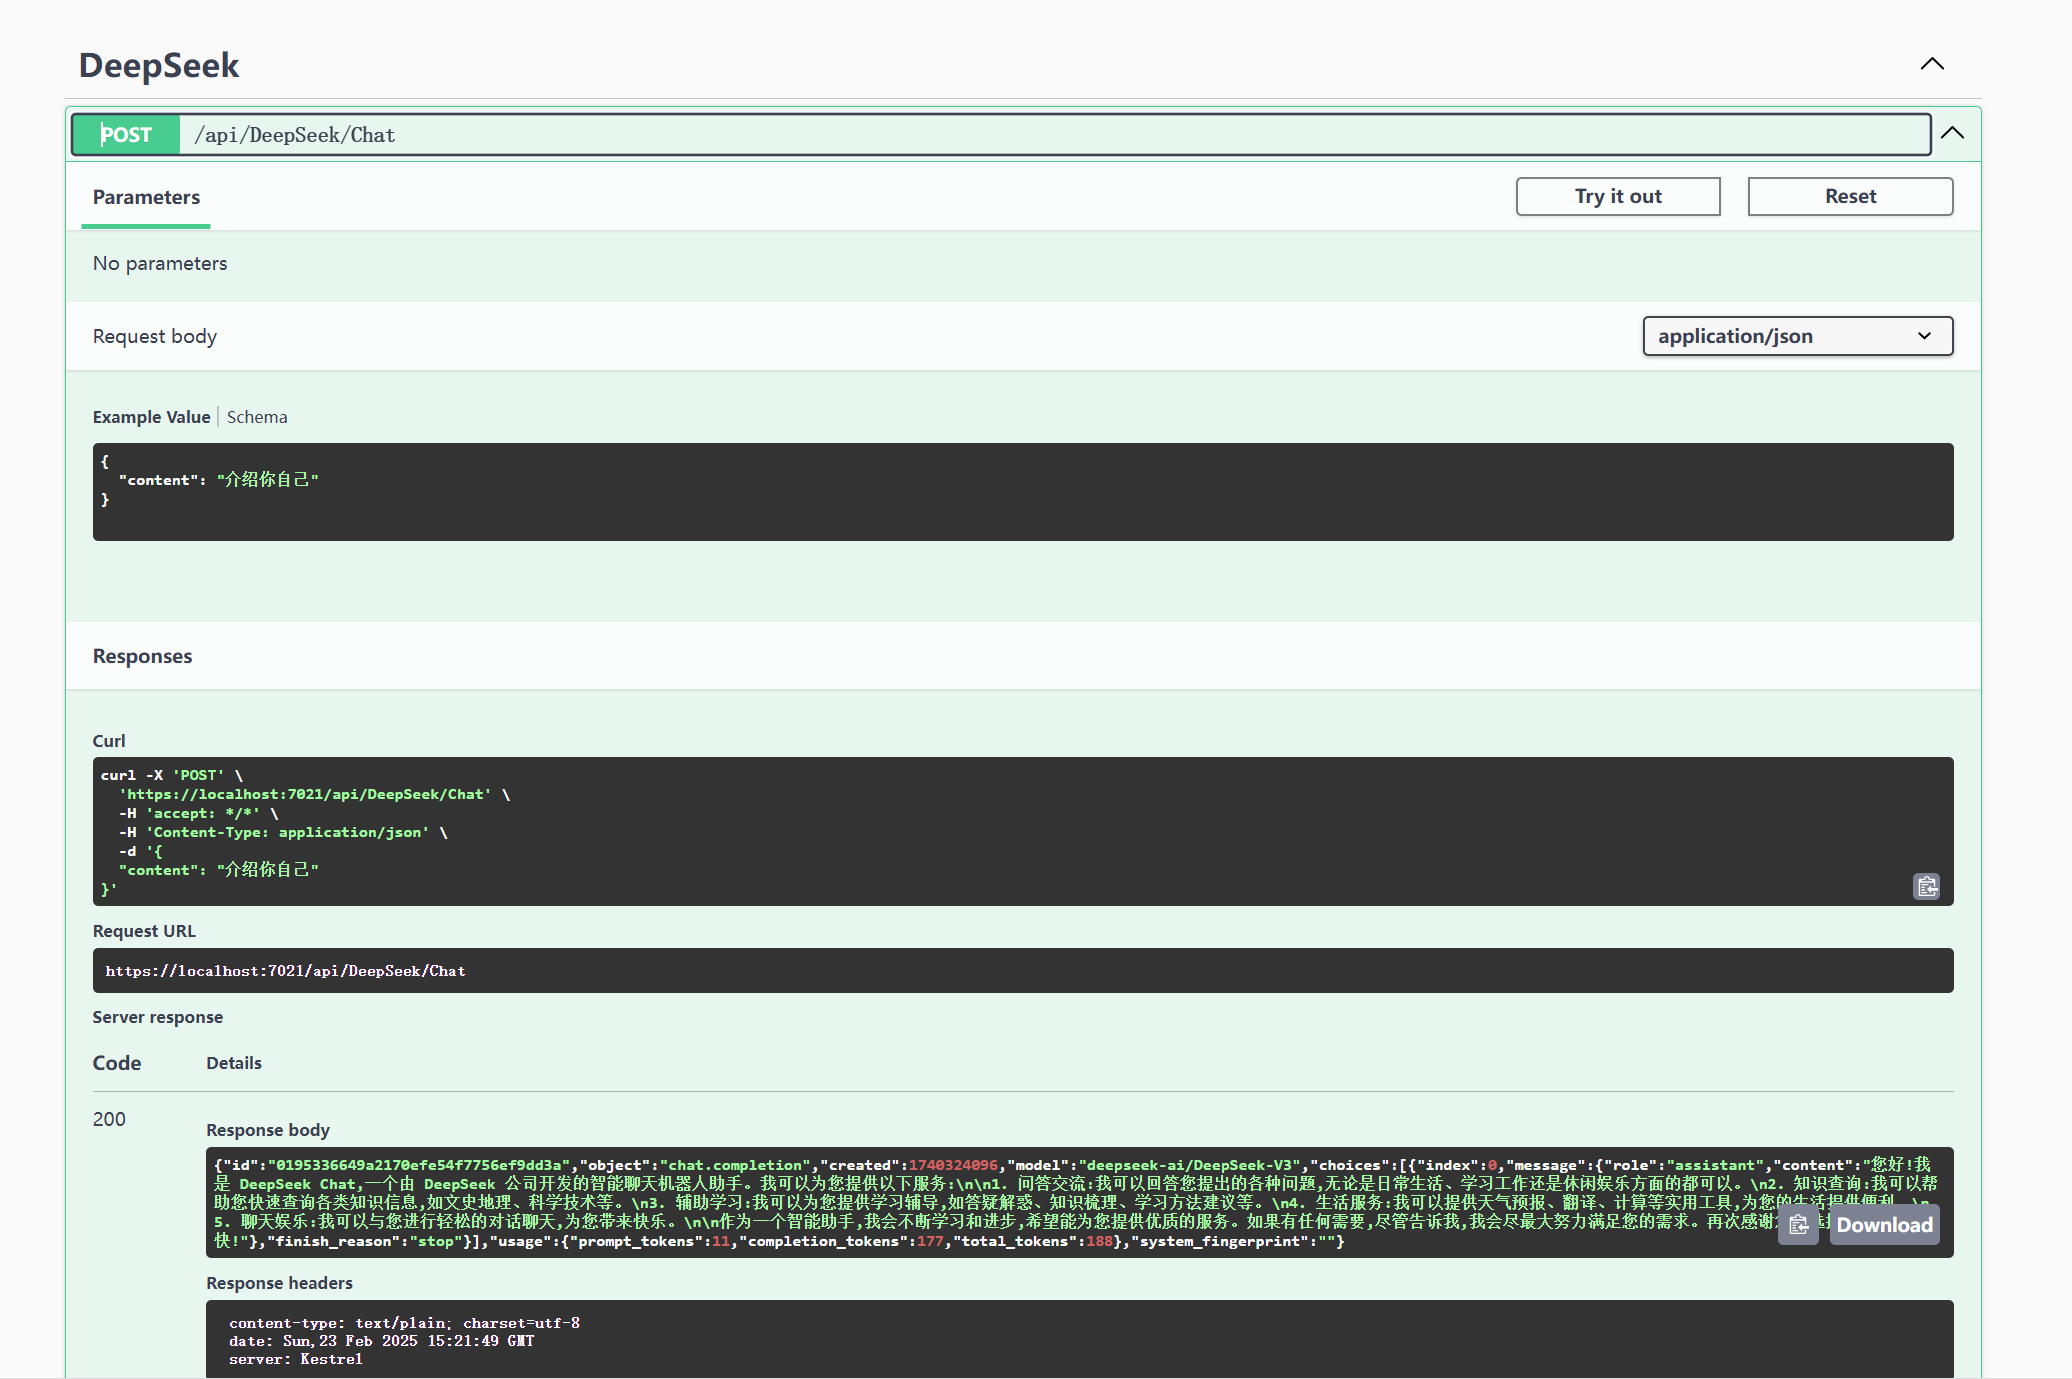
方法二:使用 DeepSeekSDK-NET SDK
步骤:
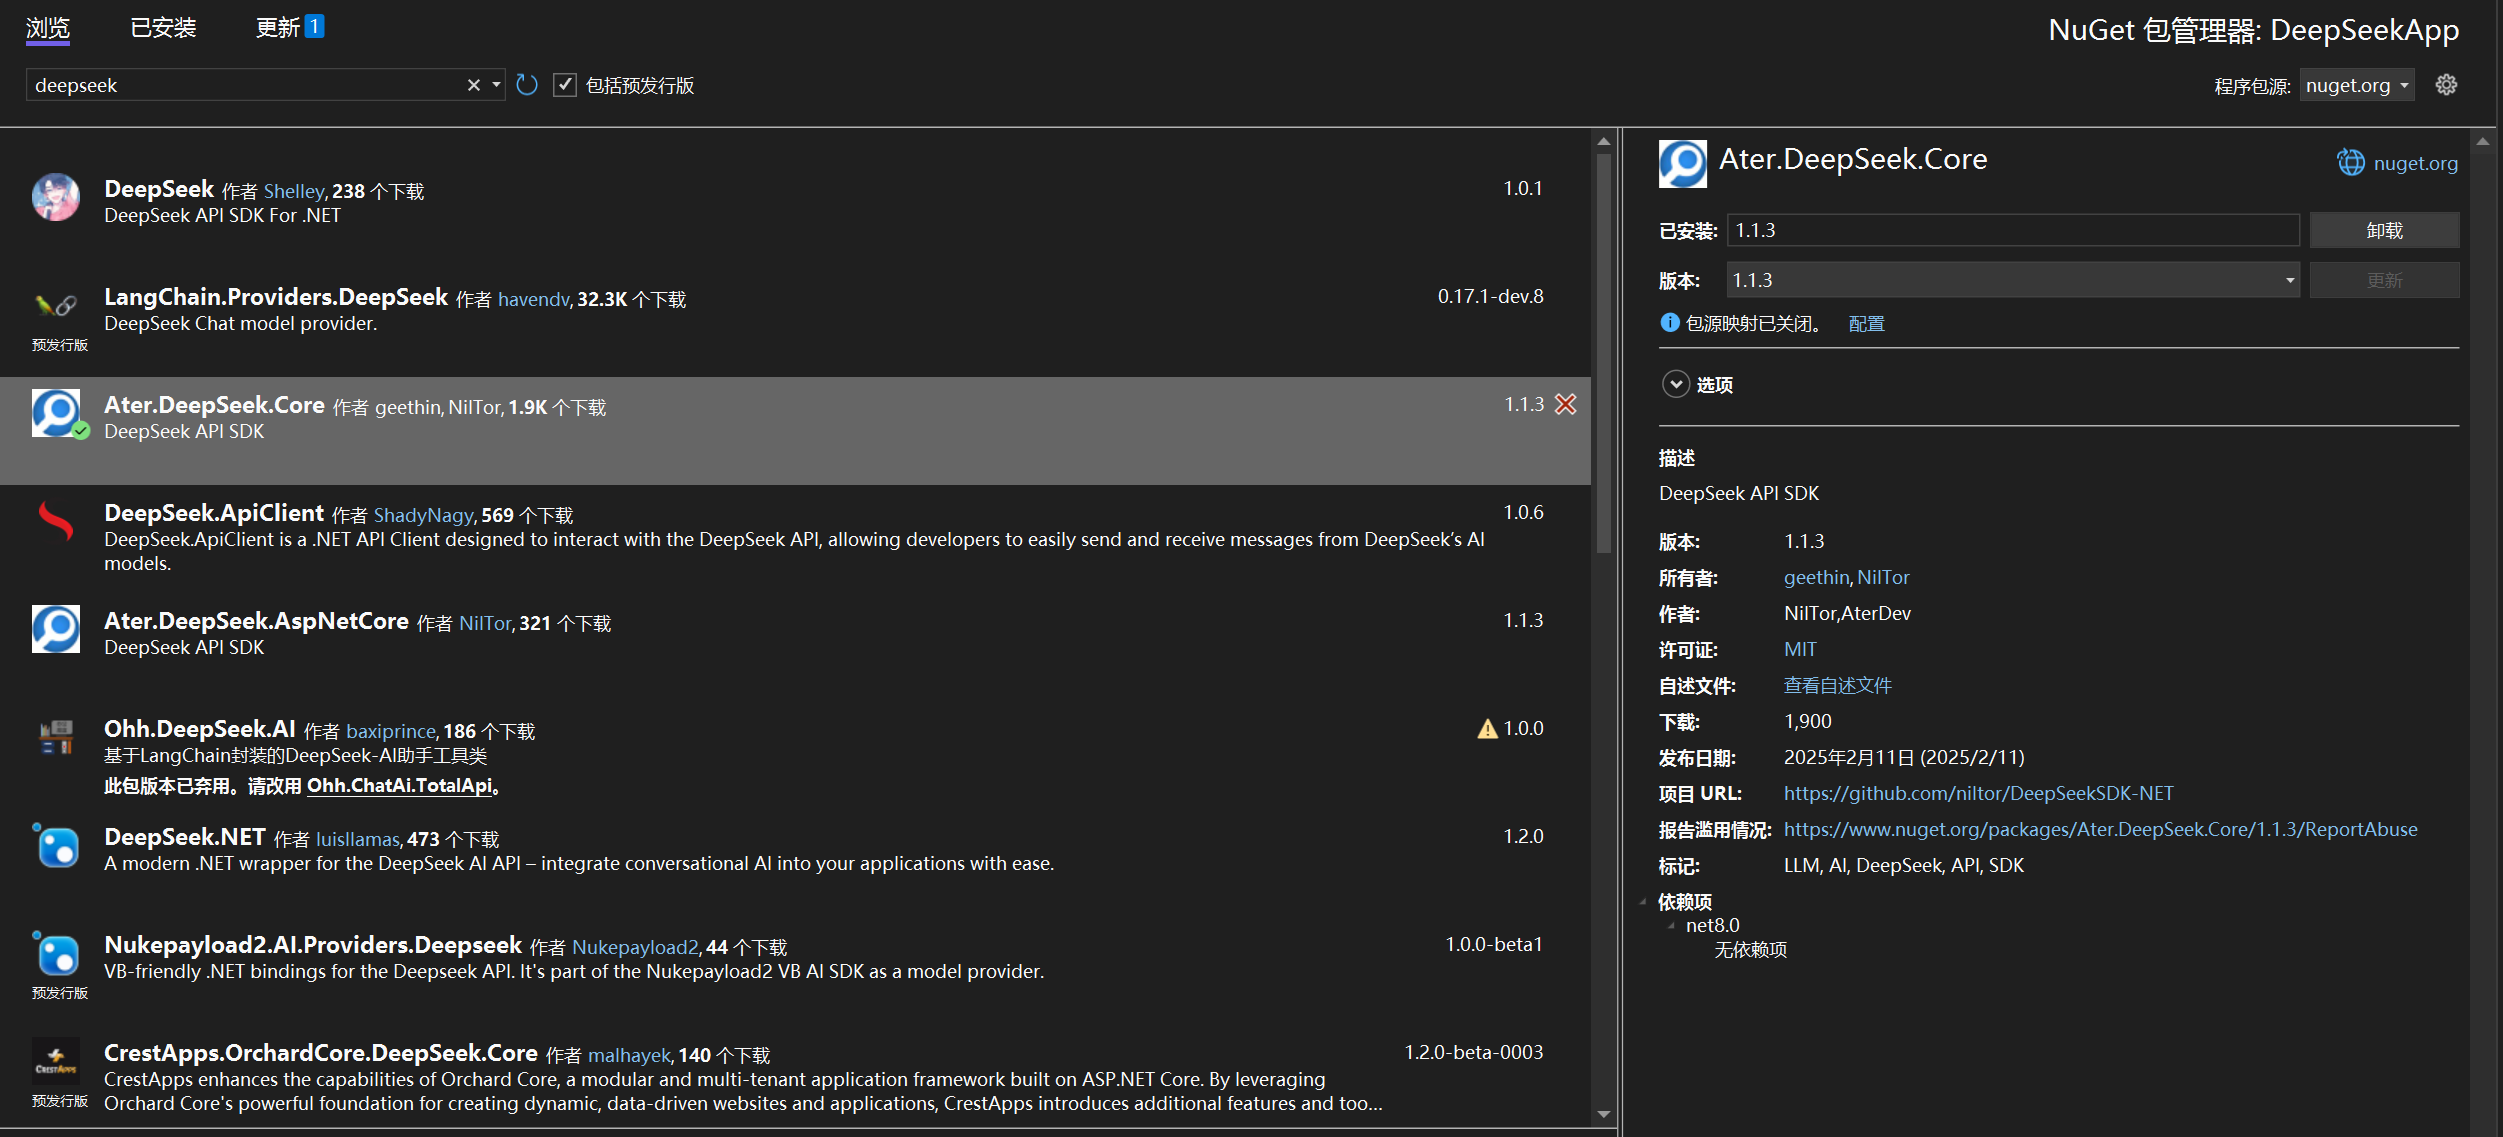
- 安装
DeepSeekSDK-NET:通过 NuGet 安装该 SDK。 - 在 ASP.NET Core 项目中配置
DeepSeekClient:使用依赖注入配置DeepSeekClient。 - 编写控制器以处理 API 请求:创建一个 API 控制器,接收客户端请求,并调用 DeepSeek API。
示例代码:
- 安装 NuGet 包:
dotnet add package Ater.DeepSeek.Core
- 在
Startup.cs中配置DeepSeekClient:
public void ConfigureServices(IServiceCollection services)
{
    services.AddControllers();
    services.AddSingleton<DeepSeekClient>(provider =>
    {
        var apiKey = "YOUR_API_KEY";
        return new DeepSeekClient(apiKey);
    });
}
- 创建控制器
DeepSeekController:
using Ater.DeepSeek.Core;
using Microsoft.AspNetCore.Mvc;
using System.Linq;
using System.Threading.Tasks;

[Route("api/[controller]")]
[ApiController]
public class DeepSeekController : ControllerBase
{
    private readonly DeepSeekClient _deepSeekClient;

    public DeepSeekController(DeepSeekClient deepSeekClient)
    {
        _deepSeekClient = deepSeekClient;
    }

    [HttpPost("Chat")]
    public async Task<IActionResult> Chat([FromBody] UserMessage userMessage)
    {
        var request = new ChatRequest
        {
            Messages = new[]
            {
                Message.NewSystemMessage("You are a helpful assistant."),
                Message.NewUserMessage(userMessage.Content)
            },
            Model = Constant.Model.ChatModel
        };

        var response = await _deepSeekClient.ChatAsync(request, new System.Threading.CancellationToken());

        if (response != null)
        {
            var reply = response.Choices.FirstOrDefault()?.Message?.Content;
            return Ok(reply);
        }
        else
        {
            return StatusCode(500, "Error calling DeepSeek API");
        }
    }
}

public class UserMessage
{
    public string Content { get; set; }
}
注意事项:
- 使用 SDK 可以简化与 DeepSeek API 的交互,但需要关注 SDK 的更新和维护情况。
- 确保在项目中正确配置和使用依赖注入。
测试
使用硅基流动的Key,我们替换其中的参数配置部分
 builder.Services.AddSingleton<DeepSeekClient>(provider =>
 {
     var apiKey = "sk-...";
     var baseAddress = new Uri("https://api.siliconflow.cn/v1");
     var http = new HttpClient
     {
         BaseAddress =baseAddress,
         Timeout = TimeSpan.FromSeconds(120.0)
     };
     return new DeepSeekClient(http, apiKey);
 });
和请求模型的部分
var request = new ChatRequest
{
    Messages = new List<Message>()
    {
        Message.NewSystemMessage("You are a helpful assistant."),
        Message.NewUserMessage(userMessage.Content)
    },
    Model = "deepseek-ai/DeepSeek-V3"
};
执行后的结果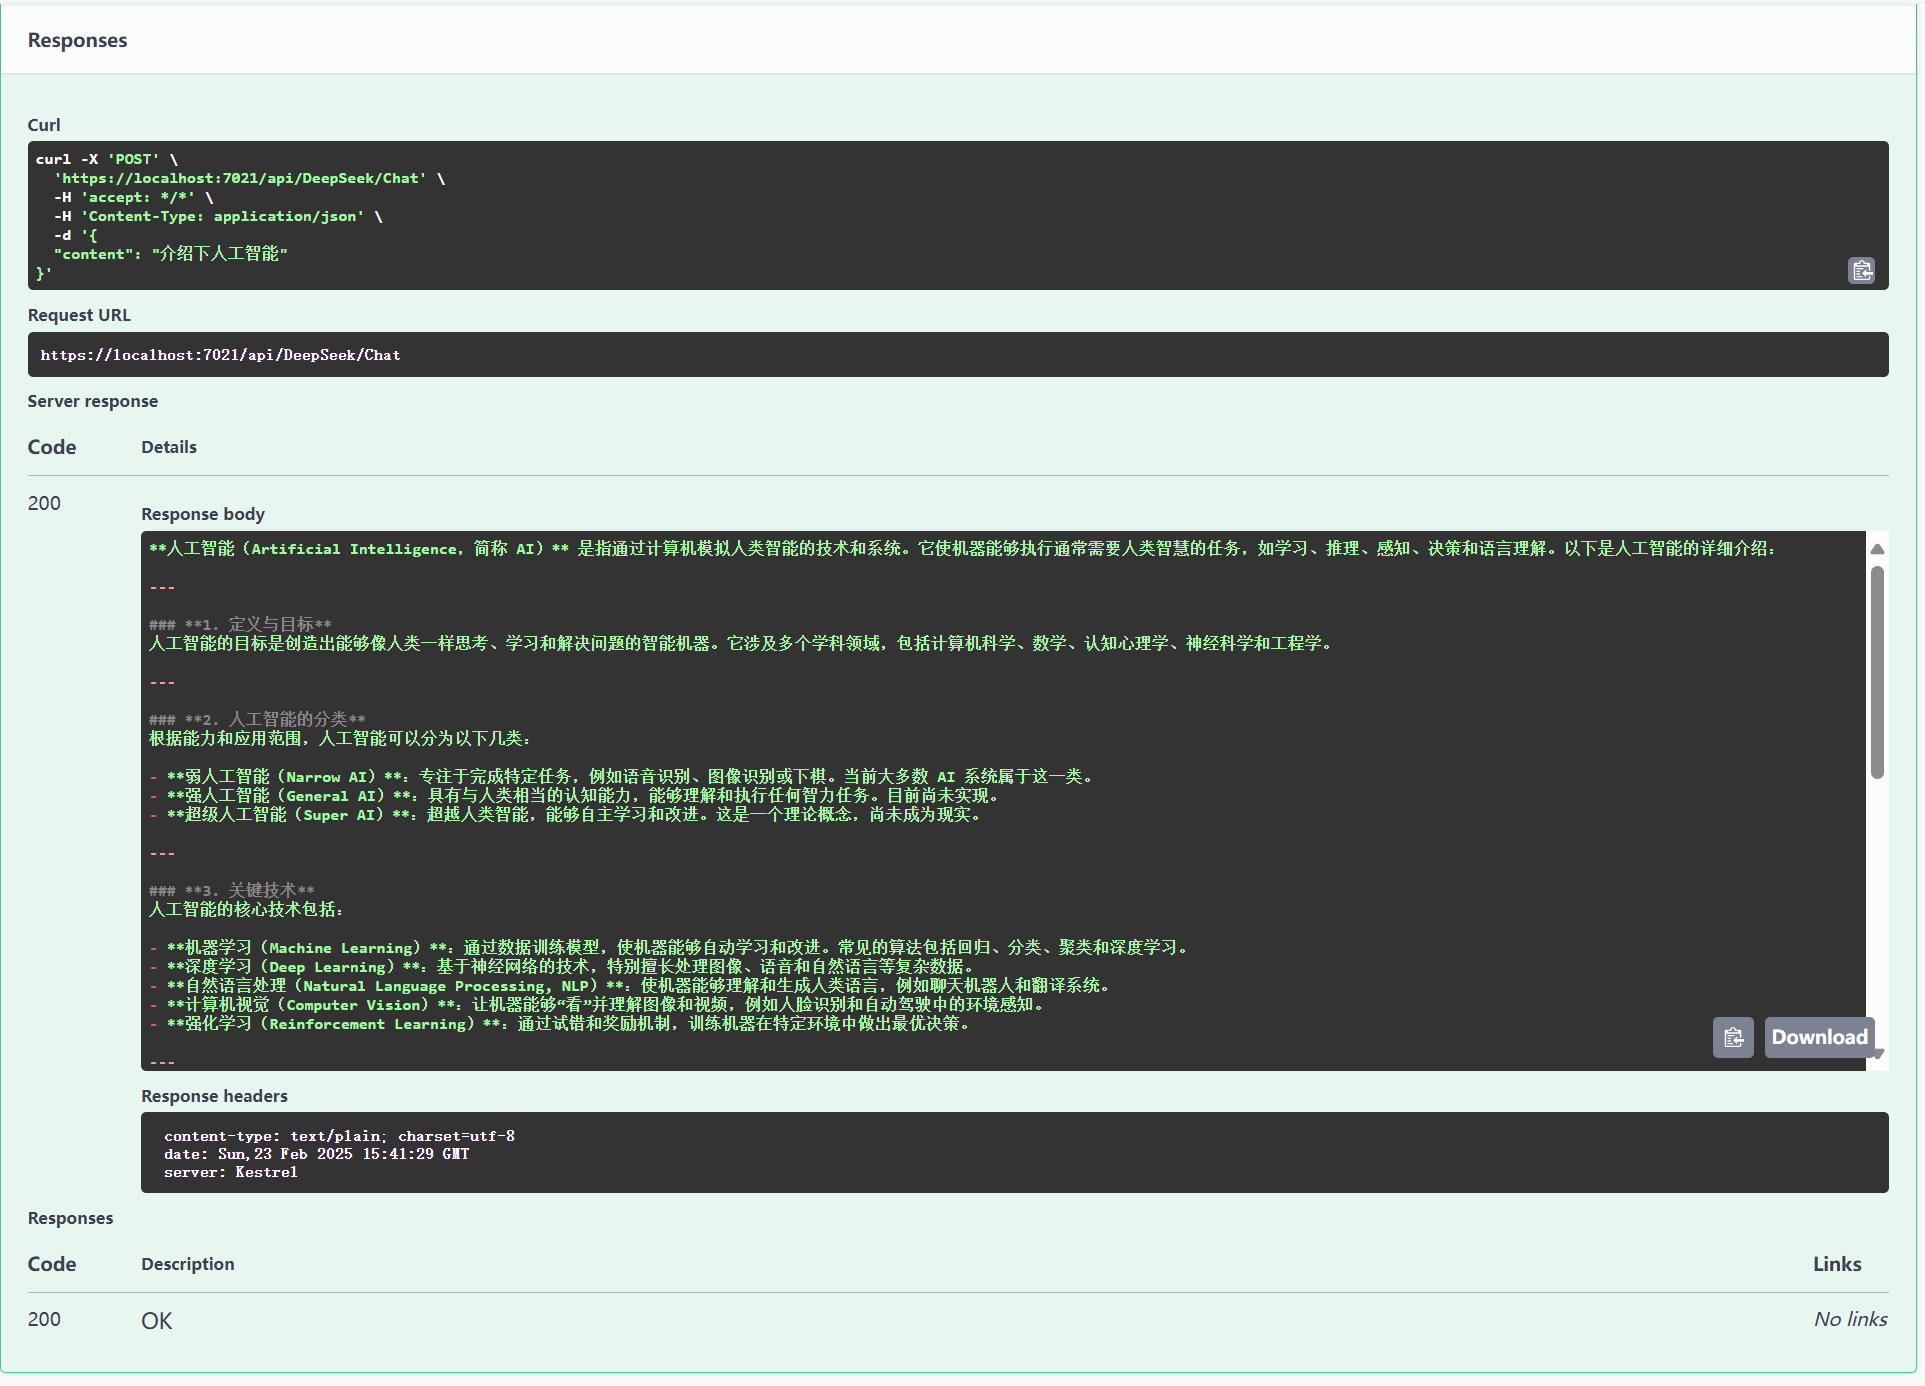
总结
以上两种方式各有优劣。直接使用 HttpClient 可以完全掌控 HTTP 请求的细节,适合需要高度自定义的场景;而使用 DeepSeekSDK-NET SDK 则能简化开发流程,适合追求快速集成的场景。根据项目需求选择合适的方式。

欢迎加入DeepSeek 技术社区。在这里,你可以找到志同道合的朋友,共同探索AI技术的奥秘。
更多推荐


 28
28 0
0- 0


 已为社区贡献1条内容

所有评论(0)